v60 pour over: Master the perfect cup every time
The Hario V60 pour over is a simple but brilliant way to make coffee, celebrated for its knack for producing a clean, nuanced, and incredibly flavourful cup. Its unique design gives you, the brewer, complete control over the extraction process. This is why it’s a firm favourite among coffee enthusiasts and pros for highlighting the subtle notes in speciality coffee beans.
Why The V60 Is A Speciality Coffee Favourite

The Hario V60 isn't just another coffee maker; it's a tool that helps you understand your coffee on a much deeper level. Forget complicated machines with countless buttons. The V60 offers a hands-on, mindful process that can turn a daily routine into a genuinely rewarding ritual.
Its simplicity is exactly what makes it so powerful. The design itself is a masterclass in coffee extraction engineering, where every single element plays a critical role in how your final brew tastes. This focus on process and flavour is a core reason why it's a staple in modern coffee culture. You can learn more about what defines this movement in our article explaining what speciality coffee is.
The Genius In Its Design
Three key features set the V60 apart and give you that ultimate control:
- The 60-Degree Angle: This precise cone shape is no accident. It allows water to flow towards the centre, extending the contact time between the water and the coffee grounds for a full, even extraction.
- A Large Single Hole: Unlike brewers with multiple small holes that can clog or slow down, the V60's large opening lets you alter the coffee's body by simply changing your pouring speed. A faster pour gives you a lighter body, while a slower one creates a richer, fuller brew.
- Spiral Ribs: These ridges line the inside of the cone, creating a crucial gap between the filter paper and the dripper wall. This allows air to escape, helping the coffee grounds expand fully and promoting a much more even extraction.
By combining these elements, the V60 provides an unfiltered connection between you and your coffee. You’re not just making a drink; you’re actively participating in the creation of flavour.
Since its creation in Japan back in 2004, the V60 pour over has become an icon in the UK’s coffee scene. By the late 2010s, it was estimated that up to 50% of speciality coffee shops in London featured V60 drippers on their brew bars—a real testament to its respected status.
Assembling Your V60 Pour Over Toolkit
Before you can pull off a truly remarkable cup of coffee, you need to get your gear sorted. This isn’t about splashing out a fortune, but more about understanding what each piece of kit brings to the table. Some items are absolutely essential for getting those repeatable, café-quality results at home, while others give you a bit more room to save.
At the very heart of your setup is the V60 dripper. Here in the UK, the Hario V60 is a fantastic choice because it’s so affordable and comes in different sizes, whether you're brewing for one or a few. You can easily find models that make anywhere from one to six cups, which makes it perfect for just about any home.
Core Equipment For Your V60
To really get the hang of the V60 and brew consistently delicious coffee, there are a few key pieces you’ll need. Think of these as the foundation for every flavourful cup you make.
- Gooseneck Kettle: This is a game-changer. Unlike your standard kitchen kettle, the long, curved spout of a gooseneck gives you pinpoint control over your pouring speed and where the water goes. That precision is vital for evenly soaking all the coffee grounds.
- Digital Scales with Timer: Brewing coffee is a science of ratios. A good set of scales that measures down to 0.1 grams ensures you’re using the perfect amount of coffee and water every single time. The built-in timer is just as important for keeping your extraction on track.
- The V60 Dripper: The dripper itself comes in a few different materials, and each one handles heat a bit differently. Ceramic is brilliant at holding its temperature, but a simple white plastic Hario V60 is durable, budget-friendly, and perfect for travel.
The Single Most Important Investment
If you’re going to spend your money on just one piece of kit, make it a quality burr grinder. I can't stress this enough. While pre-ground coffee seems convenient, it starts losing its aromatic compounds almost immediately, leading to a dull, lifeless cup.
A burr grinder crushes beans into uniform particles, and that's the real secret to an even extraction. Blade grinders, on the other hand, just smash beans into inconsistent chunks. This mess of different sizes means you get a mix of sour (under-extracted) and bitter (over-extracted) flavours all in the same brew. Grind consistency is the absolute cornerstone of great coffee.
Finding Your Perfect Grind Size and Brew Ratio
Let's get into the two variables that will absolutely make or break your final cup: your grind size and your coffee-to-water ratio. Honestly, this is where the magic happens. Nailing these is the secret to leaving inconsistent, hit-or-miss brews behind and making genuinely delicious coffee, every single time.
This is the point where you stop guessing and start brewing with real intention.
The Golden Ratio for V60
Your brew ratio is just a simple way of talking about how much coffee you use compared to how much water. It's the primary dial you'll turn to control the strength and body of your coffee. While there's plenty of room to experiment later, you need a solid, reliable place to start. For that, we turn to the industry's tried-and-tested 'golden ratio'.
A brew ratio of 1:16 is the perfect starting point for almost any V60. All this means is for every 1 gram of coffee, you'll want to use 16 grams (or ml) of water. So, for a standard single mug, you're looking at around 15g of coffee to 240g of water.
This ratio gives you a beautifully balanced, full-flavoured cup. But don't be afraid to tweak it once you're comfortable. If you find yourself wanting a stronger, more intense brew, try a slightly tighter ratio like 1:15. Or, if you prefer a lighter, more delicate cup, you can push it out to 1:17. Even small changes here make a surprisingly big difference.
Dialling In The Grind
Once you've got your ratio sorted, it's time to think about the grind. For a V60, you’re aiming for a medium-fine grind. If you need a visual, think of the consistency of table salt. It should be noticeably finer than the coarse stuff you'd use for a French press but definitely not as powdery-fine as an espresso grind.
The grind size is all about controlling how long the water and coffee are in contact—what we call extraction time. Water will gush through coarse grounds way too quickly, giving you a sour, under-extracted brew. On the flip side, it will get clogged up in super-fine grounds, leading to a bitter, over-extracted mess. Your own taste buds are the best tool you have for figuring this out.
- Tastes sour, weak, or acidic? Your grind is almost certainly too coarse. The water rushed through without pulling out enough of the coffee's inherent sweetness. Try making your grind a notch finer on your next brew.
- Tastes bitter, harsh, or muddy? Now you've gone too far—your grind is likely too fine. The water took too long to pass through and started extracting nasty, bitter compounds. Back it off and try a slightly coarser setting.
To help you get started, here's a quick reference table with some common brew sizes. Think of these as a baseline, not a strict rule.
V60 Starting Ratios and Grind Settings
| Coffee Dose (grams) | Water Volume (grams/ml) | Target Brew Time | Grind Size Description |
|---|---|---|---|
| 15g | 240g | 2:30 – 3:00 | Like table salt, fine but still gritty |
| 20g | 320g | 3:00 – 3:30 | Slightly coarser than the 15g dose |
| 30g | 480g | 3:30 – 4:00 | A true medium, like coarse sand |
Remember to adjust based on how your coffee actually tastes. This is the fun part!
Mastering the interplay between grind size and brew time is what will truly transform your coffee. For a much deeper dive, our comprehensive coffee grind size guide can really help you visualise the different settings. Finding that sweet spot where the flavour is balanced, sweet, and vibrant is what the V60 is all about.
Mastering Your V60 Pouring Technique
With your gear ready and your beans dialled in, it's time to bring it all together. The pouring technique is where you really start to interact with the brew, guiding the water to pull out that perfect balance of sweetness and acidity. It’s a rhythmic process that quickly becomes second nature with a bit of practice.
The first move, before any coffee even touches the dripper, is to rinse your paper filter. Pop the filter into the V60, set it over your mug or server, and pour hot water through it, making sure you wet the entire surface. This quick step gets rid of any papery taste and—just as importantly—preheats the dripper and your vessel. A stable brew temperature is crucial.
This simple infographic below outlines the foundational steps for getting your V60 pour over ready.
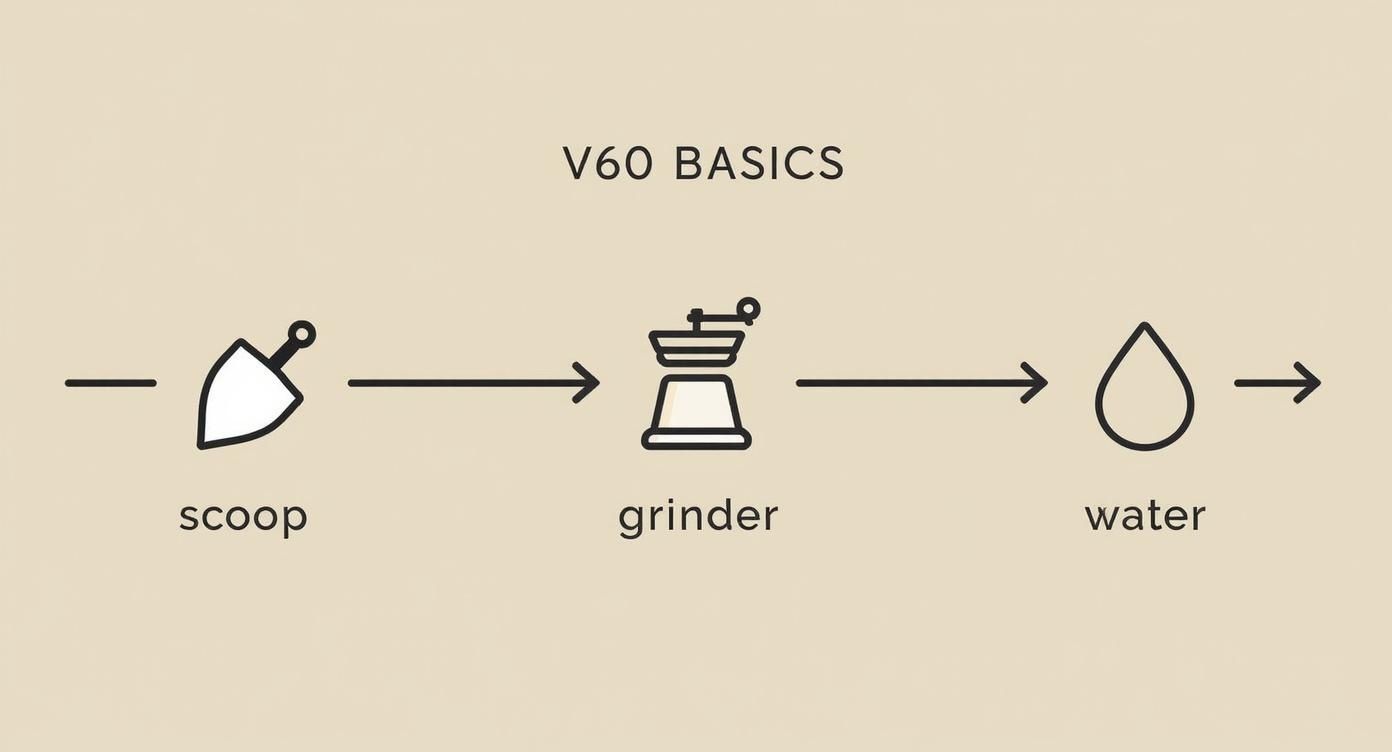
It gives you a visual of the core sequence: measuring the coffee, grinding fresh, and preparing your water. This is what sets the stage for a great pour. Now, let’s get that water involved.
The Critical Bloom Phase
After you’ve tipped out the rinse water and added your ground coffee, you're ready for the most visually satisfying part of any V60 pour over: the bloom. This first pour isn't about brewing; it's about prepping the coffee bed for an even extraction.
Start your timer and gently pour about double the weight of water to your coffee dose (so, 40g of water for 20g of coffee). The goal is just to saturate all the grounds. You’ll see the coffee bed puff up and bubble as it releases trapped carbon dioxide.
This de-gassing phase is non-negotiable. Letting the coffee bloom for 30 to 45 seconds is vital. It stops the CO2 from pushing water away during the main pour, which would otherwise cause uneven extraction and sour flavours.
Executing The Main Pour
Once the bloom has settled down, it’s time for the main event. Your aim is to add the rest of the water in a controlled, steady way, keeping the coffee grounds fully submerged.
- Pouring Motion: Grab your gooseneck kettle and pour in slow, steady concentric circles. Start from the centre and spiral outwards, then work your way back in. Just try to avoid pouring directly onto the filter paper.
- Controlling Speed: A gentle, consistent pour is what you're after. If you pour too aggressively, you can agitate the coffee bed too much and end up with bitterness. Pour too slowly, and the brew can stall out.
- Maintaining Water Level: Try to keep the water level fairly consistent throughout the pour. You don’t want the dripper to fill to the brim, but you also don't want the water to drop so low that the grounds become exposed.
The entire process, from the first drop of the bloom to the final drip, should land you somewhere in the 2.5 to 3.5-minute sweet spot. If your brews are finishing way too fast or dragging on too long, look at your grind size first before messing with your pouring technique.
If this all feels a bit daunting, don’t worry—our general guides on how to brew coffee can offer more foundational tips to build your confidence.
Troubleshooting Common V60 Brewing Problems
https://www.youtube.com/embed/T1AeJ0MGSYI
Even the most seasoned home brewers have an off day. It happens. You follow your recipe to the letter, but the resulting V60 pour-over just doesn't taste right. When this happens, it's almost always down to one of two things: under-extraction or over-extraction.
The real skill is learning to diagnose your brew by taste and then making small, confident tweaks.
It's a skill worth having, especially when you consider that coffee consumption in the UK has hit around 98 million cups daily as of 2024. More of us than ever are getting into the nuances of speciality coffee. If you want to dive deeper into the UK's growing coffee habits, York Emporium has some great insights.
Diagnosing Under-Extraction
If your coffee tastes disappointingly sour, unpleasantly acidic, or just plain watery, you're looking at a classic case of under-extraction. It simply means the water didn't pull out enough of the good stuff—the desirable sweet flavours—from the coffee grounds.
Here’s how to fix it:
- Adjust Your Grind: This is your most powerful tool. Grinding your coffee a bit finer slows down the water's journey through the grounds, which increases contact time and leads to a fuller extraction.
- Check Your Water Temperature: Make sure your kettle is hitting that sweet spot between 92-96°C. Water that's too cool just doesn't have the energy to extract properly.
- Slow Down Your Pour: A gentler, slower pour can slightly increase the overall brew time, giving the water more time to work its magic on the grounds.
Correcting Over-Extraction
On the flip side, if your coffee tastes bitter, harsh, or leaves a dry, almost chalky aftertaste, you've over-extracted it. This is what happens when water hangs around for too long, pulling out unwanted bitter compounds after all the good flavours have already been dissolved.
The most common culprit for over-extraction is a grind that’s simply too fine, causing the whole process to drag on. If your brew time is creeping past the four-minute mark, this is almost certainly your issue.
The fix is usually the direct opposite of what you’d do for an under-extracted brew. Go for a coarser grind. This will speed up the water flow and shorten your total brew time, bringing everything back into balance.
Your V60 Pour-Over Questions Answered
To wrap things up, let's tackle a few common questions that always pop up when you're getting to grips with the V60. Nailing these details will give you the confidence to really perfect your technique.
What Is The Best Water Temperature?
For most coffees, the sweet spot for water temperature is somewhere between 92-96°C.
If your kettle doesn’t have a temperature control, no worries. A simple trick is to bring it to a boil and then just let it sit with the lid off for about 30-45 seconds. Lighter roasts often need that hotter water to properly pull out their delicate flavours, while darker roasts can sometimes do better with slightly cooler water to keep any bitterness at bay.
Does The Dripper Material Matter?
Yes, it does, and it's mainly about heat retention. Ceramic and metal V60 drippers are brilliant at holding onto heat, which helps keep the temperature stable right through the brew.
Plastic models don't hold heat as well, but they're cheaper, much tougher, and absolutely fantastic for travelling. For the most consistent results at home, a well pre-heated ceramic V60 usually gives you the best thermal stability.
While you can technically use pre-ground coffee, it's something I'd strongly advise against if you're chasing the best flavour. Coffee loses its most precious aromatic compounds incredibly fast after grinding. For a deeper dive, our guide on how to make coffee with beans explains exactly why freshness is so critical.
Ready to brew a truly exceptional cup? Explore our freshly roasted, ethically sourced beans at Seven Sisters Coffee Co. and discover the difference that quality makes. Visit us at https://sevensisterscoffee.co.uk to find your perfect coffee.