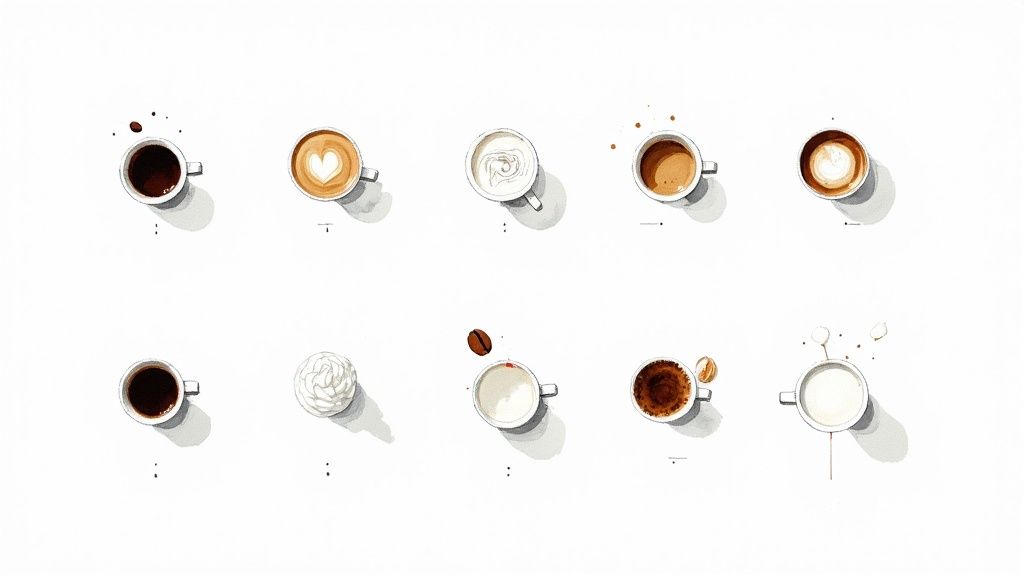
The Perfect Recipe for a Latte at Home

Ever found yourself wondering why the latte you make at home just doesn’t hit the same as the one from your favourite coffee shop? You’re definitely not alone. The secret to a truly great recipe for a latte isn’t just about pouring hot milk into strong coffee—it’s a delicate dance between rich, perfectly extracted espresso and velvety, flawlessly steamed milk.
Why Your Homemade Latte Never Tastes Quite Right
If your kitchen creations often fall a bit flat, it nearly always comes down to one of two things: the quality of your espresso base or the texture of your milk. Nail these two, and you’ll unlock the secret that separates a forgettable coffee from a brilliant one. A proper latte is a specific construction, a harmony of flavour and texture that goes far beyond a simple milky coffee.
Once you get your head around these fundamentals, the whole process becomes much less mysterious. You'll quickly see that making a drink you genuinely love is simpler than you might think. And it all starts with your coffee extraction.
The Foundation of Flavour
The very heart and soul of any great latte is the espresso shot. A badly pulled shot—one that’s sour and under-extracted or, just as bad, bitter and over-extracted—will completely tank the final drink, no matter how beautifully you’ve steamed your milk. To get it right, you need to focus on a few key things:
- The Coffee Beans: You absolutely need freshly roasted beans. Stale beans just won't cut it.
- The Grind Size: How fine or coarse your coffee is directly controls the extraction time. It’s a make-or-break step, and our detailed guide on coffee grind sizes is the perfect place to master it.
- The Tamping Pressure: A nice, even press is crucial. It ensures the hot water flows uniformly through the coffee puck for a balanced shot.
A great latte is a testament to the idea that simple ingredients, when handled with care, can create something truly special. It’s about honouring both the coffee bean and the milk.
This dedication to detail is what has cemented the latte as a cornerstone of UK coffee culture. Its popularity is immense; recent data shows that a staggering 80% of Brits visit a coffee shop at least once a week. Many of those visits are for a well-made latte, which now costs around £3.64 on average across the UK's thousands of cafes. Nailing this recipe at home isn't just about saving a bit of money—it's about gaining a rewarding new skill you can enjoy every single day.
Gathering Your Essential Latte Gear and Ingredients
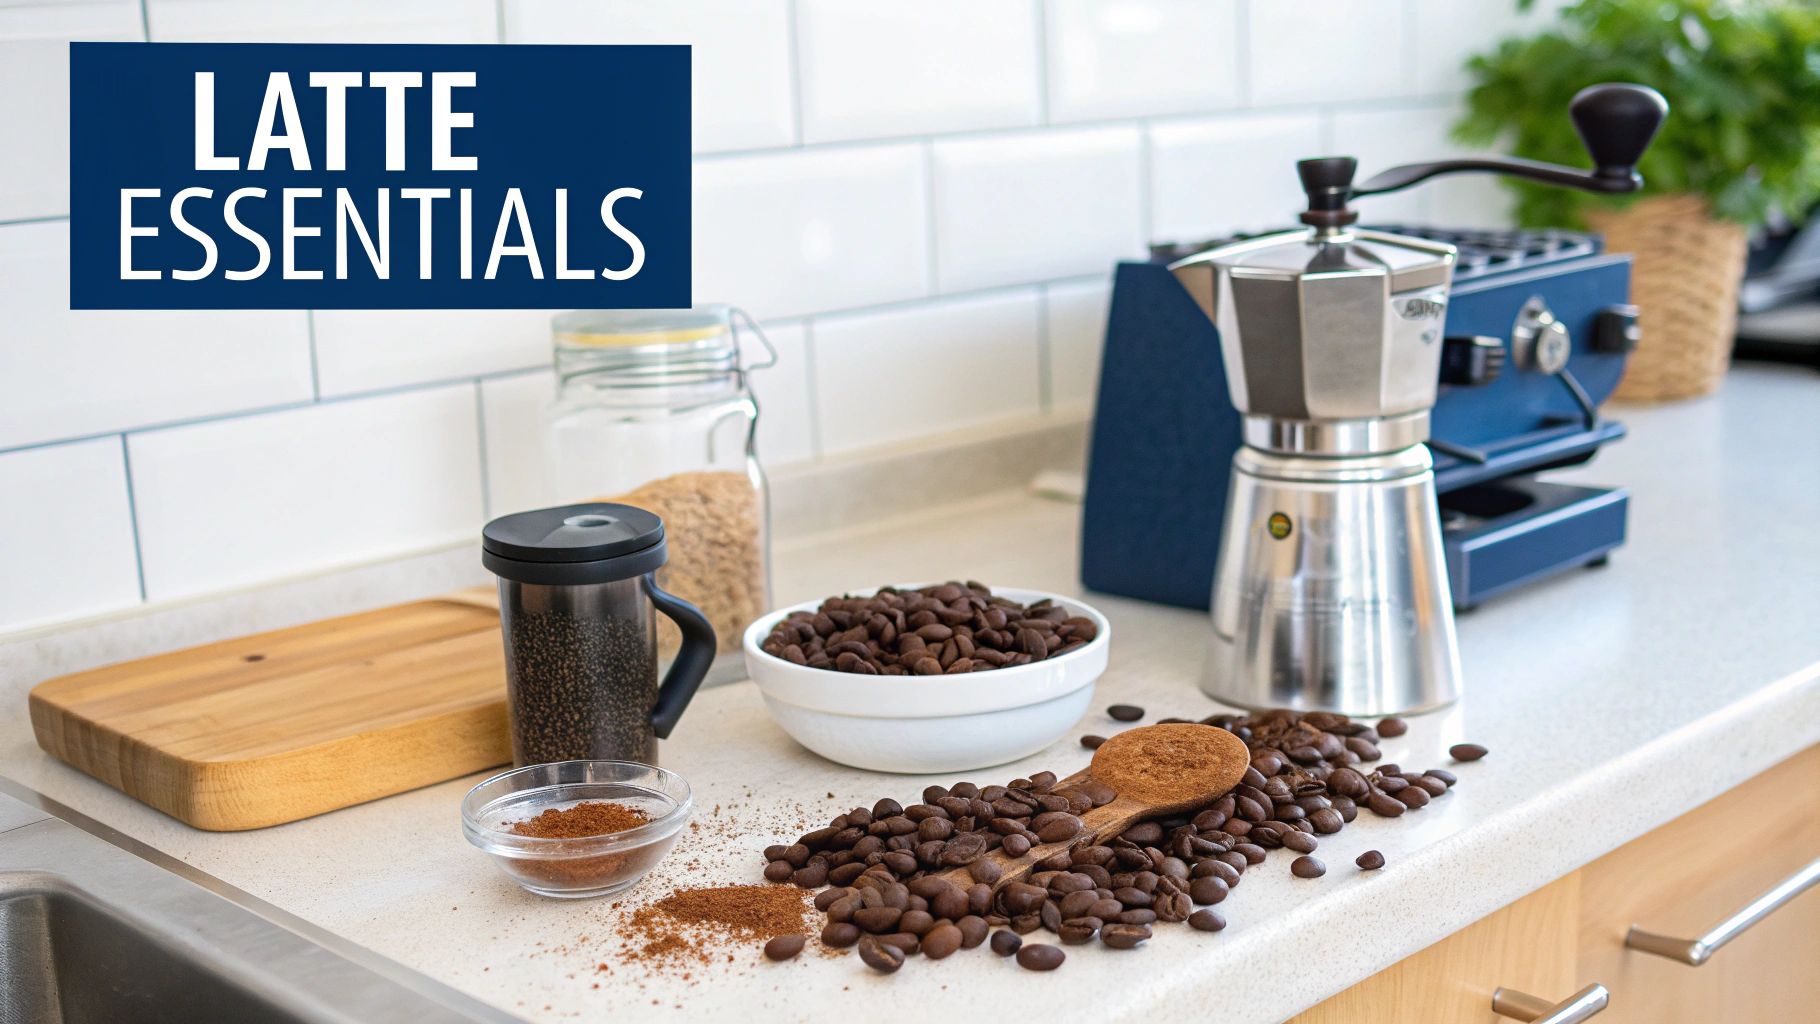
Before you can even think about pouring your first homemade latte, you need to get your kit in order. This isn't about splashing out on the most expensive gear you can find; it’s about understanding what truly makes a difference to the flavour and texture in your cup. Your journey to the perfect latte starts here, with the right ingredients and tools.
The absolute non-negotiable is freshly roasted coffee beans. For a classic latte, you’ll want a good espresso blend or a medium-to-dark roast. These beans develop those rich, caramelised notes that cut through the milk beautifully. Just as crucial is a decent grinder—it’s the only way to get the fine, consistent grind you need for a balanced espresso shot.
Choosing Your Core Components
Once your coffee is sorted, it's time to think about milk. The type you choose will dramatically change the final taste and feel of your drink. Whole milk is the go-to for a reason; its higher fat content helps create that rich, creamy microfoam that’s a dream to pour.
That said, dairy-free alternatives can be fantastic. Barista-edition oat milk is a game-changer, creating a silky texture that’s incredibly close to the real thing. Almond and soya milks also do a good job, though they tend to produce a slightly lighter foam.
Remember, the quality of your water is just as vital as your coffee beans. Over 98% of a cup of coffee is water, so its purity has a massive impact on the final taste.
It's the one ingredient everyone forgets, but understanding the impact of filtered water on your coffee can genuinely elevate your brew. Using filtered water strips out impurities like chlorine that can create unpleasant off-flavours, letting the true character of your coffee shine.
Essential Equipment For Your Kitchen
With your ingredients ready, let's talk hardware. A proper espresso machine with a steam wand will give you the most control and the best results, but you can still make a brilliant latte with a simpler setup.
A Moka pot is a superb, budget-friendly option that brews a strong, concentrated coffee that's very close to espresso. And for frothing milk without a steam wand, you've got a few choices:
- Handheld Milk Frother: A small, battery-powered whisk that's quick, easy, and surprisingly effective.
- French Press: Just pump warm milk up and down in the carafe. You’ll be amazed at the velvety texture you can build.
- A Sealed Jar: It sounds basic, but vigorously shaking warm milk in a jar incorporates enough air to create a decent foam in a pinch.
To get properly set up, it's worth getting a checklist together to make sure you have everything you need before you start.
Your Latte Making Checklist
Here's a quick rundown of the gear and ingredients you'll want to have on hand. Some items are essential, while others are nice-to-haves that will make the process a bit smoother.
| Category | Essential Items | Optional but Recommended Items |
|---|---|---|
| Coffee | Freshly roasted coffee beans | High-quality coffee grinder |
| Milk | Milk of your choice (whole, oat, almond, etc.) | Barista-edition non-dairy milk |
| Water | Filtered water | — |
| Brewing | Espresso Machine, Moka Pot, or AeroPress | Coffee scale for precise measurements |
| Frothing | Steam wand, handheld frother, French press, or sealed jar | A stainless steel milk jug |
| Serving | Your favourite latte mug or cup | Digital thermometer to monitor milk temperature (60-65°C) |
Having the right latte-making accessories really does make the whole process more enjoyable and helps you get consistently great results every time.
Pulling the Perfect Espresso Shot

The foundation of any brilliant latte is a shot of espresso that’s rich, balanced, and absolutely brimming with flavour. Honestly, this is the stage where many home baristas stumble, but getting it right is a total game-changer. It all starts with turning those beautiful whole beans into the perfect grounds.
Your goal is a grind consistency that feels just a touch finer than table salt. If it’s too coarse, the water will gush straight through, leaving you with a sour, weak, and under-extracted shot. Go too fine, and you’ll choke the machine, resulting in a bitter, almost burnt-tasting espresso.
This is exactly why a good burr grinder is worth its weight in gold; it gives you a level of consistency that blade grinders just can't touch. Once your coffee is perfectly ground, the next step is getting it into the portafilter correctly.
Dosing and Tamping Your Coffee
"Dosing" is just the fancy term for getting the right amount of coffee into your portafilter basket. For a standard double shot, you’re aiming for around 18-20 grams of ground coffee. A simple coffee scale takes all the guesswork out of this, ensuring you get consistent results every single time.
With your coffee dosed, it's time to tamp. The goal here is non-negotiable: create a flat, level, and evenly compacted puck of coffee grounds. If the surface is uneven, you'll get channelling—where water finds the path of least resistance and bypasses most of the coffee, leading to a rubbish extraction.
Apply firm, even pressure. Try to keep your elbow directly above your wrist to push straight down. A gentle twist of the tamper as you finish helps to polish the surface. Now you’re ready for a balanced extraction.
Watching for a Great Extraction
Now for the magic. Lock the portafilter into your machine and start the brew. A great shot has clear visual cues you can learn to spot.
- The first few seconds: You should see dark, syrupy droplets of espresso begin to form and drip.
- The pour: These droplets will soon merge into a steady, consistent stream that looks a lot like warm honey.
- The colour change: The stream will begin as a dark brown and gradually lighten to a beautiful caramel or golden colour as the shot progresses.
- The crema: A perfect shot is crowned with a thick, stable layer of reddish-brown crema. This is where so much of the shot's aroma and flavour lives.
A double shot should ideally take about 25-30 seconds to pull. If it’s significantly faster or slower, that’s your cue to adjust your grind size. It might take a few goes to dial it in perfectly, but mastering this is a core barista skill. Our guide on how to make perfect espresso offers even more detailed tips if you get stuck.
The espresso shot is the heart of your latte. Every nuance of its flavour—the sweetness, the acidity, the body—will carry through into the final drink. Giving it this much attention is what separates a good coffee from a truly exceptional one.
The demand for quality coffee is what drives the UK's vibrant cafe scene, where an incredible 98 million cups of coffee are enjoyed every single day. This huge figure highlights a national appreciation for well-crafted drinks, where the quality of the espresso is everything. By perfecting your shot, you’re bringing that professional standard right into your own kitchen.
Creating Silky Smooth Steamed Milk
That gorgeous, velvety milk is what truly separates a basic coffee from a proper, cafe-quality latte. The secret lies in creating microfoam—a silky texture made from millions of tiny, uniform bubbles, not the big, soapy foam you get from overheating or frothing too hard. Getting this right is a skill, but it all boils down to two key phases.
First, you stretch the milk to pull in air. Then, you texture it to create that smooth, integrated consistency. The real craft is in controlling the steam wand's position in your milk jug and for how long you keep it there.
The infographic below shows exactly where you want that steam wand to sit to get that perfect silky microfoam.
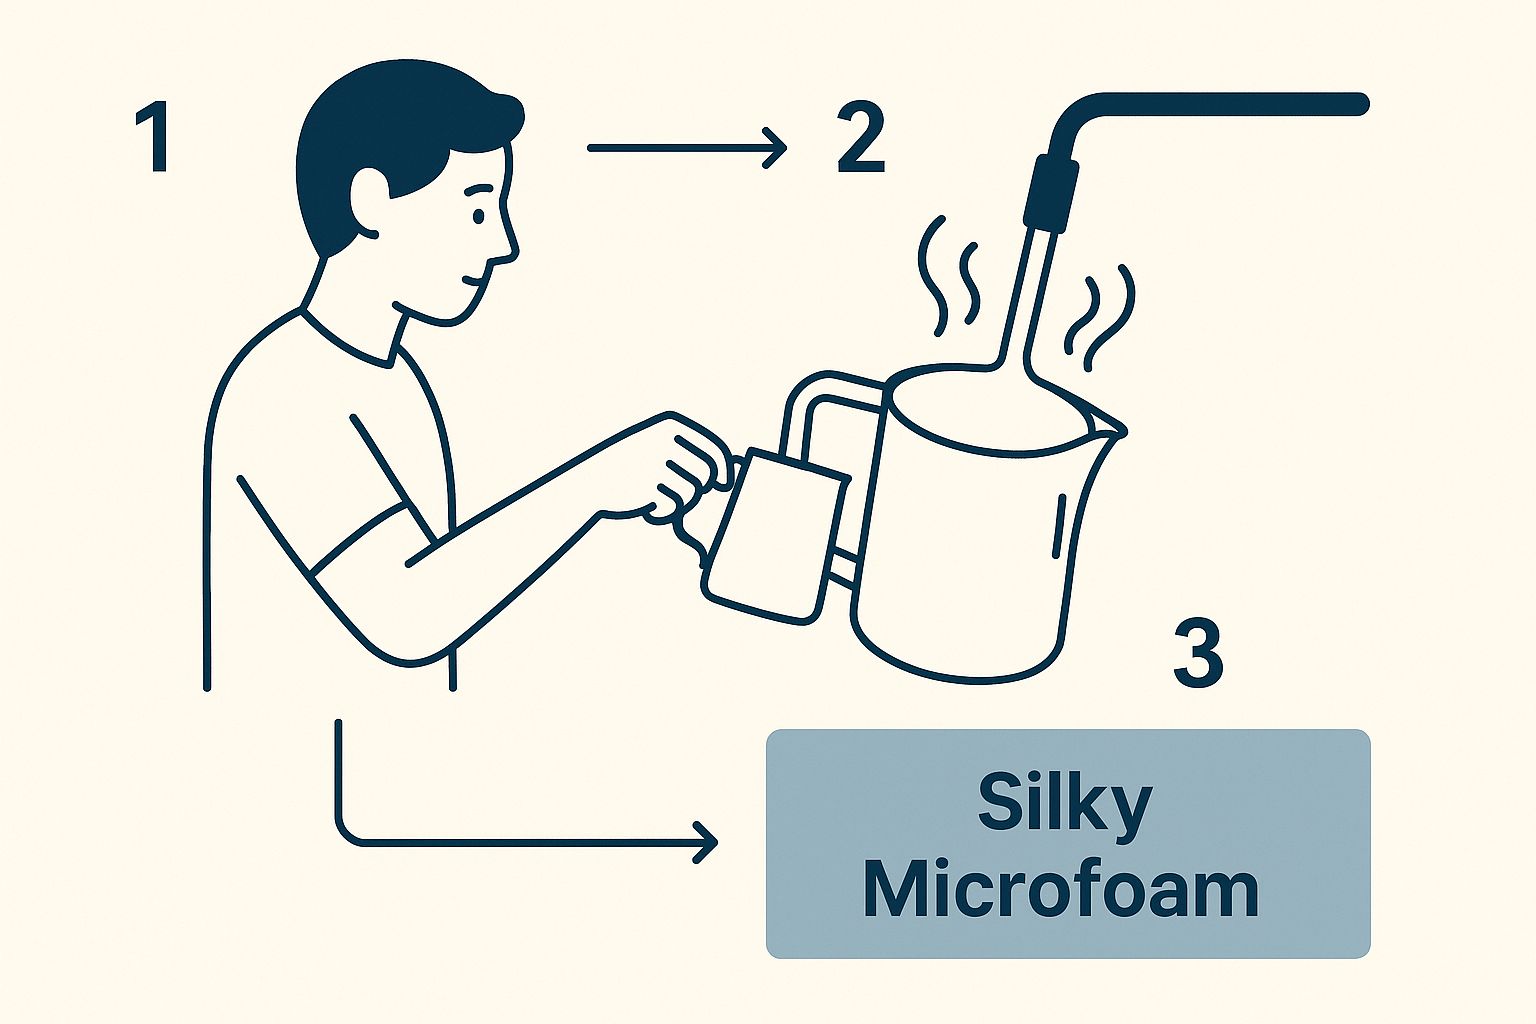
As you can see, angling the jug and keeping the wand just off-centre is what creates a whirlpool. This motion is crucial because it mixes the air evenly through the milk, giving you that flawless texture you’re after.
The Two Phases of Steaming Milk
The first stage is all about stretching. You'll start with the steam wand’s tip just under the surface of the cold milk. Listen for a gentle, consistent hissing sound—that’s the sound of air being introduced.
You only need to do this for a few seconds. You’re looking for the volume of the milk to increase by about 20-30%. If you stretch for too long, you'll end up with far too much foam, which is better suited for other drinks. For a better idea of how this differs from other coffees, check out our guide on how to make a cappuccino.
Phase two is texturing. Once you've added enough air, plunge the steam wand deeper into the milk. Now, angle the jug to create that all-important whirlpool or vortex. This spinning motion folds the air into the milk, breaking down any large bubbles and developing that signature silky, wet-paint-like texture.
Hitting the Perfect Temperature
Temperature is absolutely critical when you're steaming milk. The goal is a final temperature between 60-65°C (140-150°F). A milk thermometer is your best friend here, taking all the guesswork out of it.
Why that specific range? It's the sweet spot where lactose (milk sugars) breaks down and caramelises, making the milk taste noticeably sweeter. Any hotter and you'll scald it, which ruins the proteins and leaves you with a burnt, flat taste.
If you don't have a thermometer, you can use your hand as a guide. Hold the jug firmly; once it becomes too hot to comfortably keep your hand on it for more than a second or two, you’re in the right zone.
No Steam Wand No Problem
Don't have an espresso machine? Don’t worry. You can still whip up a surprisingly good texture with a couple of simple tools. The key is to heat your milk first (on the hob or in the microwave) to that same 60-65°C sweet spot before you add any air.
Here are a couple of my favourite alternative methods:
- The French Press Method: Pour your heated milk into a French press, but don't fill it more than halfway. Plunge the filter up and down with some energy for about 30 seconds. This simple action forces air into the milk, creating a dense and creamy foam.
- The Handheld Frother: These inexpensive, battery-powered whisks are brilliant. Submerge the whisk head into your warm milk and turn it on. Move it around the jug until you've built the texture you want.
While these methods won't give you the exact microfoam you’d get from a high-powered steam wand, they get you remarkably close. You'll still be able to pour a delicious and satisfying homemade latte.
How to Construct Your Latte and Add a Personal Touch
You’ve got a perfect shot of espresso in your cup and a jug of velvety steamed milk in your hand. This is the final, most satisfying stage—where the magic happens. Here, two separate elements transform into one beautifully integrated drink. The key to a great pour is all about control and confidence.
Start by holding your cup at a slight angle. Pour a thin, steady stream of milk directly into the centre of the espresso. Your first pour should go underneath the crema, mixing the milk and coffee together to create that lovely, uniform caramel colour.
Your First Piece of Latte Art
As the cup begins to fill, bring it back to a level position and lower the milk jug closer to the surface. This is the moment the white microfoam starts to appear on top, creating the canvas for your art. For a simple heart, just keep pouring into the centre until a clean white circle forms.
Once the cup is nearly full, lift the jug a little and pour straight through the middle of that circle. This final motion pulls the circle downwards, stretching it into a classic heart shape. It definitely takes some practice, but it's a wonderfully rewarding skill to master.
The real joy of a homemade latte is making it exactly how you like it. A classic latte is the perfect starting point, but you should absolutely think of it as a blank canvas for your own creativity and taste.
Don’t be shy about experimenting with different flavours. The UK’s big coffee chains have perfected the art of the latte variation, from seasonal specials to signature syrup blends. It’s a trend that's driving the nation's coffee spending, which is projected to hit an incredible £6.1 billion in out-of-home sales by 2025. You can bring that same creativity into your kitchen; for more on these market trends, check out Lumina Intelligence's detailed report.
Popular Latte Variations to Try at Home
Adding a personal touch couldn't be simpler. A pump of syrup or a sprinkle of spice can completely change your drink. Here are a few popular ideas to get you started:
- Vanilla or Caramel Latte: The classics. Just add 1-2 tablespoons of your chosen syrup to the empty cup before you pull your espresso shot. The hot coffee will mix with it perfectly.
- Pumpkin Spice Latte: For a true taste of autumn, mix 2 tablespoons of pumpkin purée, a pinch of cinnamon, nutmeg, and ginger with your espresso shot before adding the milk. A little maple syrup for sweetness works wonders, too.
- Iced Latte: Ideal for warmer days. Fill a glass with ice, pull your espresso shot directly over it, top with cold milk (and syrup if you like), and give it a good stir. It really is that easy.
These simple additions let you recreate your favourite coffee shop experiences right at home, tailoring every single drink to your exact preferences.
Common Latte Questions Answered
Even with the perfect recipe in hand, a few questions always pop up when you're trying to master a new skill. Perfecting your latte is a journey, and honestly, figuring out the little quirks is half the fun. Here are some straightforward answers to the things we get asked most often by budding home baristas.
What Is the Correct Espresso to Milk Ratio?
A brilliant starting point for that classic latte you’d get in a coffee shop is a ratio of 1 part espresso to 3-4 parts steamed milk. This is usually finished with a thin layer of foam, about 1cm thick.
So, for a standard 250ml cup, you're looking at a double shot of espresso (around 60ml) married with about 180ml of milk.
But here’s the thing: it’s your coffee. If you prefer a stronger, more punchy drink, just use less milk. A 1:2 ratio gets you closer to a flat white. For something milder and creamier, feel free to add a bit more. The best part is experimenting to find the balance that makes you happy.
Why Is My Frothed Milk Full of Big Bubbles?
This is easily the most common hurdle, and it almost always comes down to steaming technique. Those large, soapy-looking bubbles appear when you’ve let too much air in too quickly, or you haven't mixed that air into the milk properly.
To fix this, it’s all about the position of your steam wand.
Start with the tip just below the surface of the milk. You want to hear a gentle hissing sound—that’s the sound of you "stretching" the milk by adding air. This phase is short and sweet, just a few seconds until the milk's volume puffs up by about 20%.
Then, plunge the wand deeper into the milk and tilt the jug to create a swirling vortex. This is the crucial part. This motion breaks down any big bubbles and folds the foam seamlessly into the milk, creating that silky microfoam we're all after. A firm tap of the jug on the counter when you’re done will pop any remaining stragglers.
The goal is a texture that looks like wet paint—glossy, smooth, and pourable. If it looks more like bubble bath, you've incorporated too much air or failed to mix it in properly. Keep practising the vortex motion.
Can I Make a Good Latte Without an Espresso Machine?
Absolutely! While an espresso machine is the gold standard for that authentic cafe taste, you can get incredibly close with other methods that brew a strong, concentrated coffee. A Moka pot is a fantastic and affordable alternative that produces a rich, espresso-like shot.
An AeroPress is another great tool for making a concentrated coffee base. You could even use a French press if you increase the amount of coffee and use less water than you normally would. For the milk, a cheap handheld frother works wonders. You can also pump warm milk in a French press or just shake it like crazy in a sealed jar. The texture won’t be identical to professionally steamed milk, but you’ll still end up with a delicious, creamy homemade latte.
Which Type of Milk Is Best for Latte Art?
For pouring latte art, whole milk is the undisputed champion. There’s just no getting around it. The higher fat and protein content is what helps create a stable, creamy, and glossy microfoam that holds its shape beautifully as you pour.
Of course, keeping your beans fresh is also essential for a great-tasting base; you can learn more about the best ways to store coffee beans in our guide to preserving their flavour.
If you’re using non-dairy options, always look for 'barista-edition' plant milks. These have been specially formulated with added stabilisers and fats to mimic how dairy milk behaves when steamed. Barista-style oat milk, in particular, is a fantastic choice, as it creates a wonderfully creamy texture that's an absolute dream to pour with.
Once you've nailed down your perfect recipe, you might find it helpful to learn how to organise recipes to keep this one and all your other favourites handy.
At Seven Sisters Coffee Co, we believe that exceptional coffee starts with exceptional beans. Explore our collection of freshly roasted, single-origin coffees and signature blends to take your homemade latte to the next level. Find your perfect brew at https://sevensisterscoffee.co.uk.