Mastering Nitro Cold Brew at Home: Your Complete Guide

Making nitro cold brew at home is surprisingly doable. You can get that creamy, velvety texture you love from the coffee shop, but without the daily hit to your wallet.
At its core, the process is simple: steep coarse coffee grounds in cold water, filter the concentrate, and then infuse it with pure nitrogen gas using some pretty straightforward home equipment.
Why Homemade Nitro Is Worth the Hype
If you've ever watched the mesmerising cascade of a nitro coffee pour in a cafe, you know it's a world away from your average iced coffee. This isn't just about making your caffeine fix cold; it's a completely different drink. The magic is all in the tiny nitrogen bubbles, which create a uniquely smooth, almost Guinness-like texture that feels incredibly luxurious.
Unlike many other common types of coffee drinks, nitro cold brew has a naturally sweet flavour and remarkably low acidity. This comes from the cold brewing method itself, which is much gentler and extracts fewer of the bitter compounds from the beans. The result is a drink so smooth and rich that many people find they don’t need any milk or sugar, making it a brilliant low-calorie option.
The Rise of At-Home Coffee Craft
The desire for better coffee experiences is growing fast here in the UK. In fact, the market for nitrogenated coffee is projected to grow at a compound annual growth rate of around 4.2% by 2025. This isn't just a niche trend; it shows a real shift towards more sophisticated, customisable drinks that people want to create in their own kitchens.
Bringing the art of nitro cold brew at home puts you firmly in the driver's seat. You get to:
- Customise the Strength: Play with the coffee-to-water ratio to create a brew that’s perfect for you, whether that's a powerful concentrate or a light, refreshing drink.
- Experiment with Flavours: Use different single-origin beans to explore tasting notes of chocolate, fruit, or nuts. You can craft a completely bespoke drink every single time.
- Save Money: Yes, there's an initial investment in equipment. But making your own nitro coffee is significantly more cost-effective than buying it from a cafe every day.
For me, the real satisfaction comes from mastering the process yourself—from brewing the perfect cold brew base to getting that iconic cascading effect just right. It's the rewarding feeling of creating a professional-quality drink that genuinely rivals anything from your favourite coffee shop.
This guide will walk you through every step. We'll give you the confidence and the know-how to make exceptional nitro coffee. With the right techniques and some quality gear, you'll be pouring perfect glasses in no time.
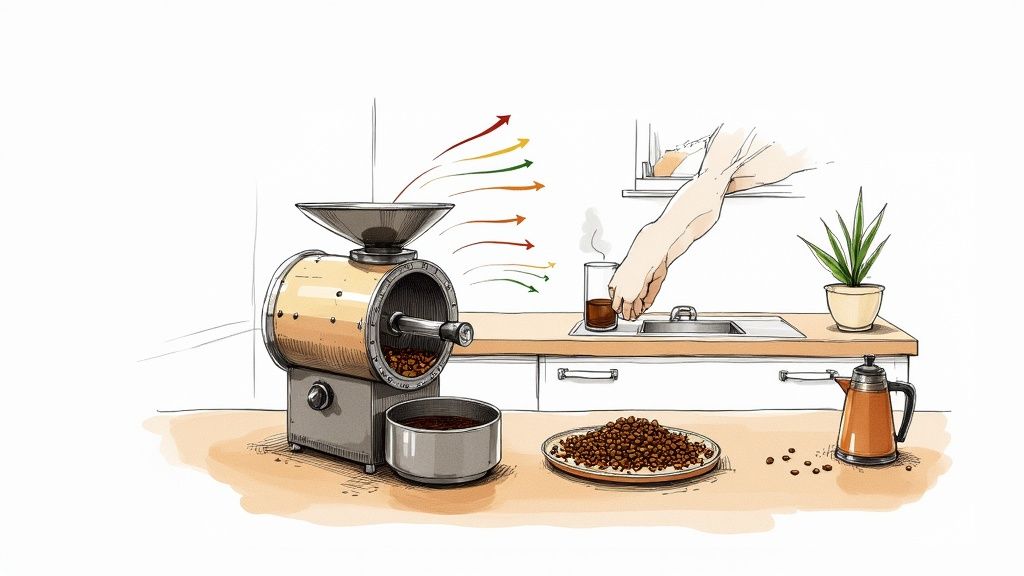
Brewing the Perfect Cold Brew Concentrate
To pull off an incredible nitro cold brew at home, you first have to nail its foundation: the cold brew concentrate. This isn’t just a case of mixing coffee and water. It’s a patient, gentle extraction that creates the perfect canvas for that signature velvety texture. Get this part right, and the rest of the journey to a flawless pint is surprisingly straightforward.
The process itself is quite forgiving, but a few details can mean the difference between a rich, chocolatey brew and a weak, underwhelming one. We'll walk through everything from choosing the right beans and mastering the grind to finding your perfect ratio and nailing the steep time.
Choosing Your Coffee Beans
The coffee you start with is the single biggest factor shaping the final flavour of your nitro. While you could technically use any bean, the slow, cold extraction process tends to mute the bright, acidic notes you’d find in light roasts. Instead, it does a brilliant job of highlighting the deep, mellow flavours of medium and dark roasts.
Look for beans with tasting notes like chocolate, caramel, or nuts. These profiles are a perfect match for the nitrogen infusion, which amplifies their natural sweetness and creates that wonderfully smooth, rounded mouthfeel. Single-origin coffees are a fantastic choice as they let you explore really distinct flavour profiles. A Brazil Pulped-Natural, for example, can bring heavy chocolate notes, while an Ethiopian natural might offer a deep, fruity sweetness.
The Importance of a Coarse Grind
Honestly, this is a non-negotiable step. Using a grind that’s too fine is one of the fastest ways to ruin a batch of cold brew. Fine grounds over-extract, even in cold water, leading to a bitter, astringent taste that no amount of nitrogen can save. You're looking for a coarse grind, something similar to the texture of coarse sea salt or breadcrumbs.
This larger particle size lets water circulate freely, extracting flavour slowly and evenly without pulling out any unwanted bitterness. It also makes the filtering process a whole lot easier later on, preventing sediment from clouding up your final concentrate. If you have a grinder at home, set it to its coarsest setting. If not, just ask your coffee supplier to grind the beans for you, specifying it's for cold brew or a French press.
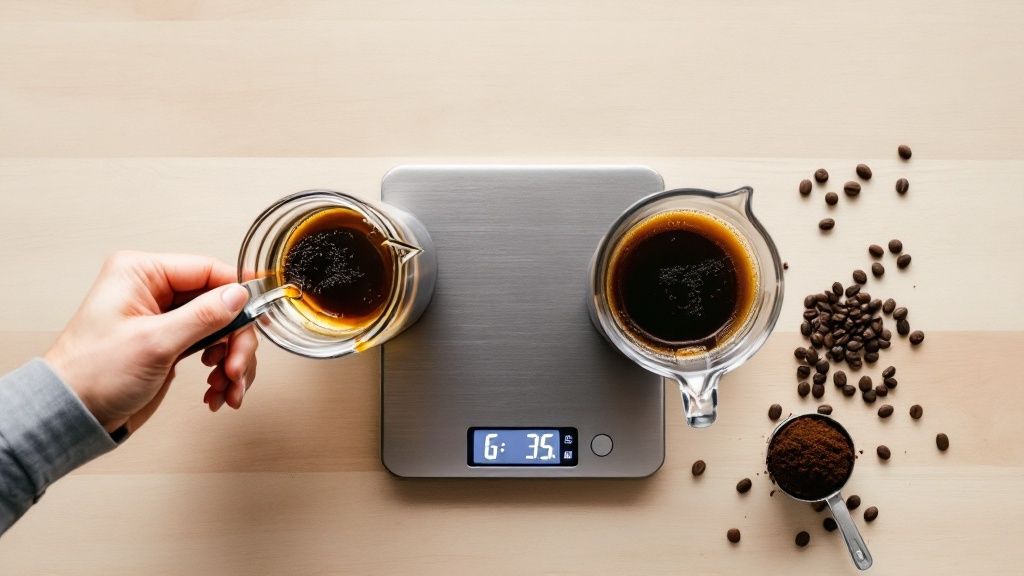
Dialling in Your Coffee-to-Water Ratio
The ratio of coffee to water dictates the final strength of your brew. There isn't one single "correct" ratio; it all comes down to personal preference and how you plan on serving your nitro. We always measure by weight for accuracy, as volume can be deceptive depending on the bean and grind size.
Here are two common starting points:
- For a Strong Concentrate (1:4 Ratio): This means using one part coffee to four parts water (e.g., 200g of coffee for 800ml of water). This creates a potent, syrupy concentrate that's ideal for diluting later with water or milk, or for using in coffee cocktails. It's incredibly versatile and captures a deep, intense coffee flavour.
- For a Ready-to-Drink Brew (1:8 Ratio): Using one part coffee to eight parts water (e.g., 100g of coffee for 800ml of water) produces a lighter brew that’s good to go straight after infusion. This method highlights the more subtle nuances of the coffee and results in a smoother, more refreshing drink.
A great way to start is by making a concentrate. It gives you the flexibility to adjust the strength of each glass you pour. You can always add a splash of cold water if it's too strong, but you can't easily make a weak brew stronger.
For a deeper dive into the brewing process itself, you can find a comprehensive guide on how to make cold brew coffee that covers additional tips and techniques.
To help you find your perfect brew, this quick reference table shows how different ratios and steeping times influence the final strength and flavour.
Cold Brew Ratio and Steeping Time Guide
| Desired Strength | Coffee-to-Water Ratio (by weight) | Recommended Steeping Time | Best For |
|---|---|---|---|
| Very Strong | 1:4 | 18-24 hours | Creating a potent concentrate for dilution, milk drinks, or coffee cocktails. |
| Strong | 1:5 | 16-20 hours | A versatile concentrate that needs less dilution. Great for iced coffee. |
| Medium | 1:8 | 14-18 hours | A ready-to-drink brew with balanced flavour. Perfect for drinking straight. |
| Light | 1:12 | 12-16 hours | A smoother, more subtle brew that highlights delicate notes. |
Use this as a starting point, and don't be afraid to experiment to find what works best for your palate.
Steeping Time and Temperature
Patience is the secret ingredient here. That long, slow steep is what creates cold brew's signature low acidity and smooth flavour. The ideal steeping time generally falls somewhere between 12 and 24 hours.
- 12-16 hours will give you a smooth, balanced brew with plenty of character.
- 18-24 hours will result in a much stronger, bolder, and more concentrated flavour.
Pushing it much past 24 hours can risk over-extraction, which is when woody or bitter notes start to creep in. The best place to let your coffee steep is in the fridge. The cold, stable temperature ensures a clean, crisp extraction and keeps the coffee fresh throughout the entire process.
Filtration: The Final Step for a Clean Concentrate
Once your coffee has finished steeping, the last step is to filter out all the grounds. You want your concentrate to be as clean and sediment-free as possible, because any leftover particles can clog up your nitro system.
A simple yet effective method is to strain it twice. First, pour the brew through a fine-mesh sieve to catch the largest grounds. Then, for the second pass, line that same sieve with a coffee filter paper or a piece of cheesecloth to catch all the finer silt. This double-filtration process ensures you get a crystal-clear concentrate that’s ready for the nitrogen magic. After filtering, your concentrate can be stored in an airtight container in the fridge for up to two weeks.
Choosing Your Nitrogen Infusion System
You’ve brewed the perfect cold brew concentrate, and it’s chilling patiently in the fridge. Now for the magic. The nitrogen infusion is where your smooth coffee transforms into that velvety, cascading masterpiece we’re all chasing. The equipment might sound a bit technical, but getting started is surprisingly straightforward, with some great options out there for different budgets and how often you’ll be making it.
We’ll walk through the three most common ways to do this at home. From the simple and budget-friendly whipped cream dispenser to the enthusiast's choice of a mini keg, and finally, the ultimate convenience of a countertop machine, there’s a setup that will fit right into your kitchen.
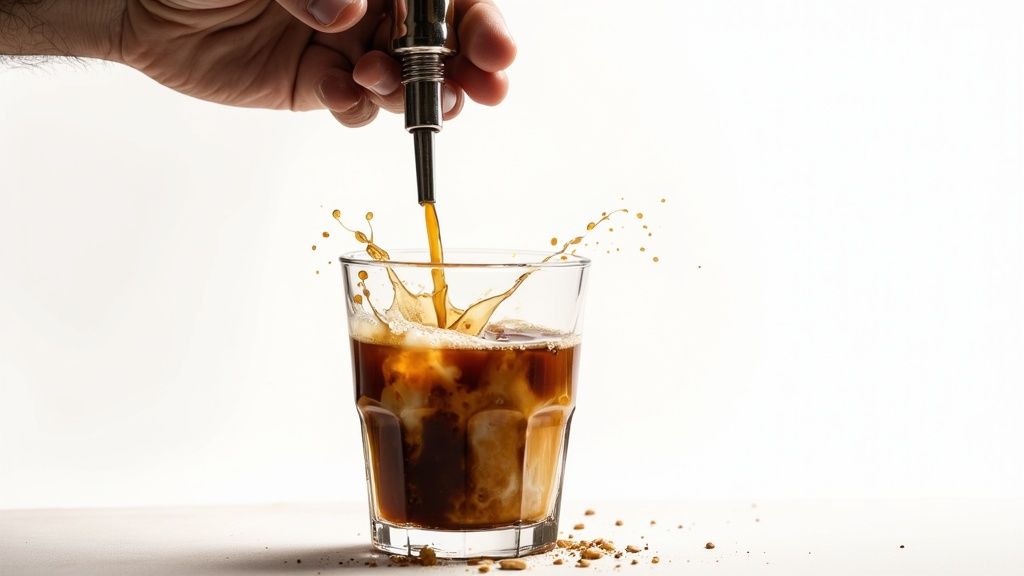
The Whipped Cream Dispenser Method
For anyone just dipping their toes into the world of nitro, a whipped cream dispenser from ADS Coffee Supplies is a brilliant place to start. It’s affordable, takes up almost no space, and is incredibly easy to use for making single servings. Think of it as the perfect way to experiment without committing to a bigger, more expensive setup.
The idea is simple: fill the dispenser with your cold brew, charge it with a nitrogen cartridge, give it a good shake, and pour.
- Pros: This is by far the most wallet-friendly entry into making nitro cold brew at home. The dispensers are easy to find, and the process is quick when you just want one or two glasses.
- Cons: You absolutely must use pure nitrogen (N2) chargers, not nitrous oxide (N2O) chargers. The N2O cartridges used for whipped cream will leave a distinctly sweet taste. The small capacity also means you're making it one glass at a time, which isn't ideal for serving guests or for those of us who need a few throughout the day.
Safety First: Always make sure you are buying pure, food-grade nitrogen (N2) cartridges. Double-check the packaging, because N2O and N2 cartridges can look almost identical. Using the wrong one will completely alter the flavour and texture of your coffee.
Honestly, this method is an excellent, low-risk way to decide if homemade nitro is for you before you invest in more specialised gear.
Mini Keg Systems: The Enthusiast's Choice
If you've fallen hard for nitro and want it on tap whenever the craving strikes, a mini keg system is the ultimate upgrade. These systems, usually holding between two to five litres, let you prep a big batch of nitro cold brew that stays fresh and perfectly infused in your fridge for up to two weeks. It's the closest you can get to a professional café setup without leaving your kitchen.
Setting one up involves filling the keg with your cold brew concentrate and water, sealing it, and pressurising it with a pure nitrogen (N2) cartridge. After a few hours in the fridge to let the nitrogen fully dissolve, you can pour a perfect pint with that beautiful cascade whenever you like.
The love for cold brew in the UK is undeniable. Recent research shows that as many as 43% of the country's coffee drinkers enjoy a cold brew at least once a month, preferring its smooth, premium taste over traditional iced coffee. This growing appreciation makes investing in a home keg system more tempting than ever.
This little decision tree can help you figure out what strength to brew before you fill up the keg.
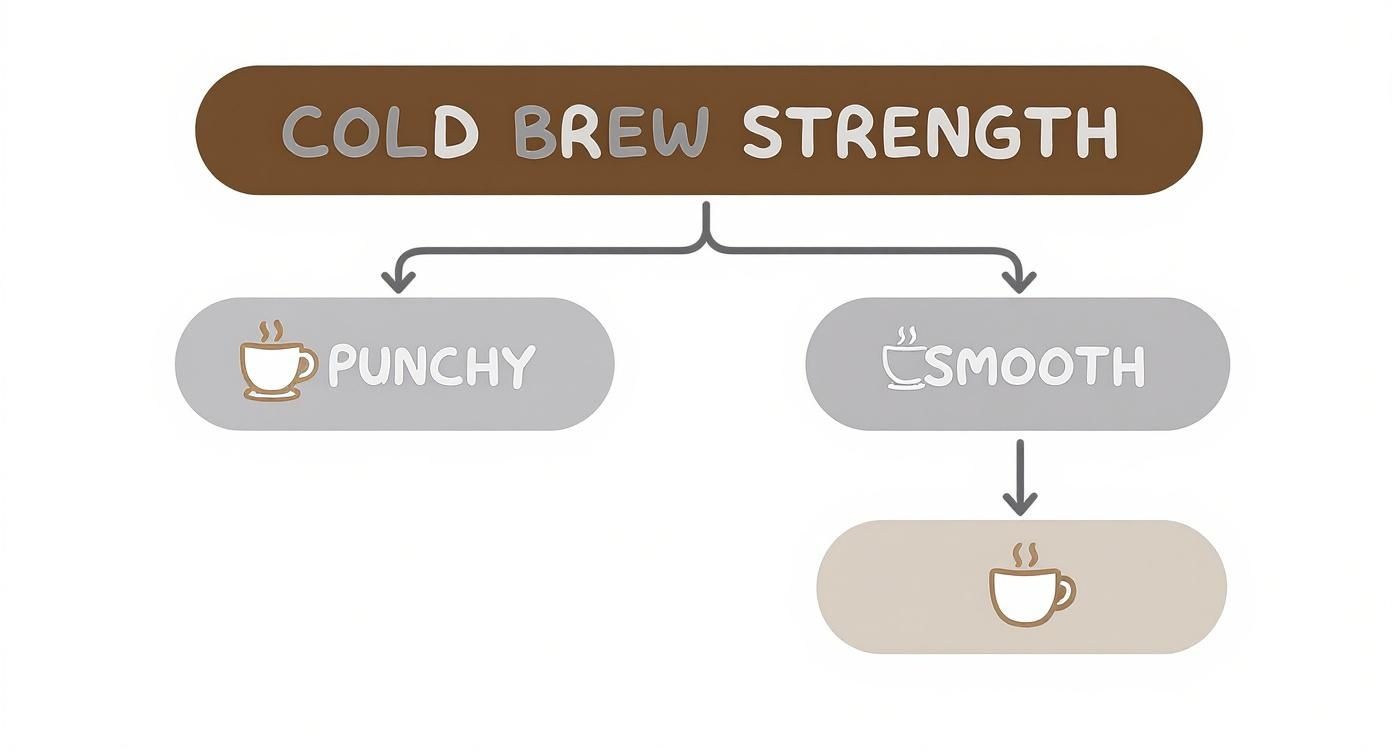
The guide helps you choose between a bold, punchy concentrate or a smoother, ready-to-drink brew, ensuring your kegged coffee is exactly how you like it.
Comparing Dispenser vs. Mini Keg
| Feature | Whipped Cream Dispenser | Mini Keg System |
|---|---|---|
| Best For | Beginners and occasional drinkers making single servings. | Enthusiasts wanting multiple servings on tap. |
| Capacity | 0.5 – 1 Litre (one glass at a time) | 2 – 5 Litres (multiple glasses over several days) |
| Cost | Low initial investment. | Higher initial investment. |
| Convenience | Quick for a single glass but requires setup each time. | Prepare once, enjoy for up to two weeks. |
| Gas Used | Single Nitrogen (N2) Cartridge per serving. | One or two Nitrogen (N2) Cartridges per batch. |
| Key Advantage | Affordability and simplicity. | On-demand nitro and batch storage. |
Choosing between them really comes down to how much nitro you see yourself drinking. If you're curious about the mechanics of pressurised beverage systems on a bigger scale, this comprehensive commercial kegerator guide offers some great insights.
Dedicated Countertop Nitro Machines
For the absolute peak of convenience, dedicated countertop nitro machines offer a true plug-and-play solution. These all-in-one units are designed specifically for making nitro cold brew at home. With most models, you just pour in your cold brew, press a button, and dispense a perfectly infused glass in seconds.
What’s really clever is that these machines often draw nitrogen from the surrounding air, which means you can say goodbye to cartridges altogether. This makes them incredibly convenient for daily use.
- Pros: Unmatched speed and ease of use. With no gas cartridges needed, the long-term running costs are lower, and the results are consistently fantastic.
- Cons: These machines are the biggest initial investment by a long shot. They also take up more precious counter space than the other options.
Ultimately, the right system is the one that fits your lifestyle, your budget, and how seriously you take your coffee. Whether you start small with a dispenser or go all-in with a mini keg, being able to pour a perfect glass of velvety nitro cold brew in your own kitchen is a seriously rewarding experience. You can find more brewing equipment by exploring our range of essential coffee accessories to complete your setup.
Achieving the Perfect Cascading Pour
The visual theatre of nitro cold brew is a massive part of its charm. That mesmerising cascade of tiny bubbles tumbling down the glass isn't just for show—it's the sign you've nailed that creamy, velvety texture. Nailing this pour is the final, rewarding step in your journey to making perfect nitro cold brew at home.
Presentation really matters here. The right technique and kit can elevate your homemade coffee from a simple drink to something that looks and tastes like it came from a professional coffee bar. It's the moment all your careful brewing and infusion work finally comes together.
The Essential Role of a Stout Tap
If you're using a mini keg system, the secret to that iconic cascade is all in the tap. A standard beer tap just won't cut it. You absolutely need a stout tap, which is specifically designed for nitrogenated drinks like Guinness or, in our case, nitro coffee.
This kind of tap has a small, internal disc riddled with tiny holes, known as a restrictor plate. When the nitrogen-infused coffee is forced through these holes at high pressure, it agitates the liquid, knocking the dissolved nitrogen out to form that thick, creamy head. Without this critical piece, your coffee will just pour flat, missing both the cascade and the signature texture.
You can find excellent stout tap options in the ADS Coffee Supplies mini keg kits, which include everything you need to get pouring perfectly from day one.
Mastering the Pouring Technique
Once you have the right tap, the technique itself is simple but hugely important. Baristas use a specific method to build the perfect head and really show off that cascading effect.
- Angle the Glass: Hold a chilled glass at a 45-degree angle, right under the tap spout.
- Pour with Force: Open the tap fully and quickly. Let the coffee pour down the side of the glass until it’s about two-thirds full.
- Straighten and Top Up: As it fills, gradually straighten the glass. Finish by topping it off to create that perfect, dense head of foam.
A quick tip: don't put ice in the glass before you pour. The nitrogen infusion already chills the coffee beautifully, and that creamy head does the job of ice, keeping the drink cool without watering down the rich flavour.
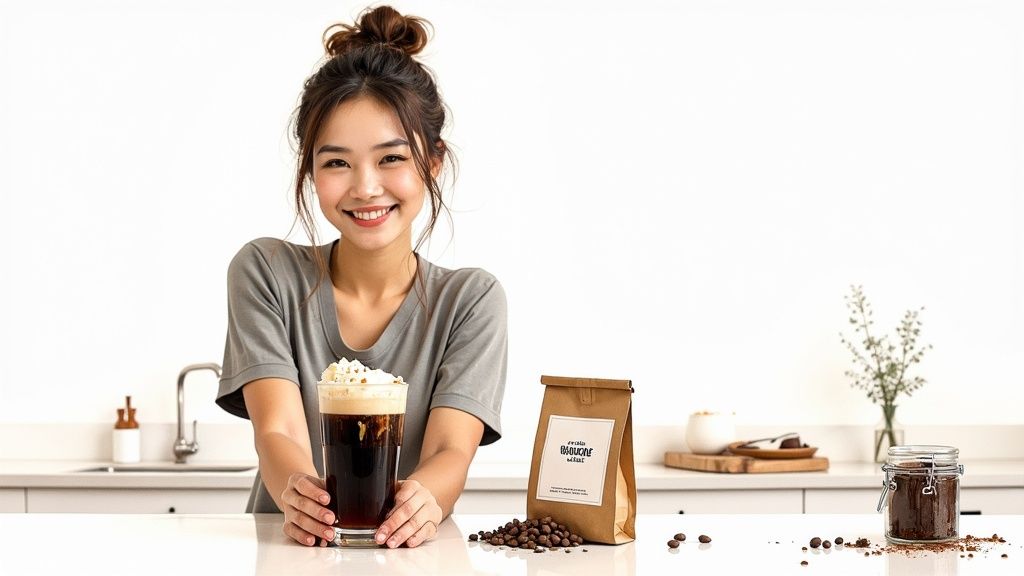
Creative Nitro Cold Brew Recipes
While a classic black nitro is stunning all on its own, your kegged cold brew is an amazing base for all sorts of creative drinks. Its creamy texture lends itself brilliantly to different flavour combinations, letting you craft café-style specialities right in your own kitchen.
Here are a few ideas to get you started:
- Velvety Nitro Oat Latte: For a dairy-free treat, pour a shot of nitro cold brew over a glass that's two-thirds full of your favourite oat milk. The creaminess of the oat milk is a perfect match for the smooth coffee.
- Rich Nitro Mocha: Before pouring, mix a teaspoon of high-quality cocoa powder with a splash of hot water to create a syrup at the bottom of your glass. Pour the nitro over it for a truly decadent mocha.
- Sophisticated Coffee Cocktails: The intense flavour of cold brew concentrate makes it a brilliant cocktail ingredient. Try mixing it with gin and vermouth for a coffee negroni, or add a splash to an espresso martini for extra depth and a creamy head.
Storing Your Batch for Lasting Freshness
One of the best things about a mini keg system is how well it keeps your nitro cold brew fresh and perfectly infused for days. When stored correctly in a pressurised keg in the fridge, your batch can last for up to two weeks.
The sealed, nitrogen-pressurised environment prevents oxidation, which is what makes coffee taste stale and lose its delicate flavour notes. This means your tenth glass will be just as fresh and cascading as your first, so you can enjoy the fruits of your labour for much longer.
Troubleshooting Common Nitro Brewing Issues
Even the most seasoned home brewers run into a hiccup now and then. When you’re dialling in your perfect nitro cold brew at home, pulling a flat pour or tasting an off-flavour can feel pretty disheartening. But don't worry, nearly every issue has a straightforward fix.
Think of this section as your go-to guide for figuring out what went wrong and how to solve it. It's a practical checklist to get your brew back on track, ensuring every glass is a success.
Diagnosing a Flat, Non-Cascading Pour
This is hands down the most common and frustrating issue. You’ve done all the prep work, but when you pull the tap, the coffee just trickles out, flat and lifeless, with no cascade in sight. The culprit is almost always related to pressure or temperature.
First thing’s first: check your nitrogen cartridge. Is it empty? Did it not discharge correctly? You should always hear that distinct hiss of gas when you charge the keg. Another huge factor is temperature; the cold brew must be thoroughly chilled (ideally below 4°C) for the nitrogen to dissolve properly into the liquid.
A common mistake is simply being too impatient. After charging the keg, you have to shake it vigorously for about a minute, then let it rest in the fridge for at least a few hours. This step is what allows the nitrogen to fully infuse, and it's absolutely essential for creating that beautiful, velvety cascade.
Solving Flavour Problems
If your nitro just tastes off, it’s time to look back at your cold brew concentrate. The nitrogen infusion doesn't just add texture; it actually amplifies the base flavours of your coffee, meaning any imperfections will be much more noticeable.
- Bitter or Astringent Taste: This almost always points to over-extraction. Your coffee grind might be too fine, or you may have steeped it for far too long. A coarse grind is absolutely crucial for a smooth, clean extraction. To really get this right, check out this brilliant coffee grind size guide which breaks down the different textures perfectly.
- Weak or Watery Flavour: This is a classic ratio problem. Your coffee-to-water ratio was likely too low, resulting in a thin, underwhelming concentrate. Simply try increasing the amount of coffee grounds in your next batch for a much bolder flavour. A 1:5 ratio is a great starting point for a strong concentrate that holds up to the nitrogen.
Equipment-Specific Hiccups
Sometimes, the problem isn't with the coffee at all, but with the gear itself. Leaks and clogs can throw a spanner in the works, but they are usually quite easy to fix once you know what to look for.
A leaky keg connection is often caused by a poorly seated seal or O-ring. Disconnect everything, give the seals a quick check to make sure they're clean and correctly placed, and then reconnect it all, ensuring everything is just hand-tight. Whatever you do, don't over-tighten with tools, as this can easily damage the seals.
If your tap is clogged, it's almost certainly due to fine coffee sediment getting through. This really highlights the importance of double-filtering your concentrate before you keg it. To fix a clog, you’ll need to disassemble the stout tap and give it a thorough clean with warm water to flush out any built-up gunk. Honestly, regular cleaning of your keg and tap lines is the best way to prevent this from ever happening in the first place.
Frequently Asked Questions About Homemade Nitro
Making your first batch of nitro cold brew at home is a brilliant feeling, but it’s completely normal to have a few questions bubble up. To help you nail the technique, we’ve answered some of the most common queries we get from home brewers.
Think of this as the final polish to make sure every pour is as impressive and delicious as you’d get in a coffee shop.
What Kind of Nitrogen Should I Use?
This is a crucial point for both safety and flavour, so pay close attention. You must use pure, food-grade nitrogen (N2) cartridges or a dedicated nitrogen tank. It’s surprisingly easy to mistake them for nitrous oxide (N2O) chargers, the kind used for making whipped cream.
Using N2O will add a distinct sweet taste and create a light, airy foam—not the dense, creamy cascade you’re looking for in an authentic nitro coffee. And whatever you do, never use Carbon Dioxide (CO2). It will carbonate your coffee, making it fizzy and unpleasantly acidic.
Always double-check you’re buying pure N2 chargers, which are often sold specifically for nitro coffee systems. You can find the correct food-grade pure nitrogen (N2) cartridges at ADS Coffee Supplies.
How Long Does Nitro Cold Brew Stay Fresh?
One of the best things about using a mini keg system is how well it preserves your coffee. When stored correctly in a pressurised and refrigerated keg, your nitro cold brew can stay fresh and perfectly infused for up to two weeks.
The sealed, pressurised environment is the real hero here. It stops oxygen from getting to the coffee, which is the main culprit behind stale flavours and lost aroma. Just keep the pressure right and the keg chilled, and every glass will be as good as the first.
Can I Use Any Type of Coffee?
Technically, yes, you can use any coffee bean you like, but the results will vary wildly. The gentle cold brewing process and creamy nitrogen infusion tend to put a spotlight on certain flavour profiles.
For the best results, we strongly recommend using medium to dark roast beans. Those inherent tasting notes of chocolate, nuts, and caramel are beautifully amplified by the nitrogen, creating a rich, smooth, and deeply satisfying drink. We've explored some of our favourite options in our guide to the best coffee for cold brew.
Lighter roasts with their bright, acidic, or floral notes can sometimes taste a bit muted or unbalanced once they’re turned into nitro. The creamy texture can overshadow their delicate flavours, so it’s often best to save those beans for a hot pour-over or AeroPress brew.
At the end of the day, the best coffee is the one you enjoy the most. Don't be afraid to experiment with different single-origin beans to find your personal favourite.
Ready to start your homemade nitro journey? At Seven Sisters Coffee Co, we source and roast exceptional beans that are perfect for creating a rich, smooth, and delicious nitro cold brew. Explore our collection and find your perfect match today. https://sevensisterscoffee.co.uk