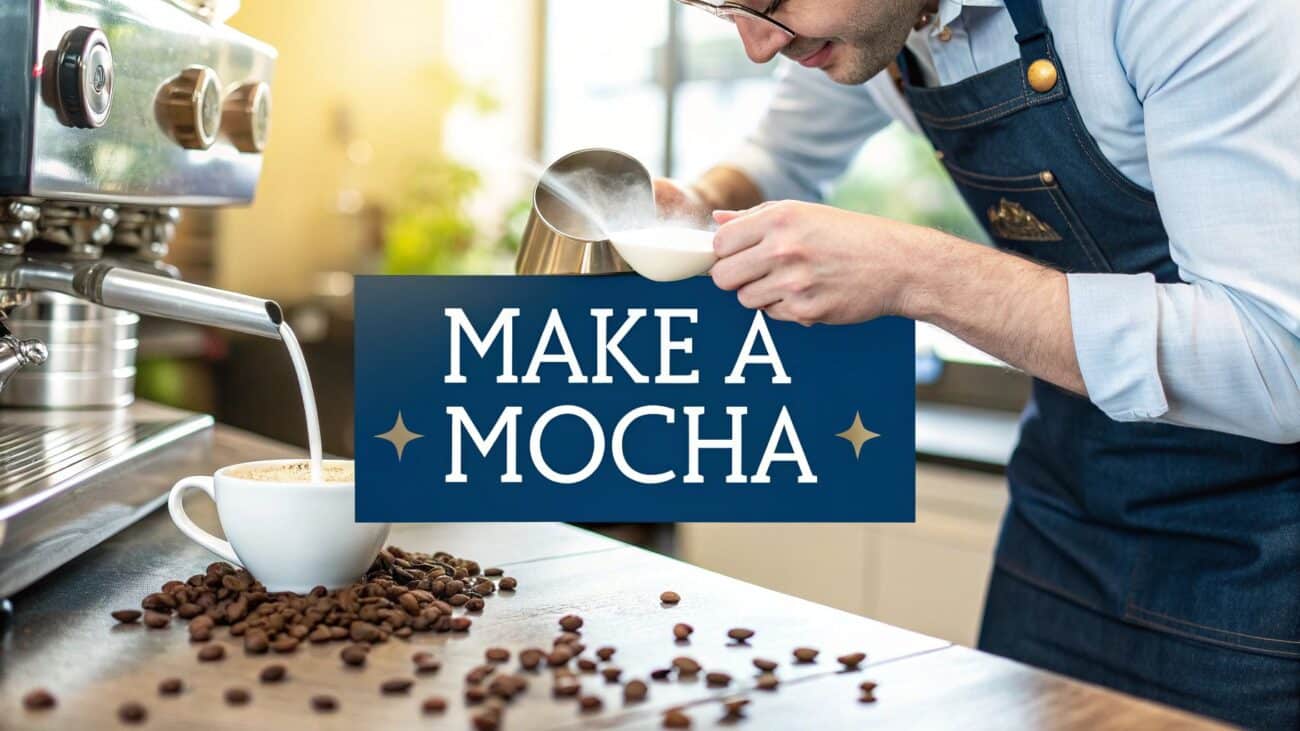
How to Make Mocha at Home Like a Pro
Learning how to make a mocha at home is wonderfully simple. At its heart, you just need to combine a shot of strong coffee or espresso with your favourite chocolate and top it with steamed milk. Once you master this basic formula, you open up a world of rich, decadent coffee drinks you can tailor perfectly to your taste—saving you a trip to the coffee shop.
Your Guide to Café-Quality Homemade Mocha
Welcome to your complete guide for creating a café-quality mocha right in your own kitchen. This isn’t just another recipe; it’s an exploration of that perfect balance between rich espresso and decadent chocolate, a pairing loved across the UK. My goal is to demystify the process, showing you that a truly exceptional mocha is achievable for everyone, not just professional baristas.
The UK's coffee culture has exploded. By 2025, it's estimated that 7.9 million adults in the UK will be buying coffee from a café each week, even with prices on the rise. Learning to replicate that experience puts you in control of both the cost and the flavour.
What You Will Learn
This guide is designed to give you the confidence to craft your ideal mocha. We'll get into the nitty-gritty of it all, covering:
- Essential Ingredients: We’ll look at how to choose the best coffee beans, chocolate, and milk to build that perfect flavour foundation.
- Brewing Techniques: I'll walk you through classic espresso-based methods and some fantastic alternatives if you don't own a machine. You can start by exploring some of the top 5 best coffee brewing methods to see which one fits you.
- Customisation and Tips: From vegan options to perfecting your milk frothing, we’ll share the little secrets that elevate your homemade creation.
A great homemade mocha isn’t about having the fanciest equipment. It’s about understanding the core components—coffee, chocolate, and milk—and learning how to bring them together in a way that you love.
Ultimately, I want to give you the confidence and know-how to make this beloved coffee shop staple your new go-to treat at home.
Right then, let's talk about what actually goes into a truly memorable mocha. Before you even think about brewing, getting your core ingredients sorted is half the battle.
Think of it this way: the coffee, chocolate, and milk are the three lead singers in a band. Each one needs to be fantastic on its own for the final harmony to really work.

Selecting The Perfect Coffee Beans
The coffee is the backbone of your mocha. It brings the depth and complexity that cuts through the sweetness of the chocolate, giving the drink its structure.
Typically, a medium-to-dark roast is your best bet here. These roasts bring out those lovely caramel, nut, and cocoa notes that just sing when paired with chocolate. It creates a seamless, rich flavour that feels like it was meant to be.
You can use a lighter roast, but be prepared for a different experience. Their brighter, more acidic notes can sometimes clash with the chocolate unless you're deliberately aiming for a more fruity, complex drink. To really nail it, it helps to have a good grasp of understanding different coffee types from bean to brew.
Don't forget the grind size—it's just as crucial. For an espresso-based mocha, you need a fine grind, almost like powdered sugar, to get the right extraction under pressure. If you're looking for a great place to start, we've got some brilliant recommendations in our guide to the best coffee beans for espresso machines.
The Great Chocolate Debate
Your choice of chocolate will define the character of your mocha more than anything else. There's no single "best" option here; it's all down to what you prefer in terms of flavour and texture.
To help you decide, here’s a quick rundown of the main contenders.
Chocolate Choices for Your Homemade Mocha
| Chocolate Type | Flavour Profile | Best For | Preparation Tip |
|---|---|---|---|
| Cocoa Powder | Deep, intense, and slightly bitter | A classic, strong chocolate taste that isn't overly sweet. | Sift it first to avoid clumps and whisk it vigorously into the hot espresso to dissolve fully. |
| Chocolate Syrup | Sweet and smooth | Convenience and a consistent, sweet flavour every time. | Look for high-quality syrups with fewer artificial ingredients for a more authentic taste. |
| Real Chocolate | Luxurious, rich, and decadent | Creating the ultimate silky-smooth, indulgent mocha experience. | Chop it finely so it melts quickly and evenly into the hot coffee without leaving bits behind. |
As you can see, each type brings something different to the table. Syrup is easy, cocoa powder is intense, but real chocolate? That's where the magic is.
My personal tip? Start with a good quality dark chocolate with around 70% cocoa solids. It melts beautifully and provides a rich flavour that stands up to the coffee without being sickly sweet. You can always add a touch of sugar later if needed.
Choosing Your Milk
The final piece of the puzzle is the milk, which adds that all-important creaminess and texture.
Whole milk is the classic choice for a reason. Its higher fat content creates a rich, velvety microfoam that's perfect for pouring latte art (or just for a luxurious feel). Semi-skimmed milk also froths up nicely and gives you a slightly lighter alternative.
If you're going dairy-free, oat milk is the reigning champion in the coffee world right now. It froths almost identically to dairy milk and creates a wonderfully creamy texture without an overpowering flavour of its own.
Almond milk is another popular pick, though it can sometimes separate and tends to produce a thinner, lighter foam. Soy milk also works well, offering a rich texture and a subtle nutty taste. The best way forward is to experiment and see which one you enjoy most.
The Classic Espresso Based Mocha
If you’re chasing that authentic coffee shop flavour, your espresso machine is your best friend. There's something incredibly satisfying about recreating that café experience at home, and it all begins with a proper espresso shot. This is the heart and soul of your mocha, the rich, complex base that the chocolate and milk will build upon.
The UK's coffee culture has exploded. We drink around 98 million cups of coffee every single day, but a huge part of that ritual is the coffee shop itself. In fact, roughly 80% of us pop into a café at least once a week, all in pursuit of that perfectly made drink. With a bit of practice, you can bring that exact quality right into your own kitchen.
Pulling the Perfect Espresso Shot
A great espresso shot is all about balance. You're looking for a rich, syrupy extraction that pulls out all the best flavours from your coffee beans, leaving behind any harsh bitterness or sourness. A solid starting point for a double shot is a 1:2 ratio—for every gram of coffee you put in, you want double that weight in liquid espresso coming out.
- Dose: Start with about 18 grams of finely ground coffee in your portafilter.
- Yield: Aim for roughly 36 grams of liquid espresso in your cup.
- Time: The whole process should take somewhere between 25-30 seconds.
If your shot gushes out too quickly, your grind is probably too coarse. If it chokes the machine and only drips slowly, you've gone too fine. Nailing this is a game of tiny adjustments, but it's easily the most important step. For a much deeper dive, check out our detailed guide on how to make an espresso at home.
A perfectly pulled shot of espresso will have a thick, stable layer of golden-brown crema on top. This isn't just for looks; the crema holds much of the coffee's aromatic oils and adds a huge amount to the final mouthfeel of your mocha.
Seamlessly Blending the Chocolate
With your espresso ready, it’s time to bring in the chocolate. The key is to do this while the coffee is still piping hot, as this is what creates a smooth, clump-free mocha base. That residual heat is essential for melting and dissolving whatever form of chocolate you're using.
My go-to method is to put the chocolate in the mug first and then brew the espresso directly on top of it.
- Add your chosen chocolate to your mug—about 2 tablespoons of syrup, 1 tablespoon of cocoa powder, or 20 grams of finely chopped chocolate.
- Brew your double espresso shot right over the chocolate.
- As soon as the shot finishes, give it a good stir with a small whisk or spoon until the mixture is completely smooth and glossy.
This technique guarantees every last bit of chocolate melts into a rich, velvety sauce, creating the perfect foundation for your steamed milk.
Mastering Steamed Milk
The final touch is the steamed milk. This is what brings the creaminess and luxurious texture that makes a mocha so comforting. You're not just warming the milk; you’re texturing it, introducing air to create a fine, silky microfoam.
To get this right with a steam wand, start with cold milk in a metal jug. Submerge the tip just below the surface and fire up the steam. You should hear a gentle hissing sound—that’s the air being incorporated. Once the jug feels warm to the touch (about the same temperature as your hand), plunge the wand deeper. This stops adding air and just heats the milk while creating a whirlpool motion.
When the jug becomes too hot to comfortably hold, your milk is ready. Pour it straight into your espresso and chocolate mixture, and enjoy your perfectly crafted, classic homemade mocha.
Making Mocha Without an Espresso Machine
Don't have an espresso machine? No problem at all. Some of the best mochas I've had were made with simple, everyday equipment. You don't need a fancy setup to brew a concentrated, espresso-like coffee base that can stand up to rich chocolate and creamy milk.
This is all about making a delicious mocha accessible to everyone. We'll explore three reliable methods using gear you probably already own: a Moka pot, an AeroPress, or even just a saucepan for a strong-brewed coffee. Let's get into it.
The Moka Pot Method
The stovetop Moka pot is a fantastic bit of kit for creating a bold, concentrated coffee that comes remarkably close to real espresso. Its pressurised brewing process coaxes out a rich, intense shot that's a perfect foundation for a mocha.
To get the best results, use a fine grind—a little coarser than you'd use for an espresso machine but finer than for a drip coffee maker. Fill the bottom chamber with hot water just below the valve, add your coffee grounds to the filter basket without tamping them down, and pop it on the stove over a medium heat. When the coffee starts to gurgle, it's ready.
For an even richer flavour, explore our recommendations on the best coffee for a Moka pot to find beans that truly shine with this brewing style.
The AeroPress Approach
The AeroPress is another excellent tool for making a strong, concentrated coffee shot. It’s incredibly versatile, allowing you to control variables like brew time and water temperature with precision. The result is a clean, smooth, and robust coffee base for your mocha.
I recommend using the "inverted" method for a fuller-bodied brew. It's my go-to for getting that espresso-like punch.
- Start with the plunger upside down and pull it back slightly.
- Add 18-20 grams of finely ground coffee into the chamber.
- Pour in about 60ml of hot water (not boiling, aim for around 93°C).
- Give it a gentle stir for 10 seconds, then let it steep for another minute.
- Secure the filter cap, flip it over onto your mug, and press down firmly for about 30 seconds.
You'll be left with a potent, espresso-strength shot that’s perfect for mixing with your chocolate sauce or powder.
No-Frills Milk Frothing Tricks
Creating that velvety milk texture without a steam wand is surprisingly easy. You have a few brilliant options that work wonders with just a little effort.
A handheld, battery-powered milk frother is an inexpensive and super effective tool. Simply warm your milk in a saucepan or microwave until it's hot but not boiling (around 65°C is ideal). Then, submerge the frother and whisk for about 20-30 seconds until the milk doubles in volume and becomes thick and foamy.
Another fantastic trick involves using a French press. Pour your warm milk into the cafetière (filling it no more than a third of the way), then pump the plunger up and down vigorously for about 30-45 seconds. This forces air into the milk, creating a surprisingly stable and creamy foam that's perfect for pouring over your mocha.
This infographic breaks down the fundamental process of combining espresso, chocolate, and milk to create a classic mocha.
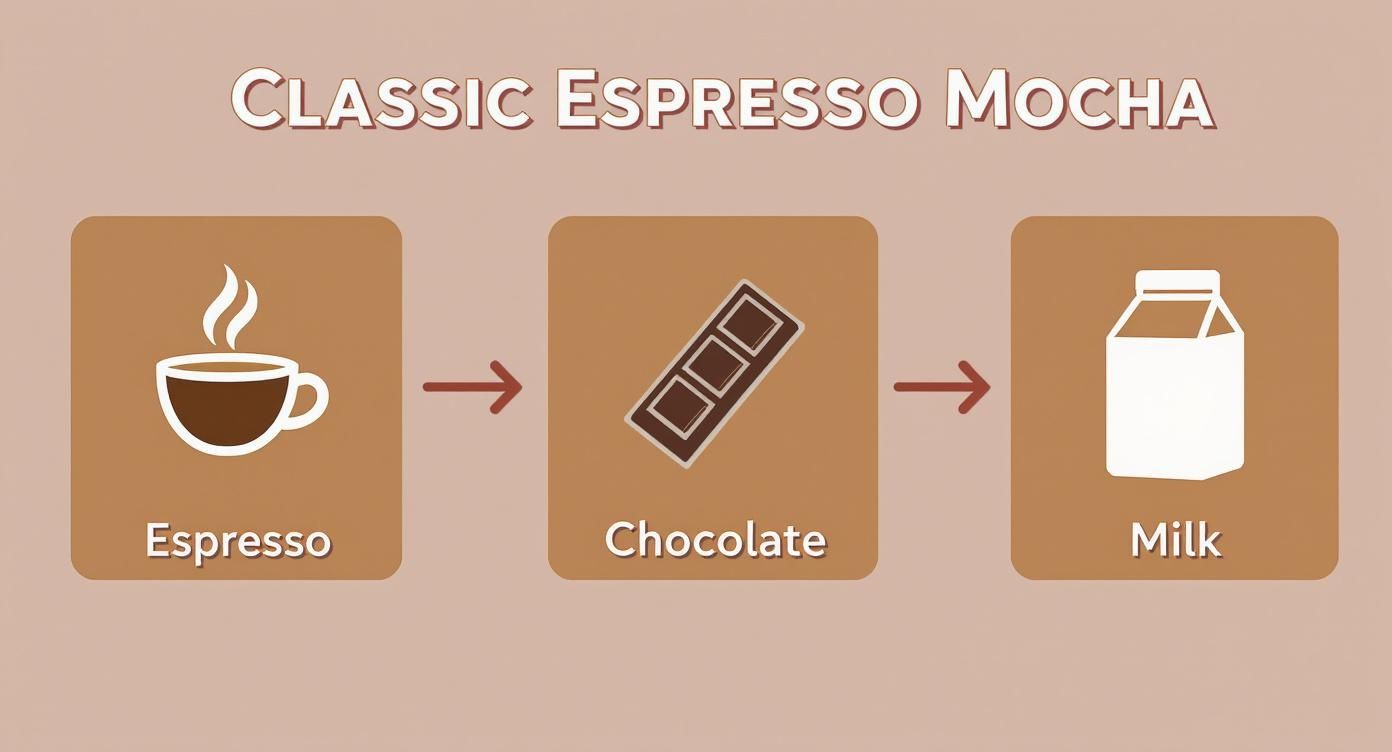
It’s a great reminder that no matter which brewing method you choose, the core steps of integrating coffee, chocolate, and milk remain the same. These simple tools empower you to achieve a brilliant result without any complex machinery.
Customising Your Signature Mocha
Once you've nailed the fundamentals, you get to the really fun part. This is where you transform a great coffee into your perfect coffee. Think of the classic mocha recipe as a blank canvas, ready for you to add your own creative spin with different flavours, temperatures, and garnishes.
This is your playground for flavour experiments. A few simple tweaks can create an entirely new drink, perfect for anything from a decadent treat on a chilly evening to a refreshing twist on a sunny afternoon.
Iced Mochas and White Chocolate Variations
One of the easiest and most popular twists is the Iced Mocha. The process couldn't be simpler: combine your espresso and chocolate as you normally would, but let the mixture cool down for a minute or two. Then, just pour it over a glass packed with ice and top it up with cold milk instead of steamed. It’s a beautifully refreshing treat for warmer days.
Another fantastic option is the White Chocolate Mocha. For this one, just substitute your usual dark or milk chocolate for an equal amount of good-quality white chocolate. It creates a sweeter, creamier, and wonderfully indulgent drink with a distinct vanilla-like flavour.
It’s no surprise that UK coffee drinkers are always looking for new variations. Out-of-home coffee purchases are expected to climb to 34.5 million kilograms by 2028. Younger coffee lovers, especially Millennials and Gen Z, are driving the demand for speciality drinks and dairy-free options like oat milk—which, incidentally, is a perfect partner for a vegan mocha.
Crafting the Perfect Vegan Mocha
Making a completely vegan mocha is incredibly straightforward, and you don't have to compromise on flavour one bit. The secret is simply choosing your ingredients wisely to keep that rich, creamy texture we all love.
- Choose Dairy-Free Chocolate: Many high-quality dark chocolates are naturally vegan, especially those with 70% cocoa solids or higher. Just be sure to check the label for any hidden milk solids. A great alternative is a good cocoa powder or a vegan-certified chocolate syrup.
- Select the Right Plant-Based Milk: Oat milk is the undisputed champion here. Its creamy consistency and fairly neutral flavour make it ideal for frothing. Barista-style oat milks are even better, as they’re designed to create a stable, velvety microfoam that rivals dairy milk. Almond and soy milk are also excellent choices.
- Don't Forget the Garnish: Why stop at the drink? Top your creation with a plant-based whipped cream (coconut or oat-based versions are fantastic) or keep it simple with a dusting of cocoa powder.
Presentation really does elevate a homemade drink. A simple garnish of whipped cream, a few chocolate shavings, or even a drizzle of caramel sauce can turn your daily coffee into a little special occasion. It's a small step that makes a huge difference.
Mastering the classics is a great start, but the real journey begins when you learn to adapt recipes to your own taste, just like you would when learning the subtle differences in our recipe for a latte.
Got Questions? Let's Troubleshoot Your Homemade Mocha
As you get the hang of making mochas at home, you're bound to run into a few little hiccups. Don't worry, it happens to everyone. This section tackles the most common issues I see, so you can get your technique dialled in and brew with confidence every single time.
"Why is my mocha gritty or clumpy?"
This is almost always a chocolate issue, especially with cocoa powder. If it doesn't dissolve properly, you're left with a grainy texture. The fix is simple: add your chocolate to the mug first, then brew the espresso directly over it. The intense heat from a freshly pulled shot is exactly what you need to melt everything down. Give it a quick, vigorous whisk right away, and you'll have a perfectly smooth chocolate base.
"My mocha tastes watery and thin. What went wrong?"
This usually comes down to the strength of your coffee. If you're not using an espresso machine, you need to brew your coffee extra strong—think at least double your normal recipe. A weak coffee base just gets completely lost behind the richness of the chocolate and milk, leaving you with a disappointing, flavourless drink.
Keeping Your Mocha Warm
There's nothing worse than a lukewarm mocha. The secret? Pre-warm your mug. It's a tiny step that makes a huge difference.
Just fill your mug with boiling water and let it sit for a minute while you prep your coffee. Pour the water out right before you add the chocolate and espresso. This simple trick keeps your finished drink piping hot for much longer.
The secret to a consistently great homemade mocha isn't about expensive gear; it's about mastering these small techniques. Pre-warming your mug and ensuring your chocolate dissolves fully will elevate your drink from good to exceptional.
Once you've perfected your recipe, you'll probably want to take it with you. For some great, stylish options that keep your coffee hot on the move, check out the ultimate guide to Nespresso travel mugs.
Of course, a truly exceptional mocha starts with the beans. At Seven Sisters Coffee, we source and roast beans specifically to create that rich, café-quality flavour at home. Explore our range and find your new favourite at https://sevensisterscoffee.co.uk.