How to Make Cold Brew Coffee: A Simple UK Guide
Learning how to make cold brew coffee is remarkably simple. At its core, you just need to steep coarse coffee grounds in cold water for about 12–18 hours. This slow, gentle steeping process creates a coffee concentrate that is incredibly smooth, rich, and naturally sweet.
Once you master this technique, you'll have delicious, ready-to-go coffee for the entire week.
Why Cold Brew Is the Smoothest Coffee You Will Make
Before we jump into the nitty-gritty of ratios and steeping times, it’s worth taking a moment to understand what makes this brewing method so special. Cold brew isn’t just chilled coffee; it’s a completely different approach to flavour extraction that has well and truly taken the UK coffee scene by storm.
And this isn't just a fleeting trend. The United Kingdom's cold brew market is projected to grow at a compound annual growth rate of 20.6% between 2025 and 2034. It seems our collective appreciation for high-quality, convenient coffee is only getting stronger. If you're interested in the market data, Expert Market Research has a detailed breakdown of these trends.
Cold Brew vs. Iced Coffee: A Key Difference
Lots of people use "cold brew" and "iced coffee" as if they mean the same thing, but they are fundamentally different drinks. Iced coffee is simply regular coffee brewed hot and then cooled down, usually by pouring it over a mountain of ice. That rapid cooling can lock in the bitter, acidic compounds that hot water pulls out so aggressively.
Cold brew, on the other hand, never even meets hot water. By steeping the grounds in cold water over a much longer period, you get a completely different result.
The slow extraction process selectively pulls out the smooth, chocolatey, and sweet notes from the coffee beans. At the same time, it leaves behind many of the bitter acids and oils that can cause stomach upset and a harsh flavour.
The Benefits of Brewing Cold
This unique, gentle process gives cold brew several distinct advantages that have made it a favourite in cafes and homes all across the country.
- Remarkably Smooth Flavour: It’s significantly less acidic—some studies suggest up to 67% less—than its hot-brewed cousin. The result is a smoother, richer taste without any of that sharp bite.
- Natural Sweetness: The gentle extraction highlights the inherent sweetness of the coffee beans themselves, which means you might not even need to add sugar or sweeteners.
- Convenience for Busy Lives: You can whip up a large batch over the weekend, and it will stay fresh in the fridge for up to two weeks. A quick, delicious coffee is always ready when you are.
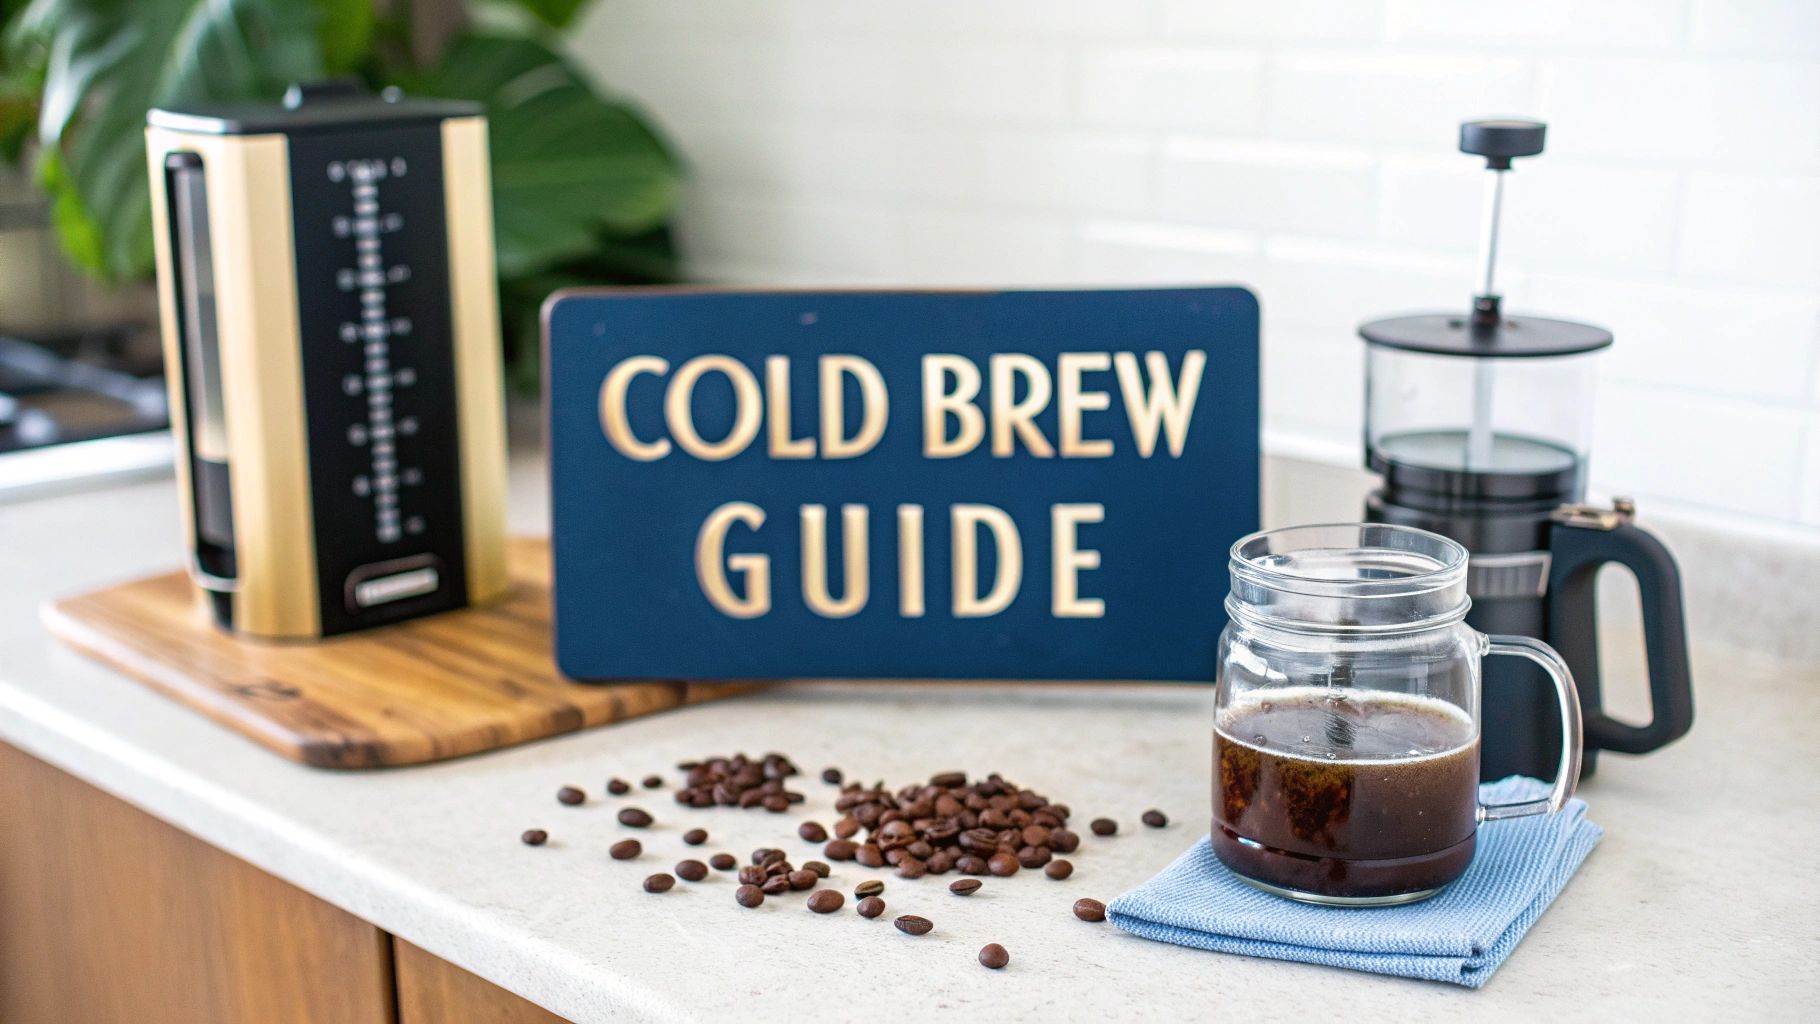
Choosing Your Cold Brew Equipment
Contrary to what you might think, you don’t need an arsenal of expensive, specialised gear to start making delicious cold brew. The beauty of this method lies in its simplicity, and you likely already have everything you need tucked away in your kitchen cupboards.
At its most basic, all you really need is a container large enough for steeping and something to filter the grounds out afterwards. Think a big glass jar, a measuring jug, or even a French press. Each has its own perks, but they all achieve the same goal: giving your coffee grounds plenty of room to mingle with the water.
What You Already Have at Home
A French press is a fantastic, all-in-one option for getting started. You can steep the coffee directly in the carafe and then use its built-in plunger to filter out the coarse grounds. It’s one of the simplest ways to dip your toes into the world of cold brew.
Alternatively, a large Mason jar or any glass container with a lid works just as well. This approach requires a separate filtering step, but it gives you more control over the final clarity of your brew and makes it easier to brew bigger batches. It’s a great example of how accessible great coffee can be, a theme we explore in our guide to the best coffee brewing methods.
The Importance of a Good Filter
While the container is flexible, the filter is where you can really refine the texture and clarity of your brew. Your choice here directly impacts the final mouthfeel of your coffee.
- Cheesecloth or Muslin: An affordable and reusable option. It's effective but might let some very fine sediment slip through, resulting in a brew with a bit more body.
- Paper Filters: These produce the cleanest, clearest result by trapping nearly all the fine particles. You can line a regular sieve with a standard coffee filter for a completely sediment-free finish.
- Reusable Mesh Filters: Often made from metal or nylon, these strike a nice balance between clarity and body. They are sustainable and easy to clean, making them a popular choice for regular brewers.
The most crucial element isn't the cost of your equipment but the quality of your technique. A coarse grind and a patient, thorough filtering process are the true keys to a clean, flavourful, and satisfying cold brew.
Finding Your Perfect Coffee to Water Ratio
The real secret to making incredible cold brew isn't a fancy brewer; it's getting the coffee-to-water ratio just right. This is the one thing that will decide whether you end up with a punchy concentrate for mixing or a silky-smooth brew you can drink straight away. Nail this, and you've unlocked the power to make every batch perfect for you.
A great place to start is a 1:8 ratio. That just means for every one part of coffee, you'll use eight parts of water, measured by weight. Don't eyeball it! Pulling out a simple kitchen scale is the best way to guarantee you can make it just as good next time.
This 1:8 balance gives you a strong but still very drinkable brew, especially over ice. Think of it as your reliable home base—from here, you can start tweaking things. For a deeper look into why this ratio works so well, check out our detailed guide on the cold brew coffee ratio.
Adjusting the Ratio for Your Desired Strength
Once you've got the hang of the 1:8, the fun begins. Cold brew is beautifully forgiving, so don't be afraid to experiment.
- For a Strong Concentrate (1:5): This ratio makes a really potent, almost syrupy concentrate. It's far too intense to drink on its own but is absolutely perfect for diluting with milk, your favourite plant-based alternative, or even just a splash of water. It's also a great choice if you want to make a big batch that will last you all week.
- For a Lighter Brew (1:12): If you prefer a milder, more delicate coffee that you can sip straight from the fridge without adding anything, a 1:12 ratio is your best bet. This lets more of the subtle, nuanced flavours of the bean shine through.
The rule of thumb is simple: less water equals a stronger, more concentrated coffee. More water creates a lighter, mellower brew. Tweak your measurements in small steps until you land on a strength that makes you say, "Ah, that's the one."
This quick reference table can help you pick a starting ratio based on how you plan to drink your cold brew.
Cold Brew Ratio and Strength Guide
| Brew Strength | Coffee to Water Ratio (by weight) | Recommended Use | Flavour Profile |
|---|---|---|---|
| Strong | 1:5 | Best for diluting with milk, water, or tonic | Bold, syrupy, concentrated, low acidity |
| Medium | 1:8 | Ideal for drinking over ice, with a splash of milk | Smooth, balanced, rich chocolatey notes |
| Light | 1:12 | Perfect for drinking straight from the fridge | Mellow, nuanced, highlights delicate flavours |
Use these as your starting points, but remember that the ideal ratio is ultimately down to your personal taste.
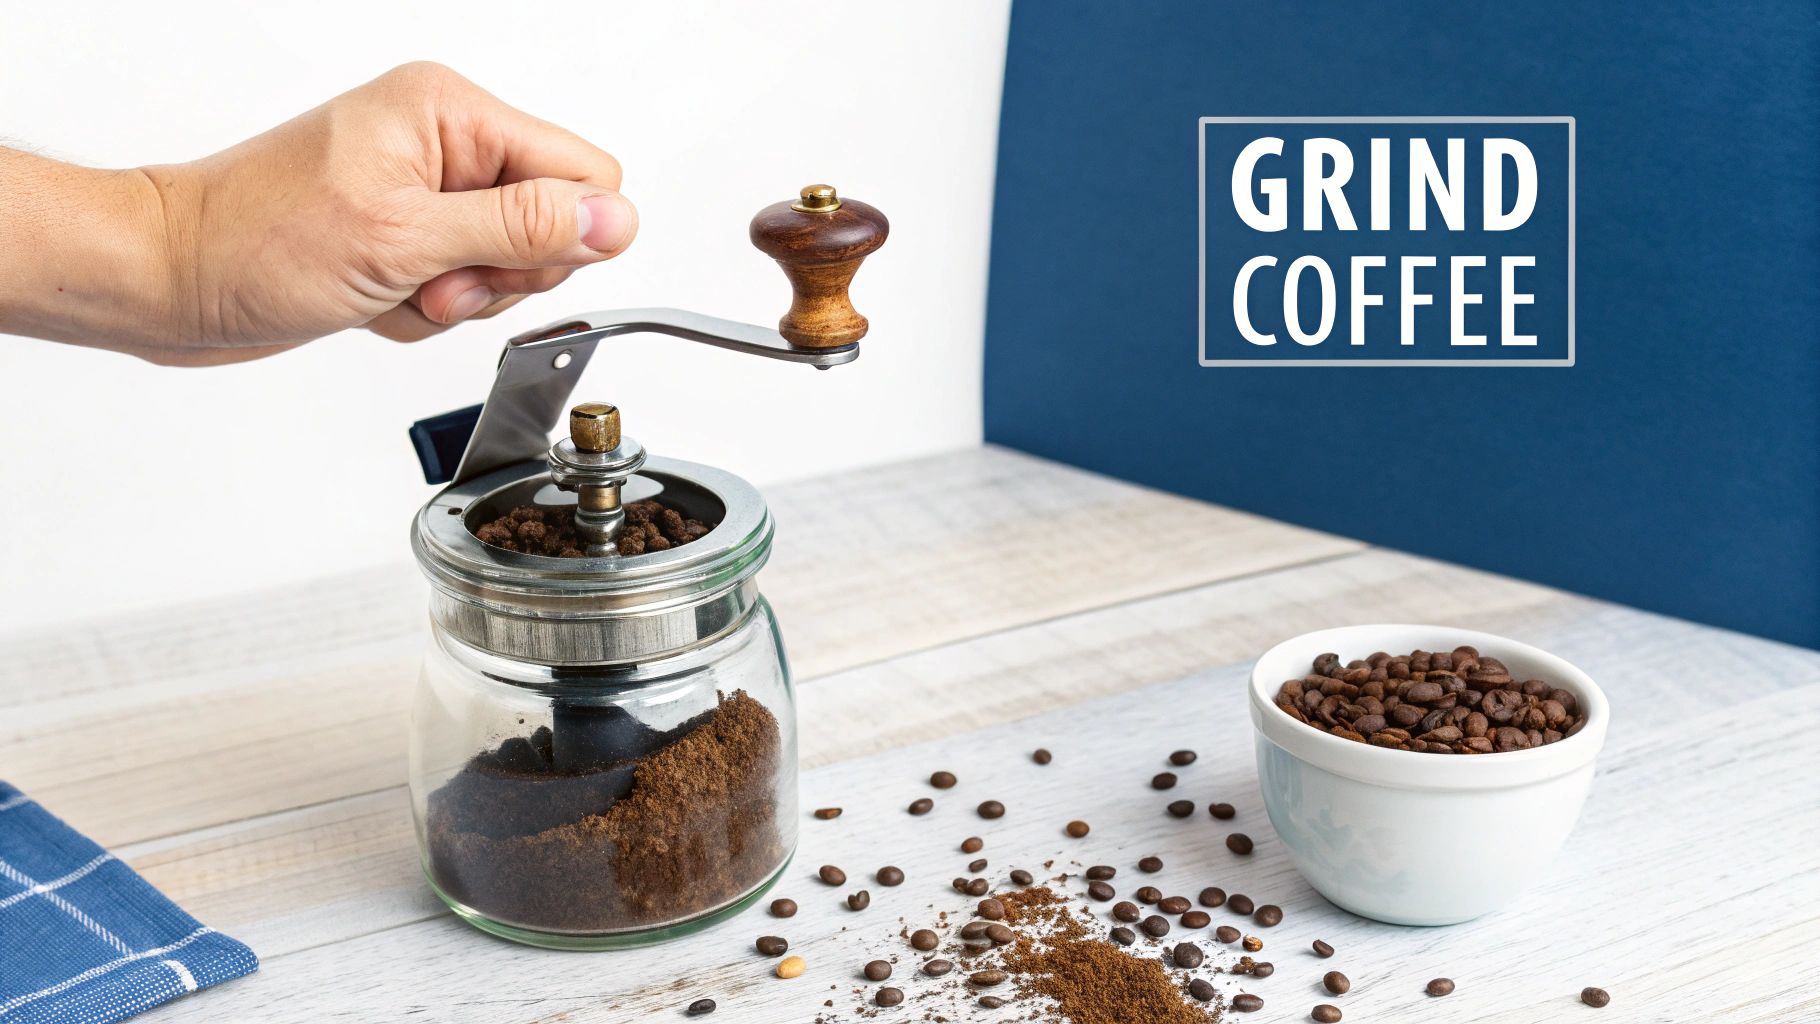
It's this slow-and-steady extraction, where coarse coffee grounds sit in cold water for hours, that gives cold brew its famous character. The result is a smoother, less acidic brew that's often higher in caffeine than its hot-brewed cousins.
And don't forget, the grind size is just as important as the ratio. You're looking for a coarse grind, something like breadcrumbs. This is crucial for preventing over-extraction, which is what causes bitterness, and it also makes the final filtering step a whole lot cleaner.
A Practical Guide to Brewing and Steeping
You've got your gear and your ratio nailed down – now for the fun part. This is where the real magic happens, as the coffee grounds and water slowly transform into that smooth, rich concentrate we're after. The process itself is pretty simple, but paying attention to the little details is what separates a good cold brew from a great one.
First things first, combine your coarsely ground coffee and cold, filtered water in whatever you're brewing in. Pour the water over the grounds slowly, making sure every last bit is saturated. I like to give it a gentle stir with a long spoon, just to be certain there are no dry pockets hiding at the bottom. Getting this right ensures you get an even extraction from the very beginning.
Mastering the Steep
With your coffee and water mixed, the waiting game begins. This steeping phase is without a doubt the most crucial part of making cold brew coffee. You'll need to let the mixture sit for anywhere between 12 to 18 hours.
Where you leave it to steep also plays a big part. Steeping at room temperature tends to pull out flavours more quickly, often giving you a richer, more chocolatey result. On the other hand, popping it in the fridge slows everything down, which can produce a slightly lighter, crisper brew. There's no single right answer here; it's all about experimenting to find what you like best.
Try not to rush this stage. Steeping for less than 12 hours will likely leave you with a weak, underdeveloped flavour. But go too far the other way—beyond 24 hours—and you risk introducing woody or bitter notes as the grounds start to over-extract.
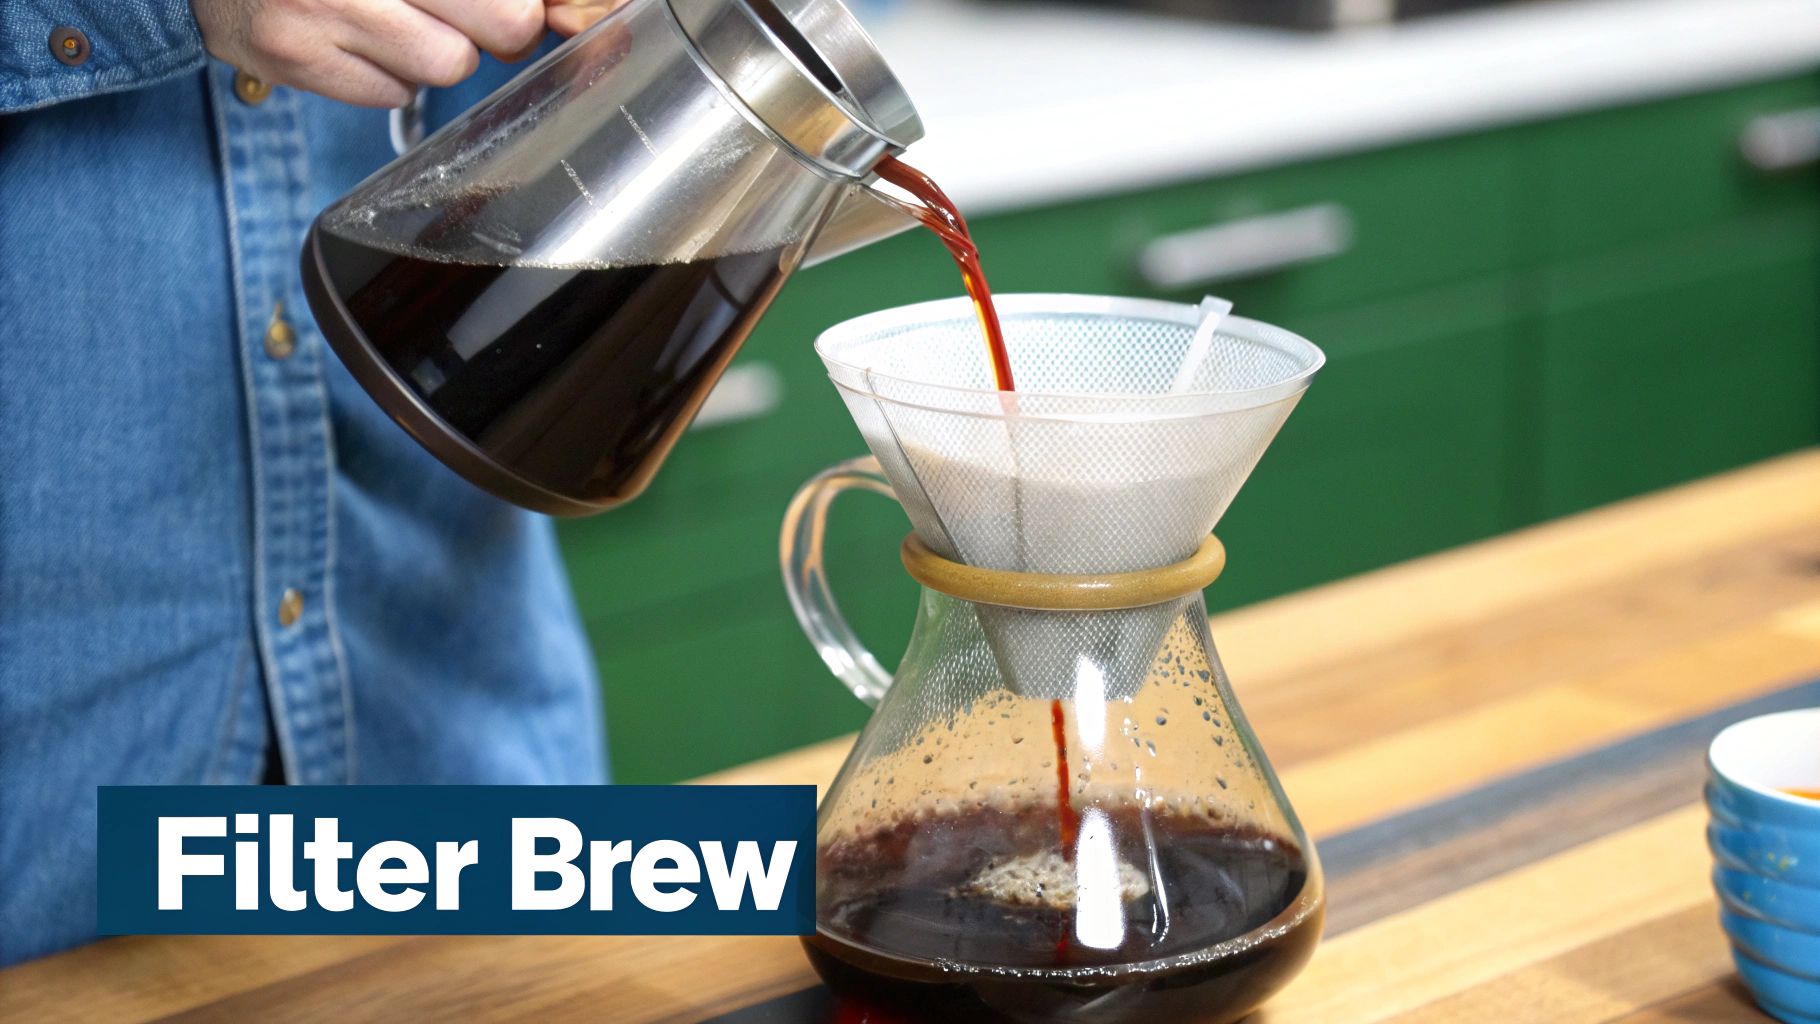
The Final Filtration
Once your steeping time is up, the last job is to separate that beautiful, dark liquid from the soggy grounds. A clean filter is your best friend for achieving a silky-smooth, sediment-free finish. If you're using a French press, it’s as easy as pushing the plunger down slowly and steadily. For those using a jar, just set up a fine-mesh sieve over a clean bowl or jug.
For an even cleaner result, you can line the sieve with a paper coffee filter or a double layer of cheesecloth. Pour the coffee through your filter in batches, letting it drip through patiently. Whatever you do, don't squeeze the filter to speed things up – this can push unwanted bitter compounds into your finished brew.
For more handy tips on perfecting your technique, you can explore our complete guide on how to brew coffee.
This simple graphic breaks the whole process down into three easy steps.
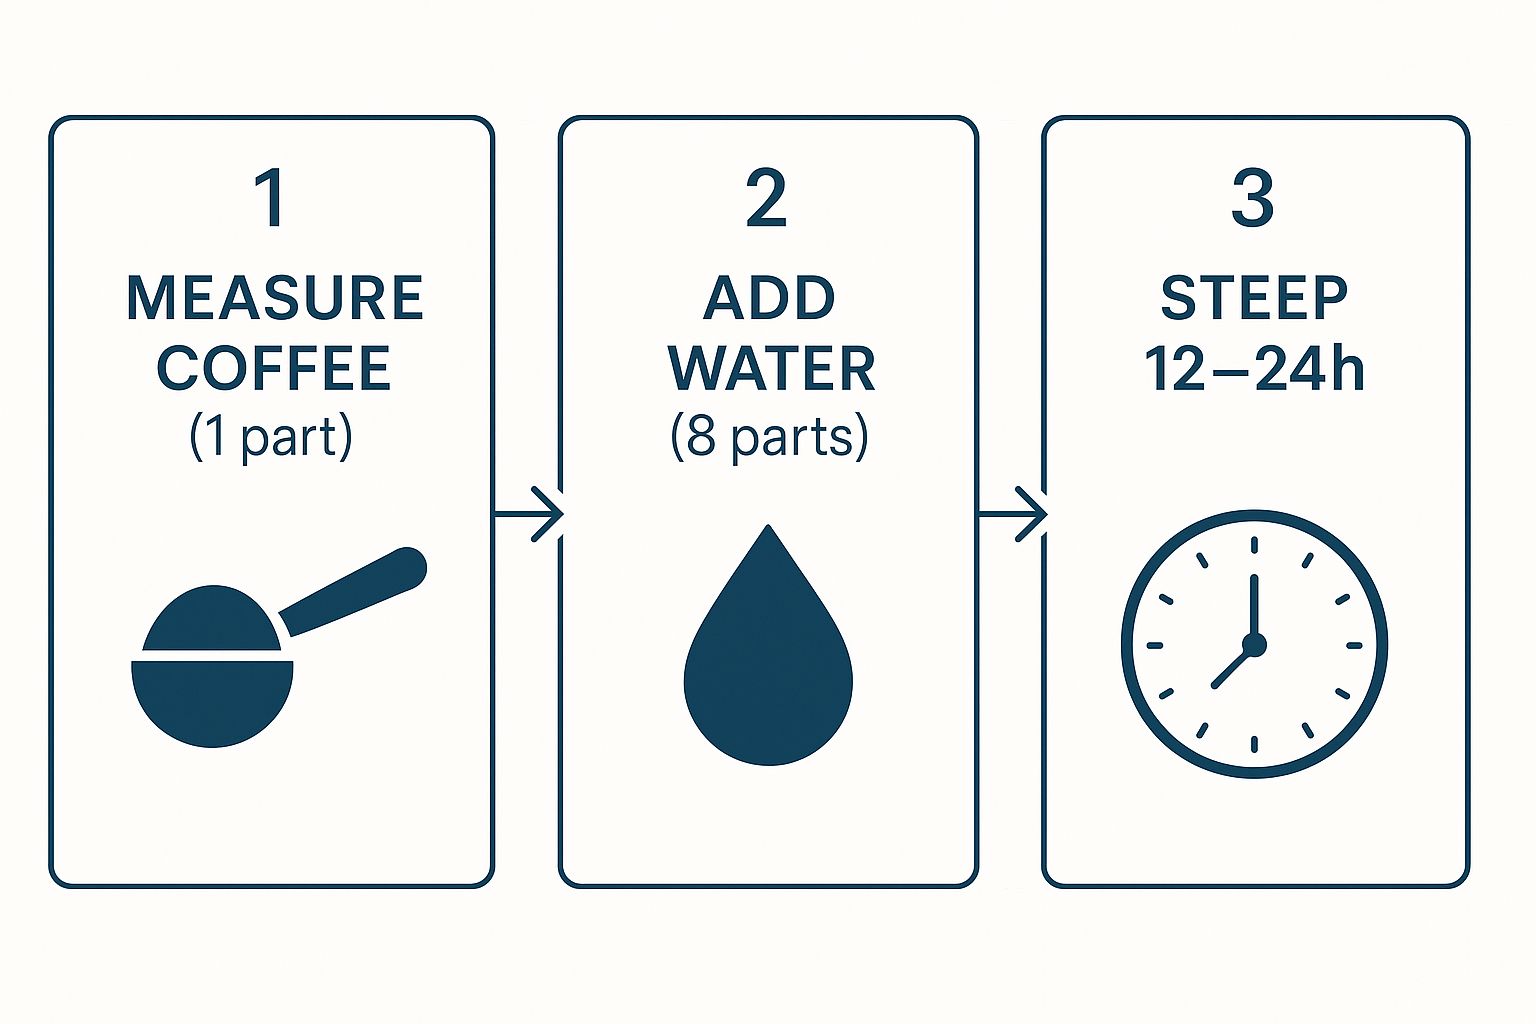
As you can see, mastering cold brew really comes down to the fundamentals: measure, add water, and wait.
Serving, Storing and Customising Your Brew
Congratulations, you've successfully filtered your first batch of cold brew concentrate. Now comes the best part: making it your own. This is where your freshly made base transforms into your perfect daily coffee, from storing it properly to serving it just the way you like.
First things first, proper storage is crucial for preserving that smooth, rich flavour you worked so patiently to create. Pour your finished concentrate into a sealed glass bottle or jar and pop it straight into the fridge. Stored this way, your cold brew can stay fresh and delicious for up to two weeks, though I find its peak flavour is really within that first week.
How To Serve Your Cold Brew
Since you’ve created a concentrate, it will likely be far too strong to drink straight. The standard approach is to dilute it with equal parts water, milk, or a plant-based alternative. A 1:1 ratio of concentrate to your chosen mixer is a fantastic starting point.
Simply fill a glass with ice, pour in your cold brew, and top it up. Give it a quick stir and have a taste. If it's too potent, just add a little more water or milk. If it's too weak, you'll know to add a splash more concentrate next time.
The real beauty of making cold brew at home is the complete control you have over the final cup. Don't be afraid to adjust the dilution until you find the perfect strength that suits your personal taste.
Customising Your Drink
This is where you can get truly creative and move beyond a simple black or white coffee. Your homemade cold brew concentrate is an incredibly versatile base for all sorts of delicious concoctions.
Here are a few ideas I've tried that work brilliantly:
- Sweet Syrups: A pump of vanilla, caramel, or hazelnut syrup gives you a café-style treat in seconds.
- Warming Spices: A dash of cinnamon or a pinch of nutmeg can add a lovely warmth and surprising complexity.
- Refreshing Spritzer: For a summery twist, try mixing your concentrate with tonic water and a slice of orange. It creates a surprisingly refreshing sparkling coffee spritzer.
- Decadent Mocha: Blend your cold brew with chocolate milk or a spoonful of cocoa powder for a rich, indulgent mocha without any fuss.
Experimenting with different flavours is a brilliant way to use your brew. Of course, sourcing high-quality beans is the first step, and you can explore a world of different flavour profiles by trying out various specialty coffee beans.
How to Fix Common Cold Brew Problems
Even with the best intentions, your cold brew can sometimes throw you a curveball. A tiny misstep somewhere in the process is all it takes to get a brew that’s just… off. But don't toss it out just yet. Most of the common issues are surprisingly simple to diagnose and even easier to fix, which will help you nail your technique for the next batch.
The most frequent complaint I hear is about a weak or watery brew. If your coffee just isn't hitting that rich, deep flavour you were hoping for, the problem almost always comes down to either your ratio or your steeping time. Your best bet is to either increase the amount of coffee grounds you're using or let it steep for the full 18 hours.
On the flip side, a bitter or overly acidic brew is a classic sign of over-extraction. This happens when the water has had too much time to pull all the unwanted, harsh-tasting compounds from the beans.
The main culprits for bitterness are a coffee grind that's too fine or a steeping time that's way too long. For your next attempt, shorten the steep to around 12–14 hours and make sure your grind is consistently coarse—think rough breadcrumbs.
Solving Cloudy and Sludgy Brews
Another common headache is ending up with a cloudy brew that has a fine layer of sediment at the bottom. While this sludge is harmless, it creates an unpleasant, gritty texture that completely ruins the smooth mouthfeel cold brew is famous for. This is purely a filtration problem.
To fix this, you just need a finer filtering method. Give one of these a try:
- Double-Filter It: Grab a fine-mesh sieve and line it with a paper coffee filter or a double layer of cheesecloth. This combination is brilliant at catching almost all of those tiny particles.
- Let It Settle: Before you even think about filtering, let the steeped coffee sit completely undisturbed for about 30 minutes. This gives the finest sediment a chance to sink, making it much easier to pour the clear liquid right off the top.
Fixing these small issues is all part of the learning curve. While classic coffee flavours still hold a dominant 52.23% market share, a growing number of people are getting creative and customising their brews to offset any bitterness. This is a big reason why flavoured ready-to-drink options are growing so fast. By troubleshooting your homebrew, you can create a perfectly smooth base ready for any flavour you can dream up. You can find more insights into these consumer trends in Mordor Intelligence's market analysis.
Your Cold Brew Questions, Answered
Even with the best guide, a few questions always seem to pop up when you're first getting the hang of making cold brew at home. Let's tackle some of the most common ones so you can perfect your technique and get a brilliant result every single time.
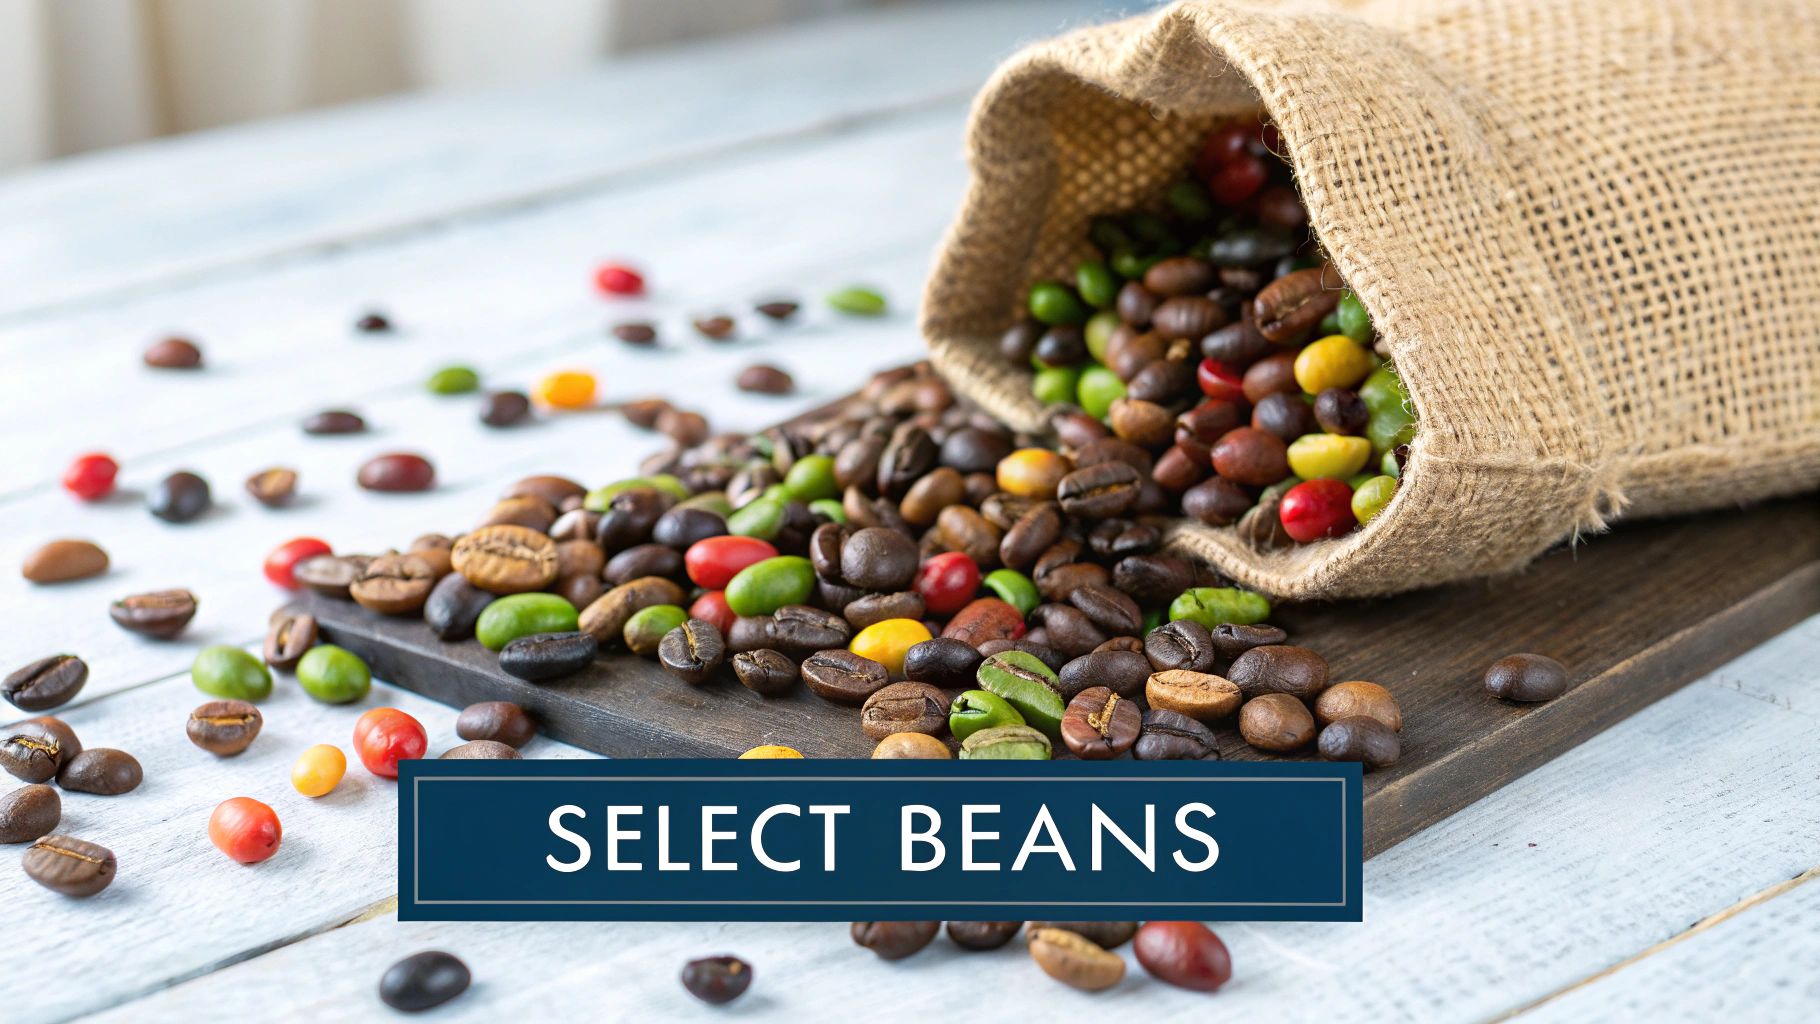
Can I Use Any Type of Coffee Beans for Cold Brew?
Absolutely, but your choice is going to make a huge difference to the final flavour. Medium to dark roasts are a popular place to start, as they're the ones that give you that classic rich, chocolatey, low-acidity profile cold brew is famous for.
That said, don't be afraid to experiment. A really high-quality single-origin light roast can create something wonderfully complex and fruity, with more delicate, subtle notes. It all just comes down to what you enjoy drinking.
Think of your homemade cold brew as a blank canvas. The "best" beans are simply the ones that create a flavour you love, so have fun trying different roasts and origins to find your favourite.
How Long Does Homemade Cold Brew Last?
As long as you store it properly, your cold brew concentrate will stay fresh for a good while. Just pour it into a sealed, airtight container—a glass bottle or a Kilner jar is perfect—and pop it in the fridge.
It’s going to taste its absolute best within the first week, but it can easily last for up to two weeks without a major drop in quality. This is what makes it so handy for grab-and-go coffee all week long.
Do I Have to Dilute My Cold Brew Concentrate?
This one depends entirely on the coffee-to-water ratio you started with. If you made a strong concentrate using a ratio like 1:5 or 1:8, then yes, you'll almost certainly want to dilute it. A great starting point is a 1:1 mix with water, milk, or a plant-based alternative.
But if you brewed a "ready-to-drink" batch using a ratio like 1:12 or higher, it should be mellow enough to pour straight over ice without needing anything extra.
Ready to find the perfect beans for your next batch? At Seven Sisters Coffee Co, we source and roast exceptional coffee to elevate your home brewing experience. Explore our collection and discover your new favourite at our online coffee shop.