How to Make Coffee in a Cafetière: A Quick Rich Cup

Making coffee in a cafetière is surprisingly simple: add coarse coffee grounds to the pot, pour in hot water, let it steep for four minutes, and then slowly plunge the filter. This classic immersion technique creates a full-bodied, rich, and flavourful cup that’s hard to beat for its depth and simplicity.
The Enduring Ritual of Cafetière Coffee
Let's be honest, there's a certain magic to the cafetière. Before we get into the nitty-gritty, it’s worth taking a moment to appreciate why this simple brewer, also known as a French press, holds such a special place in UK kitchens. It’s about more than just a quick caffeine fix; it’s a hands-on ritual that gives you complete control over your morning cup.
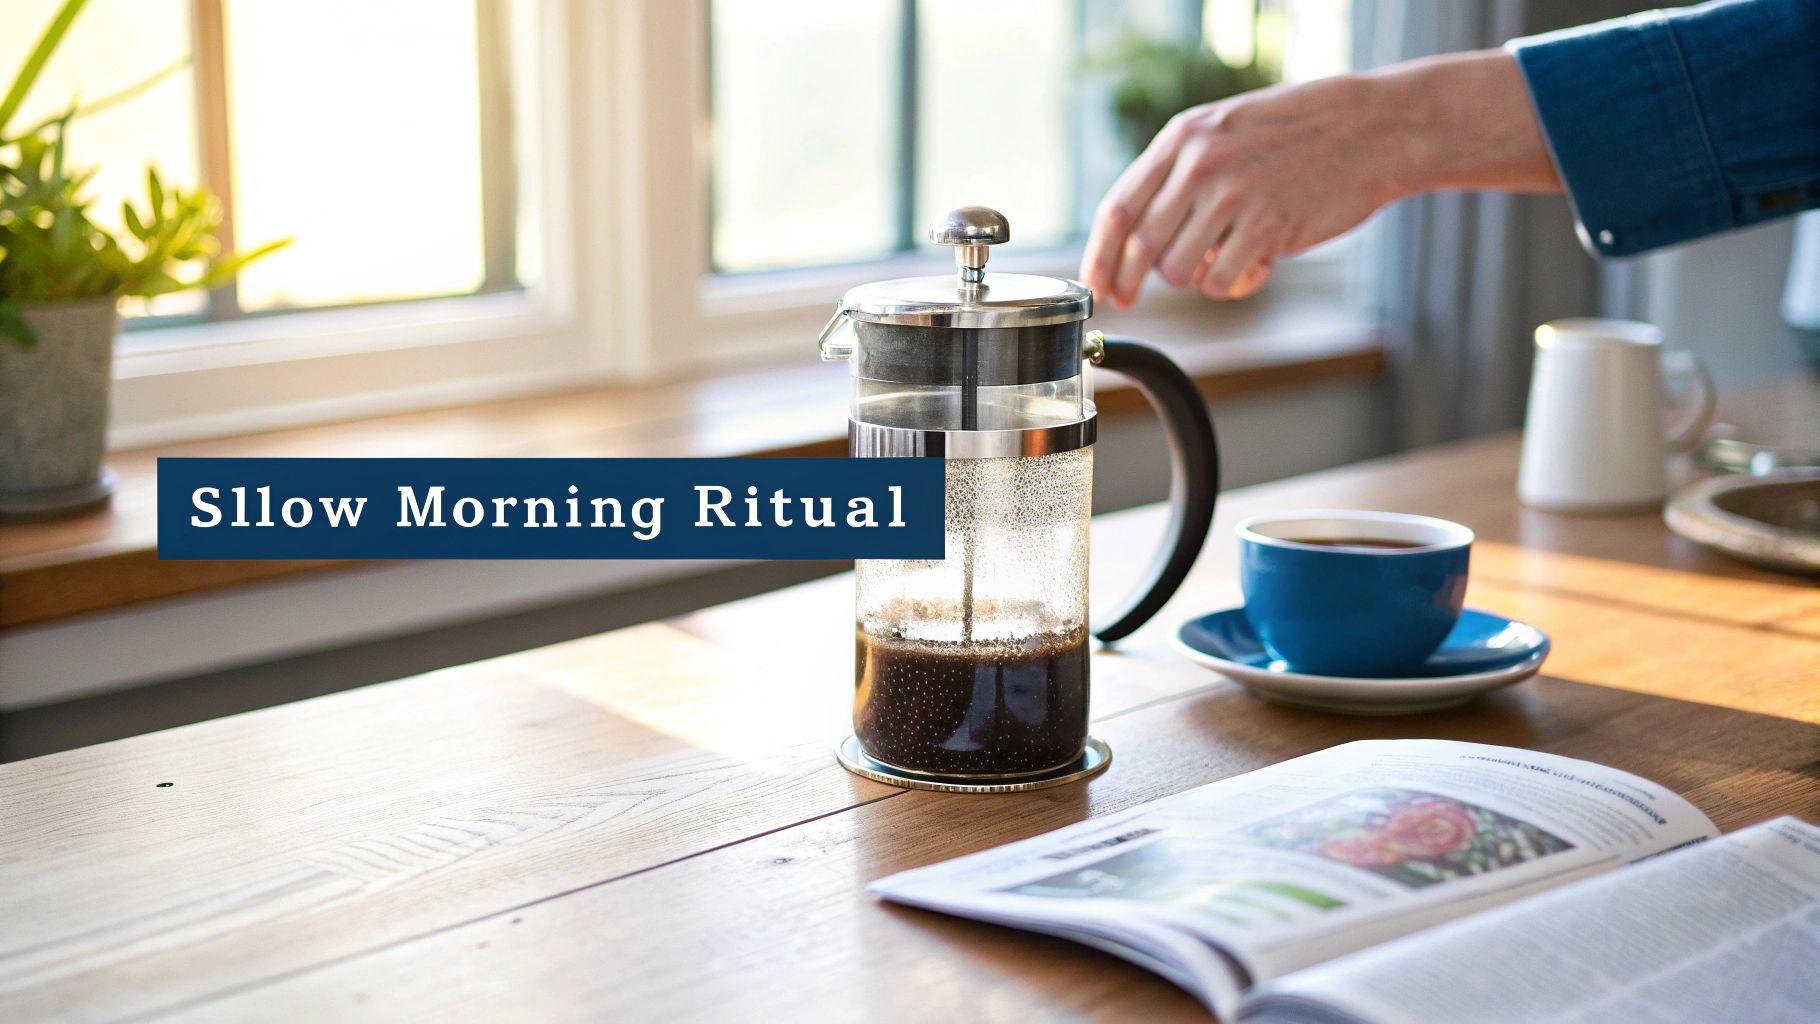
The deliberate, unhurried process is a welcome change from the instant gratification of pods or automatic machines. This is your invitation to slow down, engage your senses, and really get to grips with the fundamentals of a rewarding brew.
A Mindful Morning Brew
The cafetière’s enduring popularity is a testament to our growing desire for a more authentic coffee experience. With the UK consuming around 98 million cups of coffee daily, a huge chunk of that is now brewed using hands-on methods like the French press, especially among younger drinkers chasing fresher, richer flavours.
This method transforms your daily coffee from a simple necessity into a mindful, flavourful moment. It’s the perfect starting point for anyone looking to dive deeper into the world of brewing.
The real beauty of the cafetière is its simplicity. It strips brewing back to its core elements—coffee, water, and time—letting you connect directly with the unique character of the beans.
Learning about the coffee you use is part of the joy. To deepen your appreciation, it helps to understand what is specialty coffee and what makes it a cut above the rest. And if you want to fully immerse yourself in the coffee experience, you could even complement the aroma of your brew with some delightful coffee-scented candles.
Gathering Your Essential Brewing Gear
Great coffee begins long before water ever hits the grounds. Getting your kit right is the first step toward a consistently brilliant brew, and it’s what turns a simple morning routine into a genuine craft. This isn't just about listing equipment; it's about setting yourself up for repeatable success and delicious coffee, every single time.
The Non-Negotiables for Perfect Cafetière Coffee
First up, let's talk grinders. A burr grinder is a true game-changer for cafetière brewing. Unlike a blade grinder that just smashes beans into uneven chunks, a burr grinder mills them into a consistent, coarse grind. This is absolutely essential for preventing that silty, muddy texture at the bottom of your cup. Honestly, it’s the single biggest upgrade you can make to your whole process.
Next, you need a good set of digital scales. Trying to guess your coffee-to-water ratio is just a recipe for disappointment. One day it's too weak, the next it's overpowering. Precision is what guarantees you can replicate that perfect cup day after day, and scales remove all the guesswork.
Finally, the beans themselves. While your personal taste is what matters most, a medium roast often hits the sweet spot for a cafetière. It delivers a rich, full body without the intense bitterness that a darker roast can sometimes introduce. For a bit more direction, have a look at our guide to the best coffee for French press, which can point you towards some excellent choices.
Your brewing gear doesn't have to be expensive, but it does need to be consistent. A reliable grinder and accurate scales are the foundation of any great cup of cafetière coffee.
Beyond the cafetière itself, don't overlook proper storage. Coffee beans lose their magic when exposed to oxygen and light. To keep them fresh and protect those delicate aromas, you might consider using something like these elegant ceramic coffee and sugar canisters. They do a great job of preserving your beans until you're ready to brew.
To make things even clearer, here’s a quick checklist of what you'll need to pull off a fantastic cafetière brew.
Your Cafetière Brewing Checklist
| Item | Why It's Important | Pro Tip |
|---|---|---|
| Burr Grinder | Ensures a consistent, coarse grind to prevent sludge and bitterness. | Grind your beans just moments before brewing for maximum freshness and flavour. |
| Digital Scales | Allows for precise coffee-to-water ratios, guaranteeing consistency. | Aim for a 1:15 ratio (e.g., 30g coffee to 450g water) as a great starting point. |
| Fresh Coffee Beans | The quality of your beans directly dictates the quality of your brew. | Store beans in an airtight container away from light and heat to preserve their flavour. |
| Kettle | For heating your water to the ideal temperature (90-96°C). | A gooseneck kettle offers better pouring control, but any kettle will do the job. |
| Cafetière | The star of the show! Sizes vary, so pick one that suits your needs. | Pre-heating your cafetière with hot water helps maintain a stable brew temperature. |
This setup will put you in a brilliant position to start brewing coffee that’s not just good, but consistently great.
Mastering the Cafetière Brewing Method
Right, this is where the real magic happens. Let’s ditch the rigid step-by-step lists and walk through this like we're standing in the kitchen together. We'll focus on the small details that make a massive difference to your final cup.
The first habit of any great home barista is one that’s often skipped: preheating your cafetière. Just fill it with hot water from your kettle while you’re grinding your beans, then pour it out. This tiny step stops the cold glass from stealing heat, ensuring your water temperature stays stable for a much better extraction from the get-go.
Nailing the Golden Ratio and Temperature
Next up, precision. While you can absolutely eyeball it, using digital scales is the secret to getting that perfect brew time and time again. The 'golden ratio' is a fantastic starting point for any cafetière brew: 60g of coffee per litre of water. For a standard 350ml cafetière, that’s about 21g of coffee.
Water temperature is just as crucial. Pouring boiling water straight from the kettle will scorch your grounds, leaving you with a bitter, unpleasant taste. The sweet spot is just off the boil, somewhere between 93-96°C. The easiest way to hit this mark? Just let your kettle sit for 30-45 seconds after it clicks off.
The infographic below breaks down these initial prep stages.
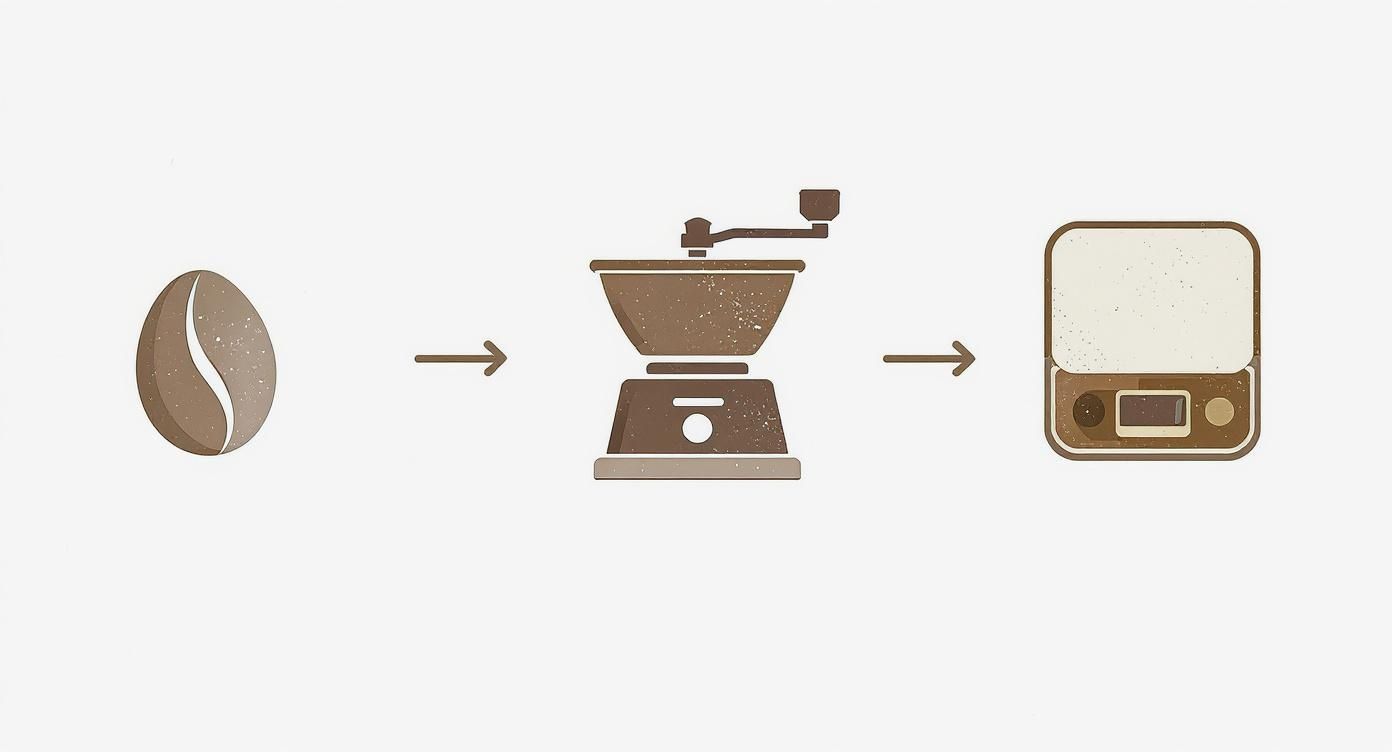
This visual shows that crucial flow from whole beans to a precise grind and accurate measurement, which is the foundation of any great cup of coffee.
The beauty of the cafetière is that it gives you complete control over these variables. Getting the relationship between grind size, steep time, and water temperature right is what separates an average brew from an exceptional one. To nail the first part, have a look at our comprehensive coffee grind size guide to make sure you start with the perfect texture.
The Bloom, the Brew, and the Plunge
Once your coffee grounds and hot water are in the cafetière, start a timer. Give everything a gentle stir to make sure all the grounds are saturated. You'll notice the coffee swelling and bubbling up—this is called the bloom. This initial 30-second phase is vital; it allows trapped CO2 to escape from the freshly ground beans, which paves the way for a more even and flavourful extraction.
After the bloom, pop the lid on top (don't plunge yet!) to keep the heat in. The sweet spot for brewing time is four minutes. This gives you enough time to pull out all those rich oils and nuanced flavours but is short enough to avoid extracting any unwanted bitterness.
When your four minutes are up, resist every urge to slam that plunger down. The art of the cafetière lies in a slow, steady plunge that takes around 15-20 seconds. Pushing too fast stirs up all the fine particles, forcing them through the filter and into your cup, leaving you with a silty, muddy brew.
This simple method gives UK home brewers the power to perfectly balance their caffeine needs with their unique taste preferences. You get to fine-tune every single aspect of your coffee, a level of customisation that instant coffee just can't touch. Finally, pour your coffee immediately into your mug to stop the extraction process. Sit back and enjoy.
Troubleshooting Common Cafetière Problems
Even the most seasoned coffee lover has a bad cafetière day. You follow all the steps, but the result is… disappointing. A cup that’s muddy, weak, or horribly bitter is a common frustration, but don't just tip it down the sink and give up. The good news is that each problem is a clue, telling you exactly what to tweak for next time.
Learning to read these signs is the real secret to mastering your technique.
Think of it as a conversation with your coffee. Once you understand what causes these common issues, you can make precise adjustments and get closer to that perfect, satisfying cup every single time. Let's break down the usual suspects.
Common Cafetière Problems and How to Fix Them
Navigating the world of cafetière brewing can sometimes feel like a bit of a guessing game. To make it easier, here’s a quick-reference table to help you diagnose and solve the most common issues you're likely to encounter.
| The Problem | Likely Cause | The Solution |
|---|---|---|
| Muddy or Silty Coffee | Grind is too fine, or you're plunging too aggressively. | Use a coarse, even grind (like sea salt). Plunge slowly and gently, taking about 15 seconds. |
| Weak and Watery Coffee | Not enough coffee grounds, or you didn't steep for long enough. | Check your coffee-to-water ratio. Aim for four minutes of steeping time before plunging. |
| Bitter or Harsh Coffee | Water was too hot, or you steeped for too long. | Let your kettle sit for 30-45 seconds off the boil. Stick to the four-minute brew time and decant immediately. |
Hopefully, this little chart helps you pinpoint the problem straight away. A few small changes can make a world of difference.
Why Is My Coffee Muddy or Silty?
Finding a sludgy, gritty sediment at the bottom of your mug is by far the most frequent complaint. This is almost always down to one of two things: your grind size or your plunging technique. If your coffee is ground too finely, those tiny particles will slip straight through the mesh filter, no matter how carefully you press.
Similarly, plunging too quickly and aggressively forces these fines through the filter and into your cup. Remember, the perfect plunge is slow and steady. It should take around 15 seconds to get from the top to the bottom.
Why Does My Coffee Taste Weak and Watery?
A watery, lifeless brew is a clear sign of under-extraction, which simply means you haven't pulled enough flavour from the grounds. This usually points to an issue with your coffee-to-water ratio or your steeping time. Nine times out of ten, not using enough coffee is the culprit.
A weak brew is often a simple ratio problem. Don't be afraid to add more coffee—it’s better to brew strong and dilute with a splash of hot water than to start with a brew that’s too weak to fix.
If you’re struggling to figure out the right amount, our guide on how many tablespoons per cup of coffee can offer a great starting point, though a good set of scales is always your best bet for consistency. Also, make sure you’re not cutting the crucial four-minute steep time short.
Why Is My Coffee So Bitter?
On the flip side, bitterness is the classic symptom of over-extraction. This happens when you pull too much from the coffee grounds, including the unpleasant, harsh-tasting compounds that should have been left behind.
The most likely causes are pretty straightforward:
- Water that's too hot: Using water straight off the boil will literally scorch the grounds on contact. Always wait 30-45 seconds after your kettle clicks off.
- Steeping for too long: Going much beyond four minutes will start to extract those bitter flavours you want to avoid.
- Leaving coffee in the cafetière: Never let your brewed coffee sit in the pot after plunging. Pour it all out immediately to stop the brewing process in its tracks.
Your Essential Cafetière Cleaning Routine
A clean cafetière is the secret weapon for consistently delicious coffee. It sounds obvious, but you’d be surprised how many people overlook it. Lingering oils and trapped grounds from old brews can quickly turn rancid, imparting a bitter, unpleasant taste to your next cup.
A simple routine is all it takes to make sure every brew tastes as fresh as it should.
After each brew, the immediate goal is to get those used grounds out. Whatever you do, don't wash them down the sink—that’s a guaranteed recipe for a blockage. Instead, I find the easiest way is to fill the cafetière with a bit of water, swirl it around, and tip the slurry into a sieve over the sink.
From there, the collected grounds can be binned easily. Even better, you can discover the benefits of composting coffee grounds and give your garden a treat.
The Weekly Deep Clean
About once a week, it’s time for a more thorough clean to tackle stubborn oils and any fine particles that have snuck through. You’ll need to fully disassemble the plunger and filter mechanism. Don’t worry, they almost always just unscrew at the base.
Give each component a good scrub with warm, soapy water and a soft brush. Pay close attention to the fine mesh filter, as this is where oils and tiny coffee particles absolutely love to hide.
A quick daily rinse is good, but a weekly deep clean is non-negotiable. This simple habit prevents the build-up of rancid coffee oils that will ruin the flavour of even the best beans.
It’s a small amount of effort that makes a huge difference. Not only will your equipment last longer, but your knowledge of how to make coffee in a cafetière will always result in a clean, flavourful cup.
Your Cafetière Questions, Answered
Even with the best instructions, a few practical questions always seem to pop up when you're brewing. Let's tackle some of the most common queries I hear, so you can handle any situation with confidence.
What Is the Best Coffee Grind for a Cafetière?
You're aiming for a coarse and even grind, something that looks and feels like coarse sea salt.
If the grind is too fine, it’ll sneak right past the mesh filter. This not only creates a muddy, silty brew but can also make the plunger surprisingly difficult to press down. A quality burr grinder is really your best friend for getting this consistency just right.
Can I Use Pre-Ground Coffee?
You certainly can, but it’s not the best choice if you're chasing top-tier flavour. Most pre-ground coffee is simply too fine for a cafetière, which leads to that unpleasant, sludgy texture in your final cup.
More importantly, coffee starts losing its vibrant flavour and aroma the moment it’s ground. For the freshest, most aromatic experience, grinding whole beans just before you brew will always win out.
A common mistake is leaving brewed coffee in the pot after plunging. Pour all of it into your mugs or a separate server immediately. If it sits on the grounds, it will keep extracting and become increasingly bitter.
How Do I Make a Single Cup in a Large Cafetière?
Absolutely—you just need to scale down while keeping the ratio right.
A reliable starting point is 60 grams of coffee for every 1 litre of water. For a standard 250ml mug, that works out to 15 grams of coffee and 250ml of water. Using digital scales is the key to nailing this. The rest of the process, including that crucial four-minute steep time, stays exactly the same.
Ready to find the perfect beans for your next brew? The team at Seven Sisters Coffee Co has curated a stunning selection of single-origin and blended coffees, roasted to perfection for your cafetière. Explore our full range and taste the difference that quality makes.
Discover Your New Favourite Coffee at Seven Sisters Coffee Co