How to Make a Macchiato Like a Pro Barista

Making a macchiato is a beautiful exercise in simplicity. At its heart, it’s just a shot of espresso ‘stained’ with a tiny bit of milk foam. The magic is right there in that simplicity—it’s all about letting the pure flavour of the coffee shine, with just a hint of creamy texture to soften the edges.
Once you nail this, you’ve unlocked a true coffee classic.
What Exactly Is a Macchiato

Before you even think about pulling your first shot, it helps to get your head around what you’re actually making. The word macchiato literally means ‘stained’ or ‘marked’ in Italian, and that’s the perfect way to think about it. The name originally came about as a way for baristas to tell the difference between a straight espresso and one with a splash of milk. It was a simple mark, and the name stuck.
Unlike a latte or a cappuccino, which are fundamentally milk-based drinks, a macchiato is all about celebrating the espresso. That little dollop of milk foam isn't there to drown the coffee; it’s there to cut through the shot’s intensity and add a touch of texture.
This espresso-first philosophy has given rise to two main styles you'll see today. We’re going to master them both.
The Two Classic Styles
Getting to grips with the two main types of macchiato is your first step to brewing with confidence. They share the same name, but their construction and flavour profile are worlds apart.
- Espresso Macchiato: This is the original, the traditional Italian style. It’s a single or double shot of espresso marked with a small spoonful of milk foam. The result is a bold, rich, and intensely coffee-forward experience.
- Latte Macchiato: This one is a more modern, layered creation. It starts with a glass of steamed milk, and the espresso shot is poured through the foam on top. This creates a striking three-tiered drink that’s much milkier and gentler in flavour.
To help you keep these two straight, here’s a quick comparison.
Macchiato Styles At a Glance
The table below breaks down the core differences between an espresso macchiato and a latte macchiato. Think of it as your cheat sheet for understanding how they’re built and what to expect from each sip.
| Characteristic | Espresso Macchiato | Latte Macchiato |
|---|---|---|
| Construction | Espresso first, then a dollop of milk foam | Steamed milk first, then espresso poured through |
| Flavour Profile | Bold, intense, and espresso-forward | Mellow, creamy, and milk-forward |
| Ideal Ratio | Approx. 90% coffee, 10% milk | Approx. 80% milk, 20% coffee |
As you can see, while they share a name, they offer two completely different experiences. One is a nod to tradition for the espresso purist, while the other is a softer, more visual drink.
A common point of confusion is how the macchiato fits in with other coffee drinks. Just remember this: an espresso macchiato is for the espresso lover, while a latte macchiato is much closer to a small, layered latte.
The macchiato, in its various forms, has become a cornerstone of coffee culture. Here in the UK, the coffee market is booming, with a projected turnover of £6.1 billion in 2025. This growth is fuelled by our love for speciality drinks just like these. Our guide on the main https://sevensisterscoffee.co.uk/types-of-coffee-drinks/ can help you explore how the macchiato stacks up against other café favourites.
Choosing Your Coffee Beans and Gear
Before you pull a single shot, let's talk about the absolute foundation of any great macchiato: the coffee itself. It’s not the shiny machine or the fancy cup that makes the drink—it's the beans. This is especially true for an espresso macchiato, where there's very little milk to hide behind. You're aiming for beans that can handle the intensity of espresso extraction and still come out tasting balanced and delicious.
Think of it like cooking a simple, elegant dish. The quality of your core ingredients makes all the difference. For us, that means starting with freshly roasted whole beans. Pre-ground coffee goes stale incredibly fast as its aromatic oils evaporate, leaving you with a flat, lifeless shot. Grinding just moments before you brew is probably the single biggest upgrade you can make to your home coffee game.
Selecting the Right Coffee Beans
Everyone’s palate is different, but when it comes to a macchiato, certain roast profiles just work better. Here’s a quick rundown to get you started.
- Medium Roast: This is what I’d call the sweet spot. Medium roasts strike a beautiful balance of acidity, body, and sweetness. You’ll often find notes of chocolate, nuts, and caramel that sing when paired with just a dollop of steamed milk.
- Medium-Dark Roast: If you’re after something a bit bolder and richer, with less of that bright acidity, a medium-dark roast is a fantastic pick. It delivers those deep, roasty flavours and produces a thick, syrupy crema that looks incredible.
- Light Roast: Now, light roasts can be amazing, but they are tricky for espresso. Their naturally higher acidity can easily turn into a sour shot if you haven’t dialled in your grinder and machine perfectly. Get it right, though, and you’ll be rewarded with incredible fruity and floral notes.
The best way to figure out what you love is simply to experiment. Trying different coffee beans for an espresso machine will open up a world of flavour. A single-origin bean from Brazil might give you those classic, comforting chocolate notes, whereas a carefully crafted blend could offer a more complex, layered experience.
Essential Gear for Your Home Setup
With your beans sorted, you just need a few key tools to bring your macchiato to life. You don't need a full-blown café on your countertop, but getting the right gear makes achieving consistency and quality so much easier.
A solid home barista setup really comes down to these four things:
- Espresso Machine: This is the heart of the operation. You can find everything from entry-level manual machines to more advanced semi-automatics. The most important feature to look for is stable temperature and pressure control.
- Burr Grinder: Honestly, this is just as crucial as the machine itself. A good burr grinder gives you a consistent grind size, which is absolutely vital for a balanced extraction. Blade grinders just chop the beans unevenly, which is a recipe for a shot that's both bitter and sour.
- Milk Frothing Jug: A small stainless steel jug is what you need for steaming. The metal conducts heat well, so you can feel the temperature with your hand and avoid scalding the milk.
- Tamper: Most machines come with a flimsy plastic tamper. Do yourself a favour and upgrade to a weighted, stainless steel one. It makes getting even and consistent pressure a breeze, which helps eliminate weak spots in your puck.
If you're going to invest in one thing to improve your home coffee, make it a decent burr grinder. It gives you more direct control over the final taste in your cup than almost any other piece of equipment.
Pulling the Perfect Espresso Shot
With your beans and gear at the ready, it’s time to get hands-on. Pulling a great shot of espresso is a real craft—a delicate balance of grind, dose, and time that transforms coffee beans into that beautiful 'liquid gold'. This is the heart and soul of your macchiato, and getting it right makes all the difference.
The process kicks off the moment you grind your beans. You’re aiming for a consistent, fine grind that feels somewhere between powdered sugar and table salt. It’s this precision that allows the hot water to work its magic and extract all those lovely, complex flavours evenly.
Dialling in Your Grind and Dose
First things first, you have to get your grind size just right. If it’s too coarse, the water will just rush through, leaving you with a weak, sour, and under-extracted shot. Go too fine, on the other hand, and the water will struggle to push through, resulting in a bitter, over-extracted mess. It's a fine line.
Once your coffee is ground, you need to dose it correctly into your portafilter. For a standard double shot, you're looking at somewhere between 18-20 grams of coffee. Don't eyeball it—use a scale to be precise. Consistency is your best friend when you're learning the ropes.
Tamping and Extraction
After dosing, take a moment to distribute the grounds evenly in the portafilter before you even think about tamping. A nice, level bed of coffee is crucial for preventing channelling. This is where water finds the path of least resistance and bypasses most of the coffee, leading to a horribly uneven extraction.
Now, apply firm, even pressure with your tamper. The goal here is a compact and perfectly level puck of coffee. That’s it. You’re ready to lock the portafilter into your machine and start the show.
The perfect espresso shot should look like warm honey dripping from the spout. You'll know it's right when you see that rich, hazelnut-coloured crema and a syrupy body.
Keep an eye on the clock. For a textbook shot, you're aiming for a total extraction time of 25-30 seconds. The ideal yield? About double the weight of your initial dose in liquid. So, if you started with an 18g dose of coffee, you should end up with a 36g shot of glorious espresso.
Mastering this takes practice, but it's incredibly rewarding. To dive deeper into how different settings affect your final cup, check out our complete coffee grind size guide for more detailed tips.
Don't get discouraged if your first few attempts are a bit off. Tiny adjustments to your grind size will have a massive impact on the flavour. This hands-on process of tasting and tweaking is what makes brewing espresso at home so satisfying.
Mastering Your Milk Texturing Technique
Perfectly textured milk is what separates a good macchiato from a truly great one. It’s not just about adding a bit of warmth or creaminess; you’re creating a specific texture that has to complement the espresso just right. The technique you use will depend entirely on which style of macchiato you're aiming for.
For a traditional Espresso Macchiato, your goal is a small, dense dollop of velvety microfoam. This isn't the airy, bubbly stuff you’d find piled high on a classic cappuccino. Instead, you want a silky, wet-paint-like texture that gently "stains" the espresso.
On the other hand, the Latte Macchiato demands a larger volume of steamed milk with a distinct, airy layer of foam on top. Getting both techniques down gives you the versatility to create the full range of coffee shop favourites right in your own kitchen.
Creating Velvety Microfoam
Let's get down to business with the steam wand. The secret to beautiful microfoam is introducing just the right amount of air right at the start of the process.
- Purge the Wand: Always, always start by purging your steam wand. This clears out any condensed water that could ruin your milk.
- Position the Tip: Submerge the steam wand's tip just below the surface of the milk in your jug. If you go too deep, you’ll only heat the milk. Too shallow, and you'll create large, soapy bubbles that nobody wants.
- Introduce Air: Turn on the steam. You should hear a gentle hissing or tearing sound – that’s the sweet sound of air being incorporated to create foam. This should only take a few seconds.
- Create the Vortex: Once you've added enough air, dip the wand a little deeper into the milk and angle it to create a swirling vortex. This whirlpool motion is crucial; it breaks down any larger bubbles and integrates the foam, creating that silky microfoam we're after.
My personal tip is to always keep one hand on the side of the metal jug. As soon as it becomes too hot to comfortably touch for more than a second (around 60-65°C), your milk is ready. This preserves its natural sweetness; overheating can make it taste flat or even burnt.
With a bit of practice, this technique will become second nature. For a deeper dive into milk-based drinks, our guide on how to make a latte provides even more tips on steaming and pouring.
No Steam Wand? No Problem
Don't have a high-end espresso machine? Don’t worry, you can still get fantastic results. Handheld frothers are an affordable and surprisingly effective alternative. Just heat your milk gently in the microwave or on the hob, then use the frother to whip it into shape.
Another clever trick is to heat your milk and shake it vigorously in a sealed jar for about 30 seconds. It’s a low-tech but surprisingly effective way to create a decent foam for your macchiato.
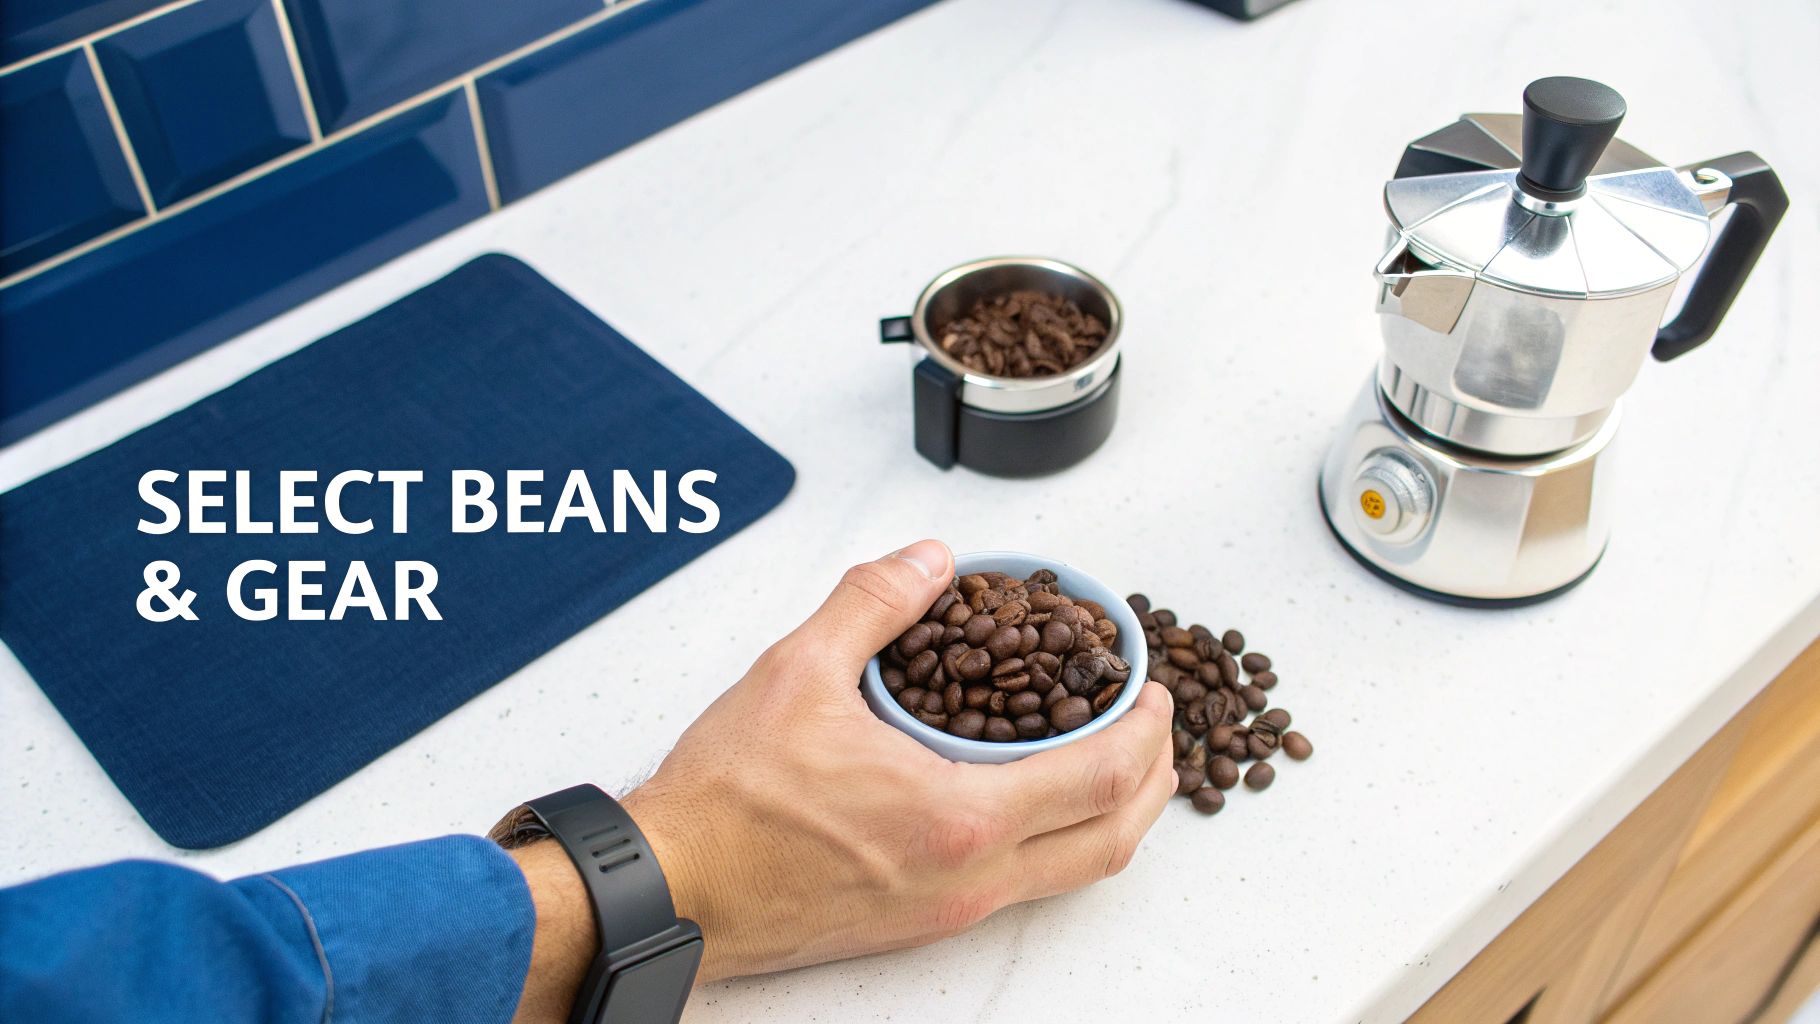
This process flow shows the initial steps of getting your espresso base ready, which is always the first part of the puzzle.
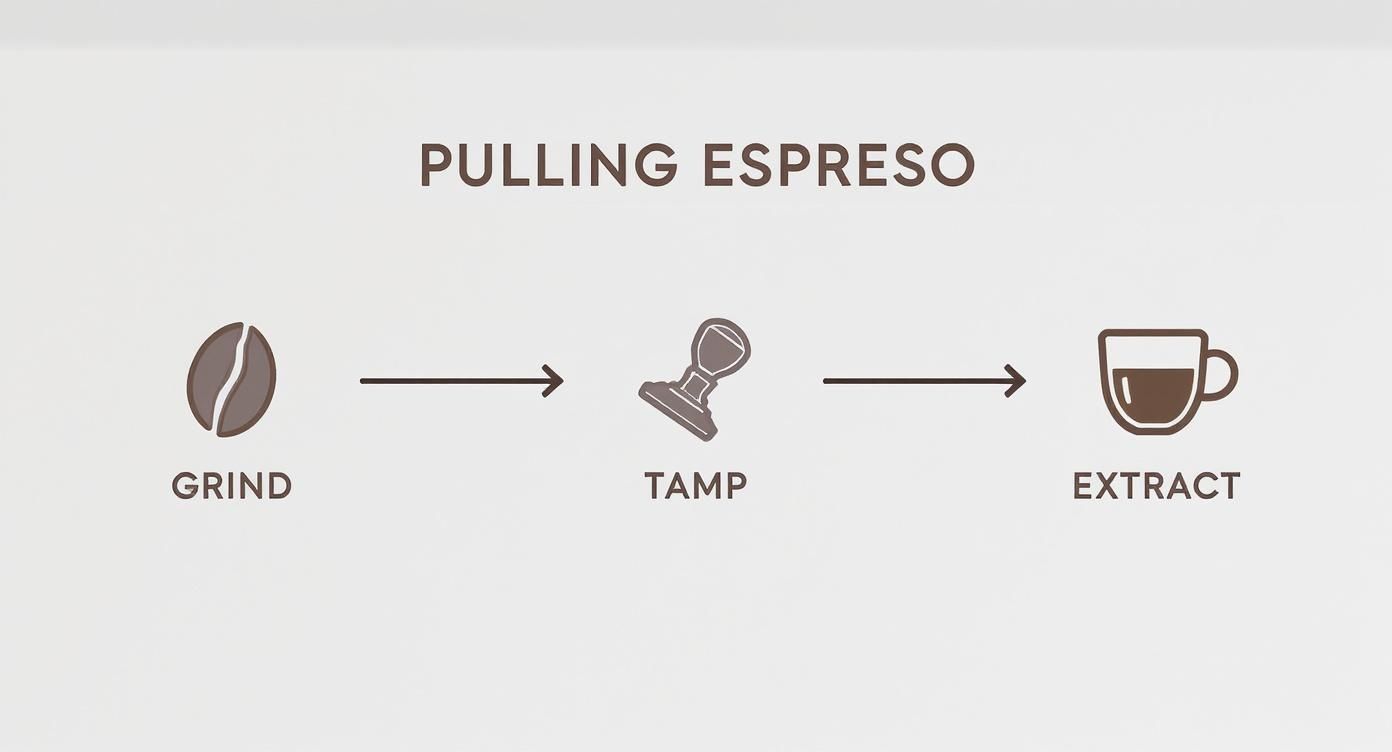
The visualisation highlights the critical sequence from grinding to extraction, which you need to nail before you even think about texturing your milk. The UK has a strong café culture, with around 16% of coffee shop visitors popping in every single day, reinforcing the demand for perfectly crafted drinks.
Building Your Perfect Macchiato

Alright, you’ve pulled a beautiful shot of espresso and textured your milk perfectly. Now for the fun part: bringing it all together. This is where the science of coffee brewing meets a bit of artistry, letting you create some truly distinct and delicious macchiato variations.
We'll kick things off with the classics and then dive into the sweeter, more modern styles you’ll find in most coffee shops today. Think of these recipes less as rigid rules and more as a starting point for crafting a masterpiece in your own kitchen.
The Traditional Espresso Macchiato
This is the original, the one that started it all. If you ask a barista in Italy for a macchiato, this is what you’ll get. Its beauty is in its simplicity, designed to celebrate the pure, intense flavour of the espresso with just a hint of creamy texture.
You only need two things to get it right:
- A perfectly pulled double shot of espresso.
- A tiny spoonful of velvety milk microfoam.
First, pull your espresso shot directly into a small demitasse cup. Once it’s ready, grab your jug of steamed milk. Using a spoon, skim just a dollop of the thickest microfoam from the top and gently place it right in the centre of the espresso’s crema. That’s it. Your espresso is now ‘marked’—or macchiato.
The Layered Latte Macchiato
Next up is the visual opposite of its traditional cousin. The latte macchiato is all about presentation, creating gorgeous, distinct layers of milk and coffee that are almost too pretty to drink.
Here’s how you build it:
- Start by steaming a larger amount of milk, making sure to create a good, airy layer of foam on top.
- Pour the hot, steamed milk into a tall, clear glass until it’s about three-quarters full.
- Now, let it sit for 30-60 seconds. This is the most important step. It allows the heavier liquid milk to separate from the lighter foam, creating the foundation for your layers.
- While the milk is settling, pull your double espresso shot into a separate small pitcher or jug.
- Very slowly and steadily, pour the espresso directly into the centre of the milk foam. The coffee is denser than the foam but lighter than the milk, so it will pierce the top layer and settle neatly in the middle. You'll be left with that classic three-tiered look.
The secret to perfect layers is patience. If you rush the pour or skip letting the milk settle, the espresso will mix in too quickly, and you’ll lose that stunning visual separation.
The Indulgent Caramel Macchiato
For anyone with a sweet tooth, the caramel macchiato is a modern café staple. It’s a rich and satisfying mix of vanilla, steamed milk, espresso, and that all-important caramel finish.
To make a hot one, here’s what you do:
- Add a pump of vanilla syrup to the bottom of your mug first.
- Steam your milk, aiming for a texture similar to what you'd use for a latte.
- Pour the steamed milk directly into the mug, mixing it with the vanilla syrup.
- Slowly pour your espresso shot over the top of the milk.
- Finish it off with a classic crosshatch drizzle of caramel sauce over the foam.
The pouring technique here is quite similar to other milky drinks. If you want a few more pointers on getting that foam just right, our guide on how to make a cappuccino has some excellent tips that apply here too.
The Crowd-Pleasing Iced Caramel Macchiato
Last but not least, we have the incredibly popular iced version. This drink is actually built in reverse, which creates that beautiful cascading effect of dark espresso through the cold milk.
- Start by drizzling caramel sauce around the inside walls of a tall glass.
- Add your vanilla syrup to the bottom.
- Fill the glass with ice cubes, then pour in cold milk until it’s about three-quarters full.
- Slowly pour your freshly pulled espresso shot over the ice and milk. You’ll get to watch it cascade down through the glass.
- Top it all off with one last drizzle of caramel sauce.
Even the most seasoned home baristas have off days. Learning how to make a macchiato is a journey of constant refinement, and figuring out what went wrong is a huge part of that process. So don't get discouraged if a few attempts fall flat; diagnosing the problem is always the first step to perfecting your craft.
The most common hurdles usually fall into two camps: problems with the espresso base itself or fails with the milk texturing. Let’s break down what might be going wrong and, more importantly, how you can fix it.
Fixing a Bad Espresso Shot
An imbalanced espresso shot can torpedo the entire drink, especially in a traditional espresso macchiato where there’s so little milk to hide behind. If you take a sip and something tastes off, it’s almost certainly down to the extraction.
Is it bitter?
A harsh, bitter, or even slightly burnt taste is the classic sign of over-extraction. This is what happens when hot water spends too much time mingling with the coffee grounds, pulling out all sorts of unwanted, bitter compounds along with the good stuff.
The first thing to check is your grind. Is it too fine? Try coarsening it up just a touch. A slightly coarser grind lets the water flow through more quickly, cutting down the extraction time and getting rid of that unpleasant finish.
Is it sour?
On the other hand, a thin, sour, or overly acidic taste points directly to under-extraction. In this scenario, the water has rushed through the coffee grounds too fast, failing to pull out all the sweet, desirable flavours you’re after.
The fix here is the exact opposite of what you’d do for a bitter shot—you need to make your grind finer. This creates more resistance for the water, slowing it down and giving it enough time to properly extract those delicious sugars and oils.
Here’s a simple rule of thumb to remember: Bitter? Go coarser. Sour? Go finer. Making small, incremental tweaks to your grinder is the real secret to finding that sweet spot where your shot is rich, balanced, and full-bodied.
Correcting Milk Frothing Fails
Getting the milk texture right is often the biggest challenge for anyone new to this. You're aiming for a silky, glossy microfoam, not a bubbly mess from a washing-up bowl.
The Issue: Soapy, Bubbly Foam
If your milk looks more like bubble bath than paint, you’ve probably introduced far too much air or failed to mix it in properly. Make sure the steam wand tip is just below the surface for only the first few seconds—this is the 'stretching' phase where you add air.
After that, you need to dip the wand deeper to create a smooth, swirling vortex. This whirlpool motion is crucial because it breaks down any larger bubbles, folding them into that velvety, desirable texture.
The Issue: Overheated, Lifeless Milk
If your milk tastes flat, or even a bit burnt, you’ve definitely overheated it. Pushing milk past 65°C (150°F) completely destroys its natural sugars and proteins, which ruins both the taste and the texture.
A good trick is to keep one hand on the side of your milk jug as you steam. As soon as it becomes too hot to hold comfortably, it’s ready. Perfecting this will give you that sweet, creamy flavour that pairs so beautifully with a great espresso shot.
Got Questions About Macchiatos?
Even with the best guide, a few questions always bubble up when you're mastering a new coffee. Let's tackle some of the most common ones I hear, so you can clear up any doubts and get back to brewing with confidence.
What Is the Real Difference Between a Macchiato and a Cortado?
This is a classic coffee shop debate! The real difference comes down to the milk-to-coffee ratio and the texture of the milk itself. A traditional espresso macchiato is all about the coffee—it's an espresso shot simply 'marked' with a small spoonful of microfoam. The milk is just there to soften the intense edges of the espresso.
A cortado, on the other hand, is built on balance. It uses a roughly 1:1 ratio of espresso to gently steamed milk that has very little foam. This creates a much smoother, more integrated drink where the coffee and milk are equal partners.
The easiest way I remember it is this: a macchiato is about celebrating the espresso, while a cortado is about the harmony between espresso and milk.
Can I Make a Macchiato Without an Espresso Machine?
Absolutely. While a proper espresso machine gives you that perfect, crema-rich base, you can get surprisingly close with other brewers. The secret is to create a strong, concentrated coffee that mimics espresso's intensity. A Moka pot or an AeroPress are brilliant for this.
For the milk, you don't need a steam wand. A simple handheld frother works wonders on warm milk. No frother? No problem. Heat some milk, pop it in a sealed jar, and shake it vigorously. You'll be amazed at the decent foam you can create. It's a fantastic way to enjoy the macchiato experience without shelling out for expensive equipment.
Why Are My Latte Macchiato Layers Not Working?
Ah, the infamous sinking layers. Getting that beautiful separation in a latte macchiato is a delicate dance of density and temperature. If your layers are mixing, it's almost always because the espresso and milk are too close in temperature.
To nail those distinct layers, your frothed milk needs to be hotter and therefore lighter than the espresso. Pour your steamed milk into the glass first and—this is the important part—let it settle for at least 30 seconds. This gives the light foam time to rise to the top, creating a fluffy cap over the denser hot milk below.
Then, pour your espresso shot slowly and steadily right into the centre of the foam. Because the espresso is cooler and denser, it will punch through the airy foam and settle perfectly on top of the hot milk, creating that stunning three-tiered effect.
Ready to find the perfect beans for your next macchiato? The team at Seven Sisters Coffee Co has curated a collection of single-origin and blended beans roasted to perfection right here in the UK. Find your new favourite beans today.