The Definitive Guide to the Perfect Cold Brew Ratio

The secret to ridiculously smooth cold brew isn’t a secret at all: it’s all about the coffee-to-water ratio. Get this right, and you’re well on your way. For a brew that’s good to go straight from the fridge, a standard ratio is around 1:8. If you prefer a punchier concentrate that you can dilute later, you’ll want something closer to 1:4 or 1:5.
This balance is genuinely the most important dial you can turn to control the final strength and flavour.
Understanding the Fundamentals of Cold Brew Ratios
Let’s forget the bitter, acidic shock you can sometimes get from hot coffee. The magic of cold brew is its slow, gentle extraction, which pulls out all the good stuff—creating a drink that’s incredibly smooth, low in acid, and naturally sweet. At the heart of it all is the cold brew ratio, which is just a simple way of describing how much coffee you use for a certain amount of water.
Mastering this is the first and most crucial step to making cafe-quality cold brew in your own kitchen. It's not about complicated science; it's about putting you in control.
Broadly speaking, you’ve got two paths you can take: brewing a versatile concentrate or making a ready-to-drink batch.
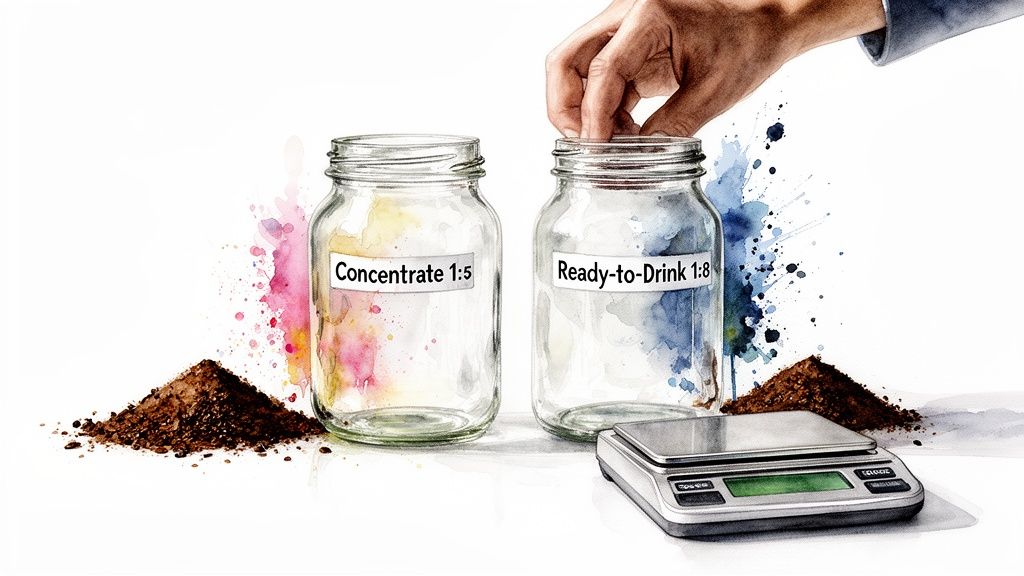
Concentrate vs Ready-to-Drink
Making a cold brew concentrate means using a much higher ratio of coffee to water—usually between 1:4 and 1:5 (that’s one part coffee to four or five parts water). This creates a potent, almost syrupy liquid that you’ll need to dilute with water, milk, or ice before drinking. The big advantage here is versatility. It saves a ton of fridge space and lets you customise the strength of every single glass.
On the other hand, the ready-to-drink method uses a more forgiving ratio, anywhere from 1:8 up to 1:16. As the name implies, the final brew is ready to be poured straight over ice and enjoyed. It’s a simpler, more direct approach, but you lose that flexibility to tweak the strength later on.
Our Take: Go for the concentrate method if you love having control over the strength of each drink and want to save on fridge space. Choose the ready-to-drink method if you prefer simplicity and want your coffee ready to go the moment you pull it out.
This boom in home brewing isn’t just a passing trend. The UK's cold brew market is set to explode from USD 274.12 million to USD 1632.19 million by 2033, which shows just how many of us are discovering the amazing flavour that comes from controlling these simple variables at home.
Which Ratio Should You Choose?
Still on the fence? To help you decide which path to take, here’s a quick rundown of the two main cold brew styles.
Cold Brew Ratio Quick Guide
| Brew Style | Common Ratio (Coffee:Water) | Resulting Flavour Profile | Best For |
|---|---|---|---|
| Concentrate | 1:4 to 1:5 | Bold, intense, syrupy, rich | Diluting with water or milk, coffee cocktails, saving space |
| Ready-to-Drink | 1:8 to 1:16 | Mellow, smooth, light-bodied | Simplicity, immediate consumption, pouring directly over ice |
Whichever ratio you land on, remember that the quality of your ingredients is everything. Using ethically sourced beans that have been roasted in an oxygen-free environment—like our Seven Sisters Coffee—is crucial for preserving the delicate flavour compounds that make a cold brew shine. The water you use is just as important; the wrong kind can introduce weird mineral tastes that throw everything off. For more on that, check out our guide on the best water for coffee in the UK.
Getting the ratio right and using great ingredients is the foundation for a truly exceptional batch of cold brew.
Why Your Coffee Beans and Grind Size Matter
Getting your cold brew ratio right is a huge step, but the final quality of your drink is really decided long before water even touches the coffee. The character of the beans you choose and the texture of your grind are the unsung heroes of a truly exceptional cold brew. They set the stage for either a smooth, flavourful masterpiece or a disappointing, muddy mess.
The slow, gentle nature of cold brewing doesn't use heat to pull out flavour. Instead, it relies on time. This process beautifully highlights certain flavour notes while muting others, which is why not all coffee beans are created equal when it comes to a long, cool steep.
Selecting the Perfect Beans for Cold Brew
Beans with inherent notes of chocolate, nuts, and rich, deep fruits tend to shine brightest in a cold brew. Because there's no intense heat, the bright acidity you might find in some lighter roasts gets toned down. Instead, their natural sweetness is amplified, creating a round, incredibly smooth profile. Think of it as a low-and-slow cooking method for coffee—it brings out depth and richness.
This is exactly why we consistently recommend our Brazil Seven Sisters Single Origin Coffee. Its classic notes of chocolate and nuts provide a fantastic, forgiving base that’s perfect for anyone just starting their cold brew journey. It's balanced, full-bodied, and always delivers that smooth, clean flavour that makes cold brew so appealing.
Of course, experimenting is half the fun. You can explore more options in our guide to the best coffee for cold brew.
The Non-Negotiable Coarse Grind
Once you’ve got your beans, the next critical step is the grind. For cold brew, a coarse grind is absolutely essential. The ideal consistency should look and feel like coarse breadcrumbs or even rock salt.
This larger particle size is crucial for two main reasons.
First, it controls the speed of extraction. A coarse grind exposes less surface area to the water, which allows for a slow, even extraction over the long 12-24 hour steeping period. This simple adjustment is your best defence against the brew becoming bitter and over-extracted.
Second, it makes filtering an absolute breeze. A coarse grind allows water to flow through easily, so it won’t clog your filter or, even worse, pass straight through into your final brew. The result is a clean, clear liquid free from that unpleasant sediment at the bottom of your glass.
A coarse grind is your best defence against a bitter, cloudy, and silty cold brew. It ensures slow, even extraction and makes filtering simple, leading to that signature smooth and clean finish you're looking for.
On the flip side, using a fine, espresso-style grind is a recipe for disaster. The tiny particles offer a massive surface area, causing the coffee to over-extract almost immediately. This leaches out bitter compounds and creates a harsh, astringent taste. Worse still, those fine grounds will inevitably slip through most filters, resulting in a cloudy, gritty brew with a silty texture.
Imagine trying to drain water through a bucket of sand versus a bucket of pebbles. The pebbles (your coarse grind) let the water pass through cleanly. The sand (a fine grind) creates a sludgy blockage. This is exactly what happens inside your cold brew maker. Sticking to a coarse grind is the single most important technique for achieving clarity and a smooth flavour profile, perfectly complementing your chosen cold brew ratio.
A Practical Method For Brewing Cold Brew Concentrate
Alright, let's put the theory into practice. We're going to walk through my go-to method for making a versatile 1:5 cold brew concentrate. This is all about precision and technique, not fancy gear, helping you nail a consistently smooth and flavour-packed brew every single time.
The biggest secret to consistency? Ditch the scoops and cups and grab a digital scale. Measuring your coffee and water in grams is a game-changer. It eliminates all the guesswork and guarantees your cold brew ratio is spot-on, batch after batch. Seriously, this simple switch makes all the difference. You can find excellent digital scales on the ADS Coffee Supplies website.
Gathering Your Tools
Chances are, you already have everything you need. The beauty of cold brew is its simplicity; you don’t need a complicated setup to get great results.
- A Brewing Vessel: A large glass jar, a French press, or even a big jug will do the trick perfectly. If you ever feel like upgrading, a dedicated cold brew maker from ADS Coffee Supplies can make the filtering step a bit tidier.
- A Digital Scale: This is the one non-negotiable item. Weighing your ingredients is the only way to be sure your ratio is accurate.
- Coarsely Ground Coffee: Grab your favourite Seven Sisters beans and grind them to a consistency like coarse breadcrumbs.
- Filtered Water: Cold or room-temperature filtered water is best. Tap water can introduce minerals that mess with the final flavour.
The Brewing Process
Let's work with a common batch size to keep things simple: 100 grams of coffee and 500 grams (or ml) of water for our 1:5 ratio.
Pop your brewing vessel on the digital scale and hit 'tare' to zero it out. Add your 100g of coarse coffee grounds. Tare the scale again, then slowly pour in 500g of filtered water, making sure to wet all the grounds as you go.
Once the water is in, give it a gentle but thorough stir for about 30 seconds. You just want to make sure there are no dry clumps of coffee hiding anywhere. Don't go crazy with the stirring, as over-agitating can pull out some unwanted bitterness.
This infographic really captures why starting with whole beans and getting that coarse grind right is so crucial for a smooth, balanced result.
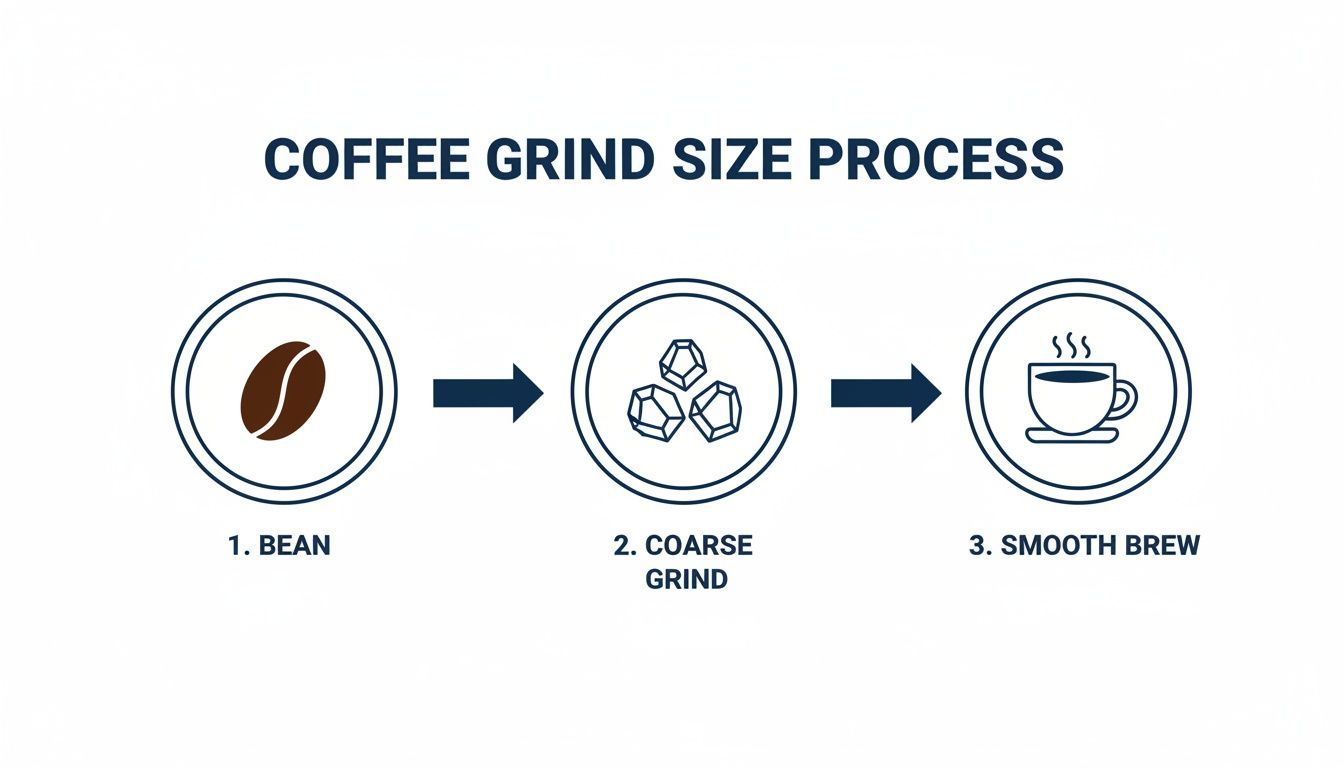
As you can see, that deliberate step from whole bean to a specific coarse texture is what sets you up for a superior, non-bitter cold brew.
Steeping Your Cold Brew
After that quick stir, cover your vessel and let it steep. You can leave it on the kitchen counter at room temperature or pop it in the fridge—the location doesn’t matter as much as the steeping time.
This is where you really get to dial in the flavour. A fantastic starting point is 18 hours.
We find that the 18-hour mark consistently produces a brew that is both strong and balanced—it extracts the deep chocolatey and nutty notes without pulling out any harsh, bitter compounds. It's the sweet spot for a versatile concentrate.
But hey, this is your brew, so feel free to play around. Shorter steeps (12-16 hours) will give you a lighter, more delicate concentrate. Going longer (up to 24 hours) will create something bolder and more intense. Just be careful not to push it much beyond 24 hours, as that’s when over-extraction can start to creep in, no matter how good your grind is.
If you want to get geeky about how grind size impacts extraction, you can learn more about coffee grind sizes in our detailed guide.
Once your steeping time is up, the last step is to filter out the grounds. If you used a French press, just plunge it slowly. For a jar, pour the mixture through a fine-mesh sieve lined with a coffee filter or cheesecloth. The key here is patience—let gravity do the work to avoid stirring up any sediment.
And there you have it: a beautiful, potent concentrate ready for dilution and storage. This simple, precise method puts you in complete control of your cold brew.
How to Dilute, Serve and Store Your Brew
You've patiently steeped your grounds and filtered the brew, and now you're left with a potent, flavour-packed concentrate. This is where the real fun begins. Think of this dark liquid not as a finished drink, but as the perfect base ingredient waiting to be transformed.
The beauty of the concentrate method is its flexibility. You're no longer locked into a single strength; instead, you get to play barista and dial in the perfect cold brew ratio for every single glass. This step is all about personal taste, turning your base brew into your ideal drink.
Finding Your Perfect Dilution Ratio
Diluting your concentrate is simple, and it all comes down to finding a starting point that works for you. The most common approach is mixing your concentrate with either water or milk.
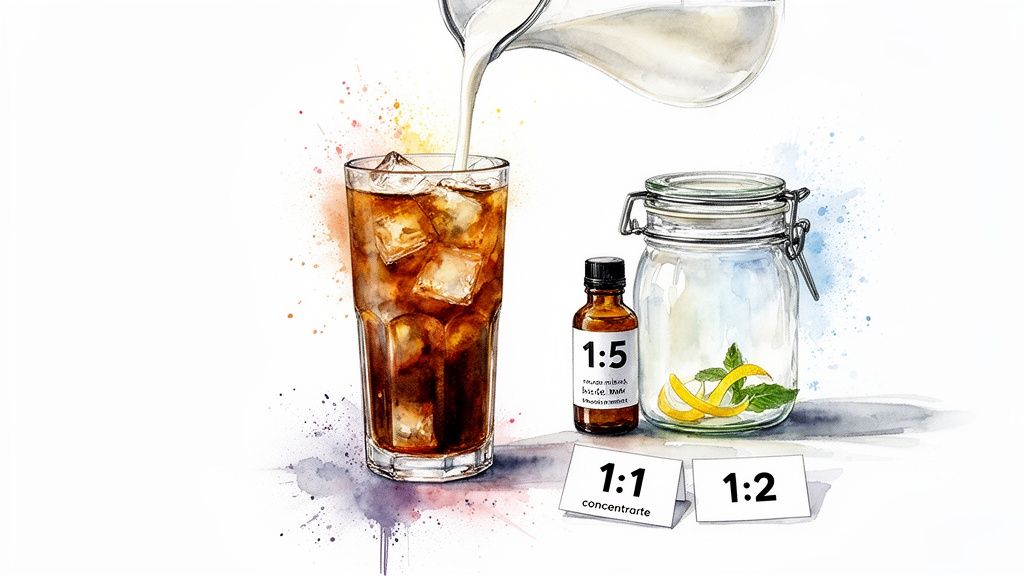
A great place to start is a 1:1 ratio. This just means mixing one part cold brew concentrate with one part water or milk. For example, if you pour 100ml of concentrate over ice, you would add another 100ml of water. This creates a strong, robust coffee that’s still incredibly smooth and refreshing.
If you prefer something a little less intense, a 1:2 ratio is an excellent alternative. For every 100ml of concentrate, you’d add 200ml of water or milk. This gives you a lighter, more mellow drink that many people find perfect for an afternoon pick-me-up.
Our Pro Tip: Don't just pour and hope for the best. Start with a 1:1 ratio, take a sip, and then adjust. Too strong? Add a little more water. Not punchy enough? Add a splash more concentrate. Your taste buds are the ultimate guide.
The type of milk you choose can also dramatically change the experience.
- Dairy Milk: Whole milk adds a creamy richness that complements the deep chocolatey notes of beans like our Brazil Seven Sisters.
- Oat Milk: This is a fantastic partner for cold brew, offering a creamy texture and subtle sweetness without overpowering the coffee's natural flavour.
- Almond Milk: A lighter option that adds a hint of nuttiness, creating a more delicate drink.
Experimentation is key here. Try different ratios and mixers until you find the combination that makes you say, "Ah, that's the one."
Creative Ways to Serve Your Cold Brew
Your concentrate's potential extends far beyond a simple iced coffee. Its smooth, low-acid profile makes it an incredibly versatile ingredient for all sorts of creative drinks.
For instance, it’s a brilliant base for coffee cocktails. A splash of concentrate can replace the traditional espresso shot in an Espresso Martini for a smoother, less bitter finish. You could also try mixing it with tonic water and a twist of orange for a refreshing coffee spritz.
Another simple idea is to freeze your concentrate in an ice cube tray. Using these coffee ice cubes prevents your drink from becoming diluted as the ice melts, keeping that rich flavour consistent from the first sip to the last. This is a simple trick that elevates the entire experience. You can find more inspiration in our guide on how to make iced coffee at home.
Storing Your Concentrate for Lasting Freshness
Proper storage is crucial for preserving the delicious, smooth flavour you worked so hard to create. Once filtered, your cold brew concentrate is best kept in the refrigerator.
The biggest enemy of fresh coffee is oxygen. Exposure to air will cause the delicate flavour compounds to break down—a process known as oxidation—leading to a stale, flat taste. To prevent this, store your concentrate in a sealed, airtight container. A glass jar with a tight-fitting lid, like a Kilner jar, is perfect for the job. You can find a range of suitable coffee storage solutions at ADS Coffee Supplies.
When stored correctly in an airtight container in the fridge, your cold brew concentrate will stay fresh and flavourful for up to two weeks. This means you can brew one large batch on a Sunday and have perfectly crafted coffee ready to go for the fortnight ahead, ensuring your last glass tastes just as vibrant as the first.
Troubleshooting Common Cold Brew Problems
Even with the best instructions and a perfect cold brew ratio, some batches just don’t turn out right. Don't sweat it—this happens to everyone, even the pros. Think of these moments less as failures and more as learning opportunities to dial in your technique. Often, a few small tweaks can turn a disappointing brew into your best one yet.
This section is your go-to guide for figuring out what went wrong. We’ll break down why your cold brew might taste weak, bitter, or look cloudy, and give you clear, straightforward fixes to get you back on track.
Why Does My Cold Brew Taste Weak or Watery?
A weak, underwhelming cold brew is probably the most common complaint we hear. You put in the time for a long steep, only to be rewarded with something that tastes more like coffee-flavoured water than a rich, satisfying drink. In my experience, this almost always boils down to one of three culprits.
The most obvious reason is your cold brew ratio. If you’re using a ready-to-drink ratio like 1:12 or higher and it just isn’t hitting the mark, you might simply prefer a stronger coffee. The easy fix here is to adjust your ratio next batch—try shifting to a 1:10 or even a 1:8 for a more robust result.
Another huge factor is under-extraction. This happens when the water hasn't had enough time or the right conditions to pull all those delicious, soluble compounds out of the coffee grounds.
- Steep Time Was Too Short: If you only steeped for 12 hours, try pushing it to 18 or even 20 hours. That extra contact time gives the water a much better chance to extract those deep, chocolatey notes we all love.
- Grind Was Too Coarse: A coarse grind is what you want, but if it’s excessively coarse—think chunky gravel—the water will pass through without grabbing much flavour. Try a slightly finer setting next time, aiming for that classic coarse breadcrumb texture.
A simple tweak to your ratio or a longer steep time is usually all it takes to get the depth and body you’re looking for.
How to Fix Bitter or Astringent Cold Brew
On the flip side, you have the dreaded bitter brew. Cold brew is famous for being incredibly smooth, so if you’re getting a harsh, astringent aftertaste, something has definitely gone sideways during extraction. This is almost always a classic case of over-extraction.
Over-extraction is what happens when the water has pulled too much from the coffee, including the unpleasant, bitter-tasting compounds. It’s basically the coffee equivalent of leaving a tea bag in your mug for way too long.
Here’s how to pinpoint and solve it:
- Your Grind Is Too Fine: This is the number one cause of bitterness, hands down. A fine, espresso-like grind has a massive surface area, causing the coffee to extract way too quickly and turning your brew into a bitter sludge. Always stick to a coarse grind.
- You Steeped for Too Long: While a long steep is great, there’s a limit. Pushing a brew past the 24-hour mark, especially in a warm kitchen, can easily lead to over-extraction. Try dialling back your steep time by a few hours.
- Agitation Was Too Aggressive: A gentle stir when you first mix the coffee and water is all you need. If you’re shaking or vigorously stirring the container during the steeping process, you’re just speeding up extraction and inviting bitterness in.
The quickest fix for a bitter brew is to check your grind size. Shifting to a coarser setting almost always solves the problem, restoring the smooth, clean flavour profile that cold brew is known for.
By making sure your grind is properly coarse and your steep time stays within that sweet spot of 12-24 hours, you can easily dodge bitterness and achieve that signature smoothness.
Getting Rid of a Cloudy or Silty Brew
A great cold brew should be clean and clear, not murky. If you’re pouring a cloudy liquid with a layer of fine silt at the bottom of your glass, the problem lies with your filtration. This sediment doesn't just look unappetising; it adds a gritty, chalky texture to the drink.
The culprit behind a cloudy brew is almost always fine coffee particles, or 'fines', that have slipped through into your final product. This usually happens for a couple of reasons.
First, if you're using a blade grinder instead of a burr grinder, you're likely creating an inconsistent grind with a lot of fine coffee dust. A quality burr grinder from ADS Coffee Supplies makes a world of difference by producing much more uniform grounds.
Second, your filtering method might not be up to the task of catching these tiny particles. If you're relying on a French press or a simple metal sieve, some fines will inevitably get through. For ultimate clarity, double-down on your filtering. You can line your sieve with a paper coffee filter or even a piece of cheesecloth. A paper filter, in particular, is fantastic at trapping even the smallest particles. For a deeper dive into how different filters can affect your brew, check out our article on bleached vs unbleached filter papers.
By refining your grind consistency and beefing up your filtration, you’ll be rewarded with a crystal-clear, delicious brew every single time.
Your Cold Brew Questions Answered
We’ve covered a lot of ground on the journey to the perfect cold brew ratio. Still, a few questions always seem to come up when you start experimenting. Let's tackle those common head-scratchers so you can brew with complete confidence.
Can I Use a Finer Grind for Less Brew Time?
It seems logical, right? A finer grind should extract faster. While that’s technically true, this is one shortcut we really recommend you avoid. Using a fine grind dramatically increases the coffee’s surface area, but it leads to a really messy and uneven extraction. The result is often bitter and astringent, stripping away that signature smoothness we’re all chasing with cold brew.
Worse still, fine grounds are a nightmare to filter. They create a thick sludge that clogs any filter you throw at it and almost always leaves you with a cloudy, silty drink. For that clean, rich flavour, sticking with a coarse grind and being patient is always the better move.
What Is the Best Water Temperature for Cold Brew?
For a classic cold brew, cool or room-temperature water is exactly what you need. There’s no benefit to pre-chilling it. The whole point of cold brewing is the slow, gentle extraction that happens without heat, which is precisely what keeps the acidity and bitterness so low compared to hot coffee.
Water straight from the tap or from a filter in the fridge is perfect. The only rule is to avoid hot water completely. Adding heat would kickstart the extraction of the very acids and oils the cold brew method is designed to leave behind, completely changing the flavour profile.
How Does the Roast Profile Affect the Cold Brew Ratio?
The roast profile of your beans makes a huge difference in how they’ll behave over a long steep.
- Lighter Roasts: These beans tend to have more delicate, acidic, and floral notes. To really coax these flavours out without them tasting sour, you might need a slightly stronger cold brew ratio (like 1:4 for concentrate) or just a longer brew time.
- Darker Roasts: With their bolder, richer notes, dark roasts give up their flavour very easily. They can quickly become overpowering, so a less concentrated ratio (think 1:5 or even 1:6) often works best to keep things balanced and avoid any harsh, roasty bitterness.
We’ve found that a good medium roast, like our Brazil Seven Sisters, is a fantastic and forgiving starting point. It’s robust enough for a long steep but won’t easily turn bitter, making it ideal for dialling in your perfect ratio.
My Cold Brew Tastes Weak. What Should I Fix?
If your cold brew comes out tasting watery, you’ve got two main levers to pull: add more coffee or brew for longer. Both work, but they fix slightly different problems, so it helps to figure out what’s really going on first.
Does the brew taste watery but the flavour itself is pleasant and balanced? That’s almost certainly a ratio issue. The easiest fix is to simply use more coffee next time. For example, you could shift from a 1:8 to a 1:7 ready-to-drink ratio.
But what if the flavour is there, just a bit thin and underdeveloped? That’s a sign you should extend the brew time. An extra 2-4 hours of steeping can add incredible depth and complexity. Our best advice is to only change one variable at a time—either the ratio or the time—to really pinpoint what your brew needs.
Ready to put these tips into action? At Seven Sisters Coffee Co, we provide freshly roasted beans that are perfect for creating exceptionally smooth cold brew at home. Explore our full range of single-origin coffees and find your new favourite.