Cafetière How to Use: A Simple Brewer’s Guide
Learning how to use a cafetière properly is less about following a rigid formula and more about mastering a simple, hands-on ritual that truly kickstarts the day. The whole process is wonderfully straightforward: combine coarsely ground coffee with hot water, let it steep for four minutes, and then slowly press the plunger down to filter the brew. What you're left with is a rich, full-bodied cup, ready in minutes.
Why the Cafetière Is a UK Kitchen Staple
Let's be honest, the cafetière holds a special place in British kitchens. It’s more than just another coffee maker; for millions of us, it’s a dependable, almost comforting part of the morning routine. Its popularity has lasted for decades, and for good reason—it’s just so simple. No pods, no complex electronics, just a direct path to a brilliant cup of coffee.
That simplicity is a huge part of its charm in a country that’s mad about coffee. Did you know that as a nation, we drink around 98 million cups of coffee daily? It's a figure that really shows our collective passion for a quality brew. The cafetière fits into this culture perfectly, offering a wallet-friendly way to enjoy freshly ground coffee right at home.
An Uncomplicated Brewing Ritual
The real beauty of the cafetière is the connection it gives you to the coffee-making process. You’re in control of everything—from the grind of the beans to the exact brew time—making every single cup your own. It's a welcome, tactile break from the push-button world of modern automated machines.
Here’s exactly why it remains so beloved:
- Affordability: It’s hands-down one of the most budget-friendly ways to make genuinely excellent coffee.
- Rich Flavour: The metal mesh filter lets all the natural coffee oils through into your cup, giving it a full-bodied texture and robust flavour you just don’t get from paper filters.
- No Fuss: Because it doesn't need electricity or disposable pods, it’s a more sustainable choice that’s also incredibly easy to clean and maintain.
The cafetière is proof that you don't need expensive, flashy equipment to make exceptional coffee. It really all comes down to the fundamentals: good beans, the right grind, and proper technique. This guide will walk you through all of it.
This guide is designed to take you from a complete beginner to a confident home barista. While we’re focusing on the unique simplicity of the cafetière, if you're curious about the wider world of coffee brewing or even professional setups, looking into the different types of coffee machines for cafes can offer a fascinating perspective. For now, though, we'll show you how to master the core principles right here, proving that a fantastic brew is far easier to achieve than you might think.
Getting the Foundations Right for a Perfect Brew
Before a single drop of hot water hits your coffee, you’ve already set the stage for success or failure. Nailing a few fundamentals is the real secret behind a rich, satisfying cafetière coffee. It’s what separates a muddy, disappointing cup from one that’s clean, balanced, and packed with flavour.
Let's break down the non-negotiables, from the coffee grounds to the water temperature, so you can brew with confidence every single time.
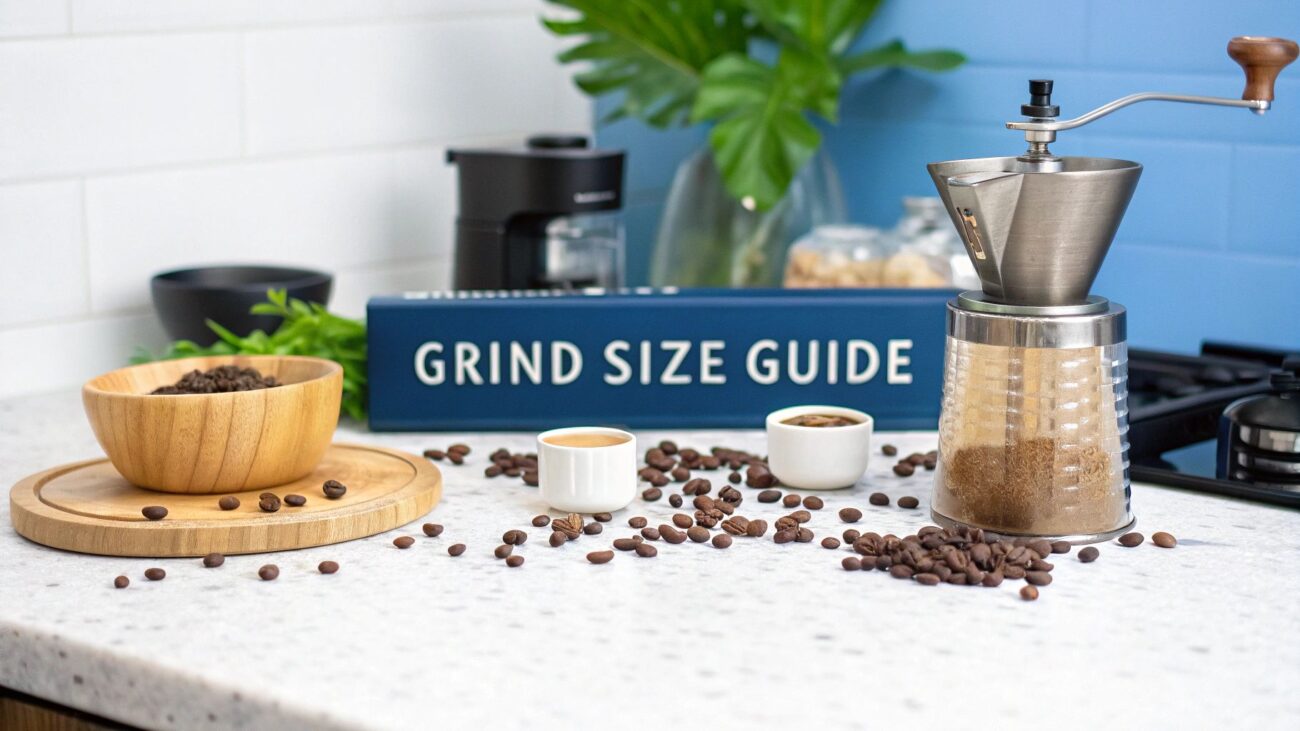
Why Grind Size Is Everything
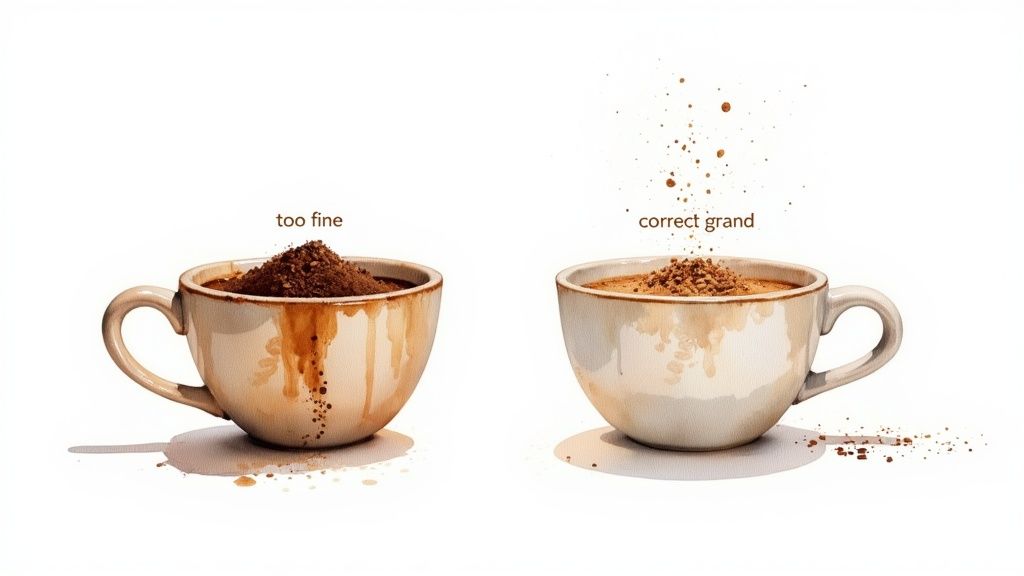
If you take only one thing away from this guide, let it be this: grind size is the single most important factor for a cafetière. Get this wrong, and you’re fighting a losing battle. For this method, you absolutely need a coarse grind—think chunky sea salt or rustic breadcrumbs.
This isn’t just a fussy coffee preference; it’s pure physics. The metal mesh filter in your cafetière is designed to let the flavourful oils and water pass through while trapping the solid grounds. If your grind is too fine, like the powder you’d use for espresso, a couple of bad things will happen:
- Over-extraction: Those tiny particles have a massive surface area, so they release their flavour compounds way too quickly. The result? A bitter, harsh, and genuinely unpleasant taste.
- Sludge: Fine grounds will sail straight through the filter, leaving a silty layer at the bottom of your mug and a gritty, muddy texture in your mouth.
A coarse grind is your best defence against a sludgy, bitter cup. It allows for a balanced extraction and ensures a clean press, leaving the undesirable sediment behind.
On the other hand, if the grind is too coarse, the water will flow through without grabbing enough flavour, leaving you with a weak, sour, and unsatisfying brew. It’s all about finding that sweet spot. For a deep dive into getting it just right, check out our complete coffee grind size guide.
Demystifying the Coffee to Water Ratio
Once your grind is sorted, the next piece of the puzzle is the ratio of coffee to water. This is what dictates the strength and body of your final brew. While you can always tweak it to your personal taste, a brilliant starting point for any cafetière is a 1:15 ratio.
Put simply, this means for every 1 gram of coffee, you use 15 grams (or ml) of water.
A common and easy-to-remember recipe is 60 grams of coffee per 1 litre (1000g) of water. Popping your cafetière on a digital scale is the best way to guarantee accuracy, but if you’re without one, this works out to roughly 4 heaped tablespoons of coffee for a large cafetière.
For a bit of context, while 80% of UK households still buy instant coffee, the love for quality ground coffee is growing steadily. This shift highlights just how much we're embracing better home-brewing methods.
Here’s a quick-reference table to help you get the amounts right for the most common cafetière sizes, all based on that golden 1:15 ratio.
Cafetière Coffee to Water Ratio Guide
| Cafetière Size | Coffee (Coarsely Ground) | Water (Just off the Boil) | Yields Approx. |
|---|---|---|---|
| 3-Cup (350ml) | 23g (1.5 heaped tbsp) | 350ml | 1 large mug |
| 8-Cup (1L) | 60g (4 heaped tbsp) | 1000ml | 3-4 standard mugs |
| 12-Cup (1.5L) | 90g (6 heaped tbsp) | 1500ml | 5-6 standard mugs |
Using this table takes the guesswork out of measuring, helping you achieve a consistently delicious brew every single time.
The Importance of Water Temperature
You might think that boiling water is the way to go, but pouring it straight from the kettle is one of the quickest ways to ruin perfectly good coffee. Water boils at 100°C, which is far too hot for the delicate compounds in coffee grounds. It literally scorches them on contact, destroying all the nuanced aromatics and extracting nothing but bitter, astringent flavours.
The ideal water temperature for a cafetière is between 92°C and 96°C.
Don’t have a fancy temperature-controlled kettle? Don’t worry. The easiest trick in the book is to boil your kettle and then just let it sit with the lid open for 30 to 60 seconds before you pour. That short pause is all it takes to bring the temperature down into that perfect brewing window.
One Final Pro Tip: Pre-Heat Your Press
This last step is incredibly simple but makes a surprising difference: pre-heating your cafetière. If you pour lovely hot water into a cold glass or metal jug, the overall temperature of your brew will drop instantly.
This sudden temperature drop can lead to under-extraction, giving you a brew that tastes weak or even a bit sour.
To avoid this, just pour a splash of hot water from your kettle into the empty cafetière and give it a swirl for a few seconds. Tip it out right before you add your coffee grounds. It's a quick, easy habit that helps maintain a stable brewing temperature from start to finish, ensuring a much more balanced and consistent extraction.
Mastering Your Brewing and Plunging Technique
You’ve got your coarsely ground coffee and perfectly heated water at the ready, so it’s time for the main event. This is where the magic really happens, turning simple ingredients into a rich, aromatic, and deeply satisfying brew.
Learning how to use a cafetière is a simple ritual, but paying attention to the details—timing, pouring, and plunging—makes all the difference. Get these steps right, and you'll consistently produce a cup that rivals your favourite local coffee shop.
Before we dive in, here’s a quick visual reminder of the fundamentals.
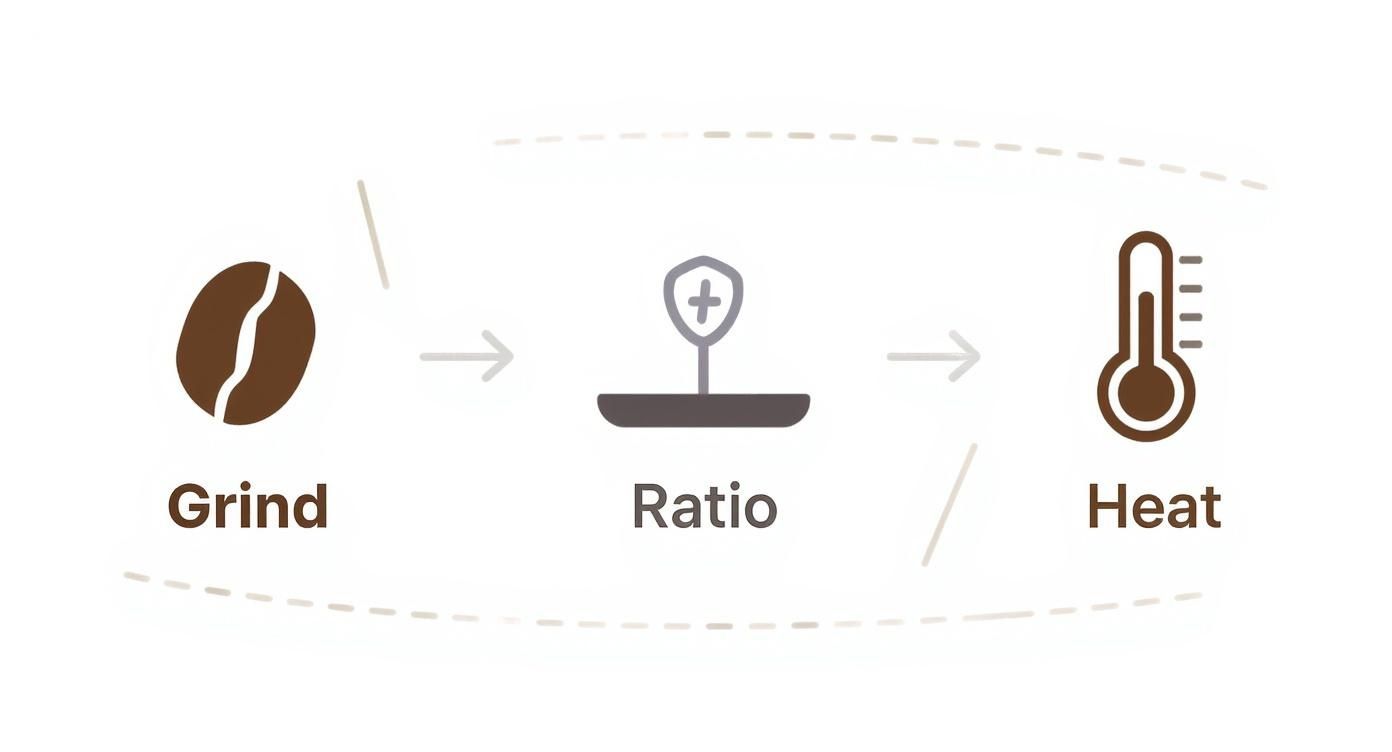
This simple flow—Grind, Ratio, Heat—is the foundation. It ensures every component is perfectly primed for a beautiful extraction.
The Bloom, The Pour, And The Stir
First things first, add your coarse coffee grounds to the pre-heated cafetière. Start a timer the moment you start pouring the water. Trust me, this is crucial for consistency.
Now for the initial pour. Add just enough hot water to completely saturate all the grounds—about double the weight of the coffee itself is a good rule of thumb. You’ll see the coffee bed puff up and bubble. This is called the bloom, and it’s a vital step. It allows trapped carbon dioxide from the roasting process to escape, clearing the way for the water to properly extract the coffee’s full flavour.
After letting it bloom for about 30 seconds, go ahead and pour the rest of your hot water in a steady, circular motion until you've hit the correct amount.
Once all the water is in, give it a very gentle stir. Use something like a wooden or plastic spoon to avoid scratching the glass. You’re just aiming to break up any clumps and make sure all the grounds are fully submerged. One or two gentle stirs is all it takes.
The Four-Minute Brew
Now comes the easiest, but arguably most important, part: waiting. The classic brew time for a cafetière is four minutes.
This isn't just an arbitrary number. Four minutes is the sweet spot that allows for a balanced extraction from coarse grounds. Any shorter and you risk a weak, sour, and under-extracted coffee. Any longer, and you start pulling out bitter compounds, resulting in a harsh, unpleasant taste.
The four-minute steep is your key to a balanced cup. It allows just enough time for the water to extract the desirable oils and flavour compounds without drawing out the bitterness.
During this wait, place the lid on top of the cafetière with the plunger pulled all the way up. This traps the heat, maintaining a stable temperature throughout the brew. You can explore how different temperatures impact flavour in our guide on the best water temperature for coffee, but for now, just keeping it consistent is what matters.
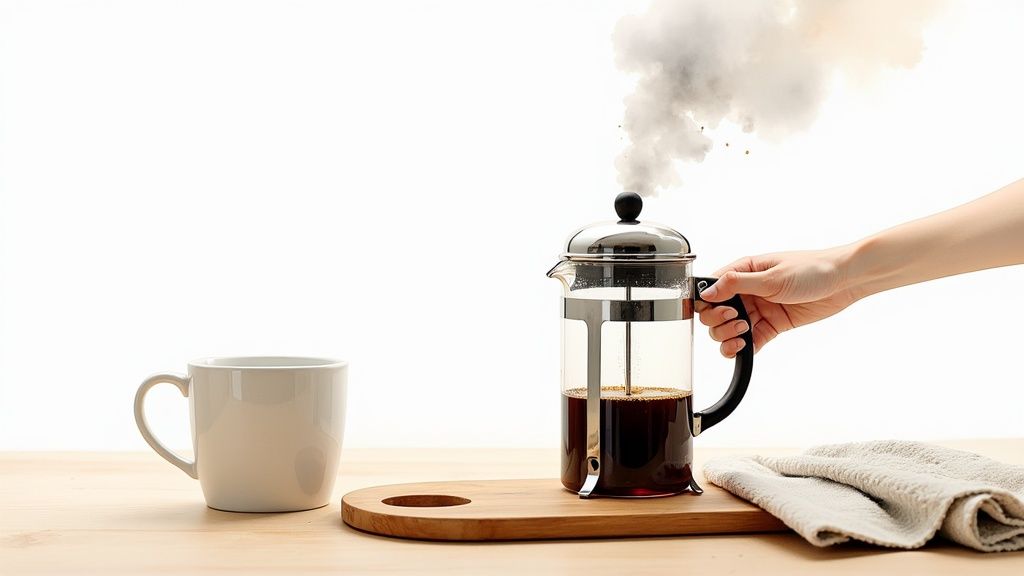
The Perfect Plunge
When your four-minute timer goes off, it's time for the final, decisive action. How you perform this step will directly impact the clarity and taste of your coffee. The goal here is slow and steady.
Grip the handle firmly and begin to press the plunger down with gentle, consistent pressure. You should feel a bit of resistance, but it shouldn't feel like a workout. A good plunge should take around 15 to 20 seconds from top to bottom.
Why the slow pace? Pushing down too fast creates turbulence, kicking up all the fine particles (the 'fines') from the bottom and forcing them through the mesh filter. That’s a one-way ticket to a cup full of silt and sludge. A slow, gentle press keeps those fines settled at the bottom, right where they belong.
Here’s what to look out for:
- Too much resistance? If it feels like you're having to force it down, your coffee grind is almost certainly too fine.
- No resistance at all? If the plunger sinks with zero effort, your grind is likely too coarse, and your coffee may taste weak.
The Final Step Everyone Forgets
You’ve plunged your coffee to perfection. Job done, right? Not quite. There's one final, crucial step that so many people overlook: decanting the coffee immediately.
As long as the brewed coffee sits on top of the grounds at the bottom of the cafetière, it is still extracting. If you leave it in the press, it will continue to brew, becoming progressively more bitter and over-extracted with each passing minute.
To stop the process dead in its tracks, pour the entire batch of coffee out of the cafetière and into your mugs or a separate serving jug right away. This simple action preserves the perfectly balanced flavour you worked so hard to achieve. It guarantees that the last sip tastes just as good as the first.
Taking Your Cafetière Coffee to the Next Level
Once you’ve nailed the basics, the real fun begins. Stepping beyond the standard four-minute brew opens up a world of experimentation, allowing you to fine-tune your technique and transform a good cup of coffee into something truly exceptional. This is where you get to play.
By making small, deliberate tweaks, you can completely change the character of your coffee. It’s all about understanding how each variable—from brew time to the beans themselves—shapes the final taste in your mug.
The James Hoffmann Method: A Masterclass in Clean Brewing
One of the most respected techniques in the coffee world comes from expert James Hoffmann. While it might seem a bit unconventional at first, his method is legendary for producing a remarkably clean, sediment-free cup that still has that rich body we love from a cafetière. The results really do speak for themselves.
The whole philosophy centres on two things: patience and minimal disturbance. Here’s how it works:
- Start the Brew: Add your coffee and hot water as you normally would. Pop the lid on and let it steep for four minutes.
- Break the Crust: After that initial steep, you’ll notice a thick crust of coffee grounds floating on top. Take a spoon and gently stir just the surface to break it up, letting most of the grounds sink.
- Scoop the Gunk: Now you’ll see a layer of foam and a few stray grounds left on the surface. Use two spoons to carefully scoop this off. This simple step is a game-changer for getting rid of the fine particles that create sludge.
- Wait… and Wait Some More: This is where the magic happens. Put the lid back on and just let the coffee sit for another five to eight minutes. Seriously. This extended wait gives all the fine sediment time to settle at the bottom.
- The Gentle Plunge: When you’re finally ready to serve, don't jam the plunger all the way down. Just press the filter gently until it’s just below the spout. It’s acting as a strainer now, not a press.
- Pour with Care: Pour your coffee out slowly and steadily, trying not to disturb that settled layer of grounds at the bottom.
This patient, multi-step process drastically reduces sediment in your cup. By letting gravity do the heavy lifting, you get a much cleaner flavour profile without losing that classic, full-bodied texture.
The total brew time of nine minutes or more might seem long, but it has the added benefit of letting the coffee cool to a perfect drinking temperature.
Becoming Your Own Coffee Alchemist
Beyond following a specific recipe, you can start tweaking the individual variables yourself. Think of your standard brew as a baseline, then adjust one thing at a time to see what happens.
For instance, if your coffee tastes a bit too bright or acidic, try adding another 30 seconds to the brew time. That extra contact can bring out deeper, richer notes of chocolate or nuts. On the flip side, if your coffee is tasting a bit heavy or bitter, try shortening the brew time to highlight its more delicate, fruity side.
Grind size is another powerful tool. While coarse is the go-to, nudging it slightly finer can boost extraction for a stronger, more intense flavour. Just be warned: a finer grind means a slow, gentle plunge is absolutely essential to avoid a muddy mess.
It All Starts With the Bean
Of course, no amount of fancy technique can save bad coffee. To truly elevate your brew, the quality and type of bean you choose are everything. The full-immersion style of the cafetière is brilliant at showing off the unique flavours of great coffee.
A medium-roast is often the sweet spot, giving you a wonderful balance of acidity, body, and sweetness. This is where you can really start to taste the difference between origins. Exploring the world of single-origin coffee beans can completely change how you see coffee. An Ethiopian Yirgacheffe might taste bright, floral, and almost tea-like, whereas a Colombian bean could be rounder, with notes of chocolate and citrus. The cafetière lets these distinct personalities shine.
Experiment with confidence, taste everything mindfully, and you'll soon find the perfect combination of bean, grind, and time to create a cup that’s uniquely yours.
Troubleshooting Common Cafetière Problems
Even the most seasoned home brewer runs into a bit of bother now and then. One morning your cafetière produces a perfect cup, the next it’s a muddy, bitter disappointment. Don't just guess what went wrong—let's walk through how to diagnose and fix the most common frustrations.
By linking each problem back to the core principles of cafetière brewing, you won't just fix today's cup. You'll get a better feel for the whole process, leading to consistently brilliant coffee, day in and day out.
Why Is My Coffee Muddy or Silty?
A sludgy, gritty texture is probably the most frequent complaint from cafetière users, but thankfully, it's also one of the easiest to fix. It nearly always comes down to one of two things.
First, check your grind. If your coffee is ground too finely, those tiny particles will slip straight through the mesh filter and settle as sediment in your mug. Your grind should look and feel like coarse sea salt.
Second, think about how you plunge. A fast, forceful push creates a whirlpool inside, kicking up all those fine particles and forcing them through the filter. Always press slowly and gently, taking a good 15-20 seconds to reach the bottom. It makes a world of difference.
How to Fix Weak or Watery Coffee
A weak, lifeless brew can be incredibly disheartening, especially when you need that morning boost. This problem points directly to under-extraction, which simply means the water hasn't had enough chance to pull all the lovely flavours from the grounds.
There are a few simple tweaks you can make:
- Check Your Ratio: This is the most likely culprit. Are you using enough coffee? A solid starting point is 60 grams of coffee per litre of water.
- Give It More Time: If your ratio is spot on, try letting it brew for five minutes instead of four. That extra minute gives the water more contact time to work its magic.
- Go a Little Finer: While you want a coarse grind, if it's too coarse, water will just rush past it. Try a slightly finer setting to increase the surface area the water has to interact with.
For a deeper dive into perfecting your technique, you can explore more tips in our comprehensive guides on how to brew coffee.
Getting Rid of That Bitter Taste
Bitter coffee is a clear sign of over-extraction—the exact opposite of a weak brew. It happens when the water pulls too many of the wrong compounds from the coffee, creating a harsh, astringent flavour that makes you wince.
Bitterness is your coffee screaming for help. It usually means something in your process was too hot, brewed for too long, or both. The fix is often as simple as letting your kettle cool for a moment or setting a timer.
To get rid of bitterness, focus on these three areas. First, water temperature is critical; let your kettle sit for 30-60 seconds after it boils. Second, stick religiously to that four-minute brew time, as steeping for too long is a primary cause of bitterness.
Finally, and this is a big one, pour all the coffee out immediately after plunging. If you leave it sitting in the cafetière on top of the grounds, it just keeps extracting, getting more and more bitter by the minute.
To make things even easier, here’s a quick-glance table to help you diagnose and solve any issues that pop up.
Common Cafetière Brewing Issues and Fixes
| Problem | Likely Cause(s) | How to Fix It |
|---|---|---|
| Muddy or Silty Coffee | Coffee ground too fine. Plunging too quickly. |
Use a coarser grind. Plunge slowly over 15-20 seconds. |
| Weak or Watery Coffee | Incorrect coffee-to-water ratio. Brew time is too short. Grind is too coarse. |
Use 60g of coffee per litre. Increase brew time to 5 minutes. Use a slightly finer grind setting. |
| Bitter or Harsh Coffee | Water is too hot. Brew time is too long. Coffee left in the cafetière after plunging. |
Let water cool for 30-60 seconds. Stick to a strict 4-minute brew time. Decant all coffee immediately. |
With these fixes in your back pocket, you should be able to get back to brewing a consistently delicious cup of coffee every single time. Happy brewing!
Frequently Asked Questions About Using a Cafetière
Even with the best instructions, a few questions always seem to pop up when you're trying to perfect your cafetière brew. Let's tackle the queries we hear most often so you can troubleshoot your technique and brew with total confidence.
Think of this as your go-to guide for clearing up any lingering doubts.
Can I Use Pre-Ground Coffee in My Cafetière?
You certainly can, but it’s almost always a compromise. The vast majority of pre-ground coffee is milled for drip filters, which is far too fine for a cafetière. This fine grind is the number one culprit behind a muddy, silty cup and can make the plunger surprisingly difficult to press down.
If you have to buy pre-ground, look for bags specifically labelled "coarse ground" or "for cafetière/French press". For the absolute best flavour and clarity, though, nothing beats grinding fresh beans just before you brew.
How Do I Properly Clean My Cafetière?
Proper cleaning is non-negotiable for great-tasting coffee. It stops old, rancid oils from building up and ruining your next cup.
For a quick daily clean, the most important step is to scoop out the used grounds. Whatever you do, don't wash them down the sink—it’s a recipe for a blocked drain. A much better home for them is your garden or compost heap. Our guide on composting coffee grounds has some great tips on this.
After removing the grounds, just rinse the glass carafe and plunger with warm water. For a more thorough weekly deep clean:
- Completely disassemble the plunger’s mesh filter and metal plates.
- Wash all the individual parts in warm, soapy water.
- For stubborn coffee stains, a 30-minute soak in a solution of bicarbonate of soda and hot water will leave it sparkling.
A clean press is a happy press. Taking a few moments to properly wash your cafetière ensures that each brew starts with a clean slate, free from the bitter taste of old coffee oils.
What Is the Main Taste Difference from Other Methods?
It all comes down to the filter. A cafetière uses a metal mesh filter, which allows the coffee’s natural oils and some microscopic solids (known as fines) to pass through into your cup. This is what gives cafetière coffee its signature rich, full-bodied texture and robust flavour profile.
In contrast, methods like a V60 or a standard drip machine use paper filters. These trap the vast majority of those oils and fine particles. The result is a coffee that is much "cleaner" and lighter in body, often highlighting brighter, more acidic, and delicate flavour notes.
Neither is better—they simply offer two wonderfully different coffee experiences.
Ready to brew a truly exceptional cup? The journey begins with extraordinary beans. At Seven Sisters Coffee Co, we source and roast coffee designed to shine in your cafetière. Explore our collection and taste the difference that quality makes.
Shop Our Coffee Collection