How to Use a Cafetiere for Perfect French Press Coffee

Using a cafetiere, or French press, is one of the most satisfying ways to brew coffee. It's a simple, hands-on method that produces a rich, full-bodied cup by steeping coarse grounds in hot water before plunging. The real magic, though, lies in getting the details right – particularly the grind size and water temperature – to avoid that gritty or bitter taste nobody wants. Get those sorted, and you can transform your morning coffee into a truly delightful ritual.
Brewing Your Best Coffee With a Cafetiere
Welcome to the definitive guide for mastering the cafetiere. This method is loved for its simplicity and the deep, immersive flavour it produces, but it’s often misunderstood. If you've ever been let down by a weak or gritty cup from your French press, you're in the right place. We're here to show you exactly how to unlock an exceptional brew, right in your own kitchen.
This process is so much more than just pouring hot water over coffee grounds; it’s a craft. We'll start with the fundamentals that separate a mediocre brew from a memorable one, covering the absolute must-haves for your setup. Think of this as your quick, actionable overview of the core principles so you can start brewing with confidence.
The Foundations of Flavour
Mastering cafetiere coffee really just comes down to controlling a few key variables. Nailing these ensures a balanced extraction, bringing out the very best in your chosen beans.
- Grind Size: This is non-negotiable. You need a coarse, even grind that resembles coarse sea salt. If it’s too fine, your coffee will be sludgy, over-extracted, and bitter.
- Water Temperature: Always aim for water just off the boil, around 92-96°C. Pouring boiling water directly onto your grounds will scald them, leading to a harsh, unpleasant taste.
- Coffee-to-Water Ratio: The 'golden ratio' is a brilliant starting point. We recommend about 60 grams of coffee for every 1 litre of water, but don't be afraid to adjust this to your personal taste.
The real beauty of the cafetiere lies in its immersion brewing process. Unlike methods where water just passes through the grounds (like a V60), here the coffee and water get to mingle for several minutes. This allows for a much fuller extraction of oils and soluble flavours, which is what gives French press coffee its signature body and richness.
This hands-on approach puts you in complete control of the final cup. For those curious about how this compares to other popular brewers, you might find our breakdown of the French press vs AeroPress vs V60 an interesting read.
And if you're in the market for a new one, checking out a review of the top French Press coffee makers can help you find your perfect fit. Right then, let's transform your daily coffee routine into a rewarding experience.
Setting Up for a Flawless French Press Brew
Before we dive into the brewing itself, let's get your station ready. A little preparation goes a long way and honestly makes the whole experience much smoother and more satisfying. Think of it as your pre-brew checklist; getting everything in place now means you’re setting yourself up for a truly delicious cup.
First up, you’ll need a solid cafetiere. If you’re looking for something reliable with a classic design that fits into any kitchen, we’re big fans of the Grunwerg Café Olé. Of course, you’ll also need your favourite whole beans from Seven Sisters Coffee Co. and a burr grinder.
Using a burr grinder isn't just a suggestion—it's pretty much non-negotiable if you want a clean, sediment-free brew. It gives you those uniform, coarse particles that are the secret to a great French press. Another thing people often forget is the water temperature. Getting the correct temperature for coffee is crucial; boiling water will scorch the grounds and leave you with a bitter, unpleasant taste.
Your Essential Cafetiere Toolkit
To nail the consistency of your brew every single time, it’s best to have these items handy before you start. Precision is what separates a good coffee from a great one, and these tools will make all the difference to the final flavour.
- Digital Scales: A must-have for accurately weighing your coffee and water.
- A Kettle: A temperature-controlled one is a fantastic piece of kit for getting things just right.
- Filtered Water: This gives you a much cleaner taste, as tap water impurities can really mess with the flavour.
- Your Favourite Mug: The most important part, right?
With all this ready to go, you're perfectly poised to create that rich, satisfying French press you’ve been dreaming of.
After the beans themselves, the grind size is without a doubt the most important variable. You're aiming for a coarse grind, something that feels like rough sea salt. This allows for the best extraction without letting all those fine, sludgy particles slip through the filter. It’s the one detail that can take your brew from gritty to great.
If you want to get really nerdy about it, you can explore our complete coffee grind size guide to really perfect your technique.
The Seven Sisters Cafetiere Brewing Method
Alright, let's get brewing. We're going to walk you through our tried-and-tested method for a truly exceptional cafetiere brew, a process we've perfected over countless cups right here in our East Sussex roastery. Think of this less as a rigid recipe and more as a ritual—one designed to turn your daily coffee into a moment of pure enjoyment.
It all begins with the grind. For a cafetiere, a coarse, consistent grind is absolutely non-negotiable. You're aiming for a texture that resembles coarse sea salt. This is crucial because it stops tiny coffee particles from slipping through the metal filter, which is the number one cause of that dreaded, gritty sludge at the bottom of your mug.
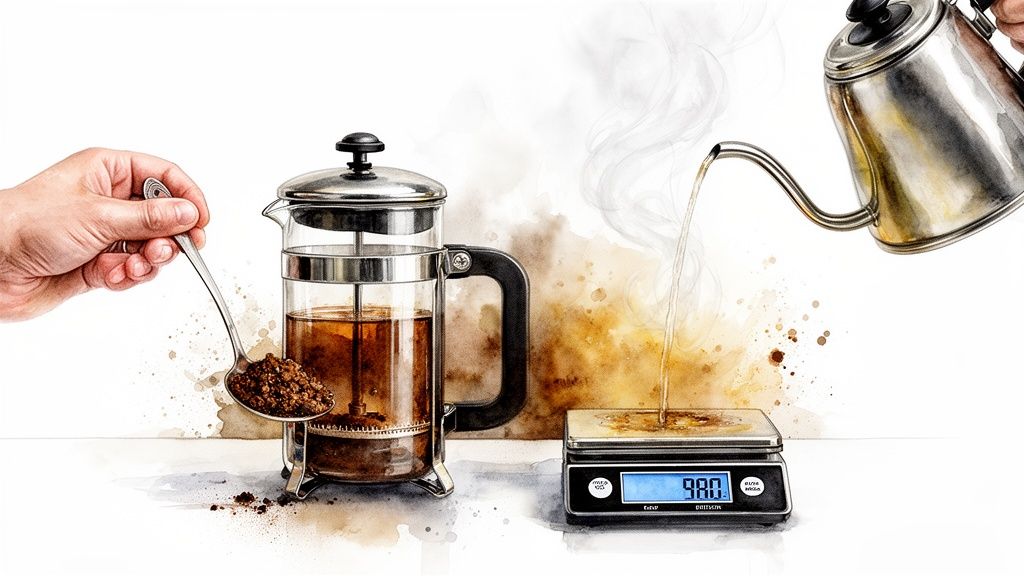
Getting these initial steps right—from choosing your cafetiere and beans to nailing the grind—is the foundation of a fantastic brew. This visual guide lays out the simple flow to get you started.
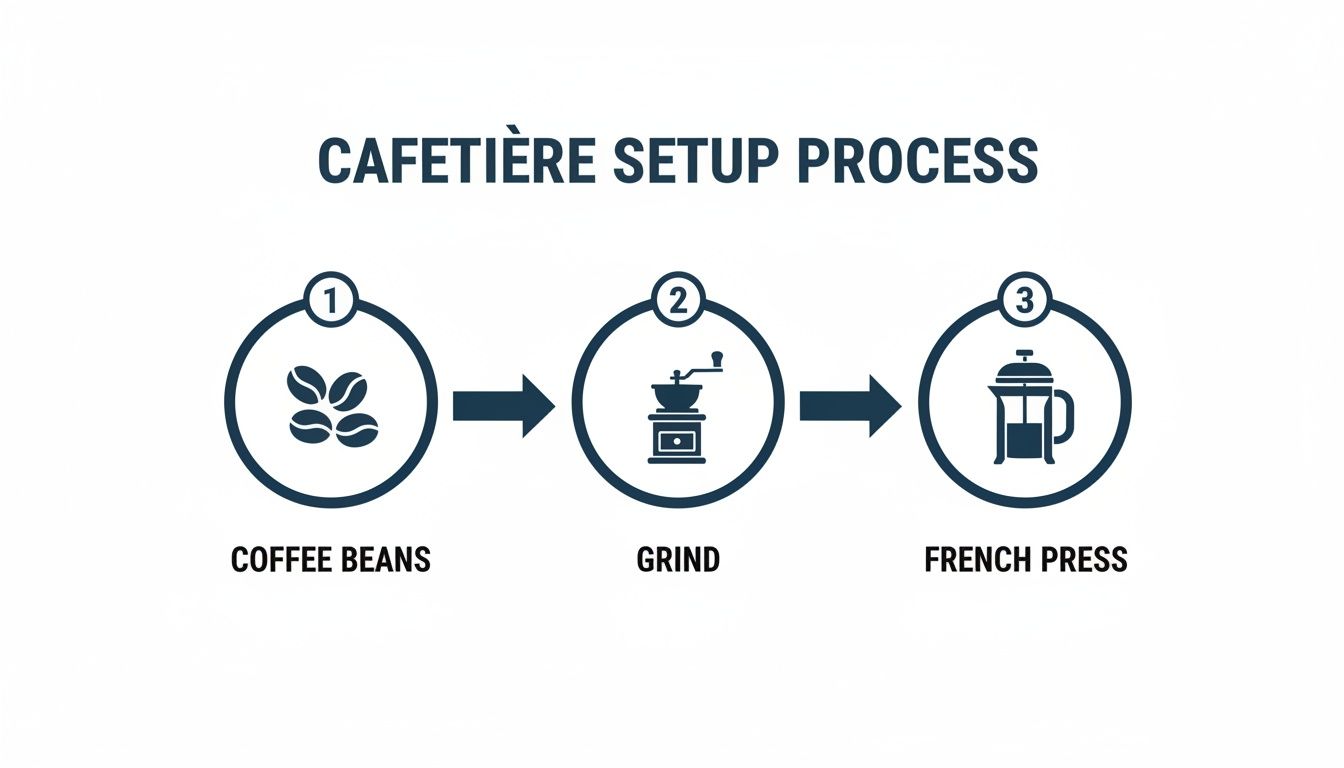
As you can see, the path from whole bean to a cafetiere ready for brewing is straightforward. But paying attention to each detail is what separates a good cup from a great one.
Nailing the Golden Ratio
Once your coffee is ground, the next critical step is getting the coffee-to-water ratio just right. This ‘golden ratio’ is the secret to a balanced, flavourful cup that’s neither too weak nor overwhelmingly strong.
Our starting recommendation is 60 grams of coffee for every 1 litre of water. This works out to a 1:15 ratio, which we've found is a brilliant baseline for most people. Using digital scales to weigh your coffee and water is the best way to guarantee consistency, so you can replicate that perfect brew time and time again. No scales handy? You can learn more about using spoons as a measurement in our guide for a quick reference.
Of course, taste is personal. If you prefer a stronger, more robust coffee, try bumping the coffee up slightly to 65g per litre. For a lighter brew, drop it down to 55g. The key is to start with a precise ratio and then tweak it until it’s perfect for you.
To make things even easier, here’s a quick-reference table to help you get the measurements right every time.
Cafetiere Brewing Ratio Guide
| Servings (Approx. 200ml mugs) | Coffee (Coarse Grind) | Water (92-96°C) | Resulting Brew Volume |
|---|---|---|---|
| 1 Mug | 15g | 225ml | ~200ml |
| 2 Mugs | 30g | 450ml | ~400ml |
| 4 Mugs | 60g | 900ml | ~800ml |
| 6 Mugs | 90g | 1350ml | ~1200ml |
This table provides a great starting point, but feel free to adjust based on the specific beans you're using and your own taste preferences.
Water Temperature and the Bloom
The temperature of your water is just as important as the grind and ratio. If it’s too hot, it will scald the grounds and leave you with a bitter, burnt taste. The sweet spot is between 92-96°C. An easy way to hit this without a fancy temperature-controlled kettle is to let it fully boil, then just take it off the heat and wait for about 45-60 seconds before pouring.
Now, before you pour all the water in, we need to do something called the 'bloom'. Gently pour just enough hot water over the grounds to wet them all evenly—about twice the weight of the coffee itself. You’ll see the bed of coffee bubble and expand as it releases trapped carbon dioxide.
Let the coffee bloom for 30 seconds. This is a game-changer. It allows those gases to escape, which leads to a more even extraction and a noticeably deeper, more complex flavour in your final cup. Skipping this step can result in sour or uneven notes.
Steeping and Plunging
After the bloom, pour in the rest of the water, give it one gentle stir to make sure all the grounds are saturated, and then pop the lid on top—but don't plunge just yet. Set a timer for four minutes. This steeping time is where the real magic happens, as the hot water extracts all the delicious oils and soluble compounds from the coffee.
When your timer dings, it's time to plunge. The key here is to go slow and steady. Press the plunger down with gentle, even pressure. This action separates the brewed coffee from the grounds without stirring up all the fine sediment that has settled at the bottom.
Finally, here's a pro tip that many people miss: pour the coffee immediately. If you leave the brewed coffee sitting in the cafetiere with the grounds, it will continue to extract and become bitter and astringent. Decant every last drop into your mugs or a separate carafe to enjoy it at its best.
Choosing the Right Seven Sisters Coffee Beans
The beauty of the cafetiere is its immersion brewing. It’s an honest, straightforward method that brings out a coffee's true body and sweetness because the grounds and water spend several minutes together. There’s simply nowhere for the flavour to hide, which makes your choice of beans absolutely critical. Let’s walk through the Seven Sisters Coffee Co. range to find the perfect match for your taste.
Because of its full-bodied nature, a cafetiere brew is a natural partner for medium to dark roasts. These coffees are brimming with those rich, deep notes of chocolate, nuts, and caramel that the immersion method amplifies so well.
For Lovers of a Rich, Classic Brew
If you're after that traditional, comforting cup with a satisfyingly smooth finish, a darker roast is the ideal starting point. These beans have less acidity and a heavier body that the cafetiere’s mesh filter handles beautifully.
Our hugely popular The Italian Job blend is a perfect example and a fantastic place to begin your cafetiere journey. It consistently delivers a brew that’s bold, rich, and packed with notes of dark chocolate and toasted nuts. It’s a reliable choice that nails that classic coffee experience, every single time.
Exploring Bold Single-Origins
For those who want to venture into more distinct flavour profiles, single-origin coffees offer a fantastic journey. The cafetiere is brilliant at putting the unique character of beans from a specific region front and centre.
Coffees from places like Brazil or Sumatra, for instance, are known for their bold, earthy, and often chocolatey flavours. They create a truly memorable cup with a lingering finish that stands up perfectly to a splash of milk.
The real secret to unlocking a bean's full potential is in the roast. Our unique oxygen-free roasting preserves up to 30% more of the volatile aromatic compounds. This means you can extract the maximum possible flavour in your cafetiere—a vital detail when you consider 31% of UK drinkers have multiple cups a day.
For a Lighter, More Nuanced Experience
While darker roasts are a classic fit, that doesn’t mean lovers of lighter, more delicate coffees should feel left out. If you lean towards brighter, more acidic, or even fruity notes, the right single-origin can absolutely sing in a cafetiere.
Look for high-quality beans from regions like Ethiopia or Colombia. When you brew them carefully, they can produce a surprisingly clean cup with complex floral or fruity undertones. A slightly shorter steep time can help draw out these delicate notes without introducing any unwanted bitterness. For a deeper dive, feel free to explore our guide on finding the best coffee for a French press.
Interestingly, the cafetiere, which Bodum popularised in the UK back in 1974, is having a major comeback, with sales jumping 28% in 2023. This renewed interest just goes to show how versatile this brewing method can be when it's paired with the right beans.
Getting Your Cafetiere Brew Just Right
Even the most seasoned coffee lover has an off day with their cafetiere. One morning it's perfect, the next it’s just… not. If your coffee is tasting a bit disappointing, don't throw in the towel. The fix is almost always a simple tweak. Let's walk through the most common pitfalls and how to get back to brewing a brilliant cup.
A frequent complaint I hear is about coffee that's weak, watery, or just plain flavourless. This is a classic sign of under-extraction – the water simply hasn't managed to pull out all the good stuff from the grounds.
Then there's the other classic issue: that muddy, silty layer at the bottom of your mug. That unwelcome ‘sludge’ means fine coffee particles have snuck past the metal filter, and it's definitely something we can fix.
What to Do About Weak and Watery Coffee
If your brew tastes thin and uninspiring, the first thing to look at is your grind. A grind that’s too coarse is like trying to make tea with whole leaves in a few seconds; there just isn't enough surface area for the water to work its magic. Try nudging your grinder to a slightly finer setting, aiming for something that looks and feels like coarse sea salt.
Your coffee-to-water ratio is the other likely culprit here. If you're not using enough coffee for the amount of water, you’re setting yourself up for a weak brew. It’s worth revisiting that golden ratio of around 60g of coffee per 1 litre of water. A cheap set of digital scales will be your best friend for consistency.
“The most common mistake I see is simply not using enough coffee. People often try to economise, but you can't cheat extraction. Weighing your beans is the single easiest step towards a consistently rich and flavourful cup every time.”
Tackling Bitter or Harsh Flavours
Now for the opposite problem: a coffee that tastes bitter, harsh, or aggressively strong. This is a dead giveaway for over-extraction, where the water has pulled out too much from the coffee, including all the unpleasant, astringent compounds you don't want.
A few things could be causing this:
- Grind Size: If your coffee is ground too finely, it will over-extract in a flash. Try coarsening your grind a notch or two and see if that brings the flavour back into balance.
- Water Temperature: Water that’s boiling hot will literally scald the grounds, leading to bitterness. Always let your kettle sit for about a minute after it clicks off. You’re aiming for that sweet spot of 92-96°C.
- Steep Time: Don’t wander off and forget your brew. Anything longer than four or five minutes is asking for trouble. It’s also a common mistake to leave the coffee sitting in the cafetiere after plunging – that extraction process doesn't just stop. Decant it all straight away.
Here in the UK, where we get through an astonishing 98 million cups of coffee every single day, these small details make a huge difference. Getting the temperature wrong is a massive failure point; a staggering 70% of home brews are made with water that's simply too hot. Hitting that four-minute steep time can also boost the desirable aroma compounds by 25%, while a slow, steady plunge is your secret weapon for a cleaner cup. You can dig into more of these fascinating details on the British Coffee Association website.
Keeping Your Cafetiere Clean and Ready for a Great Brew
A clean cafetiere is the unsung hero of a truly delicious cup of coffee. It’s an easy thing to overlook, but over time, coffee oils and microscopic grounds build up. When they do, they turn rancid and impart a bitter, stale flavour that can ruin even the best beans.
Thankfully, a simple cleaning routine is all it takes to keep your brews tasting pure and fresh.
The most important habit to get into is rinsing your cafetiere immediately after you’ve finished pouring. Don’t let it sit with the old grounds inside. Scrape the grounds out, then give the carafe and plunger a thorough rinse with hot water.
And if you’re looking for a sustainable way to dispose of the grounds, you might be surprised by the many uses for coffee grounds in the garden.
Performing a Deep Clean
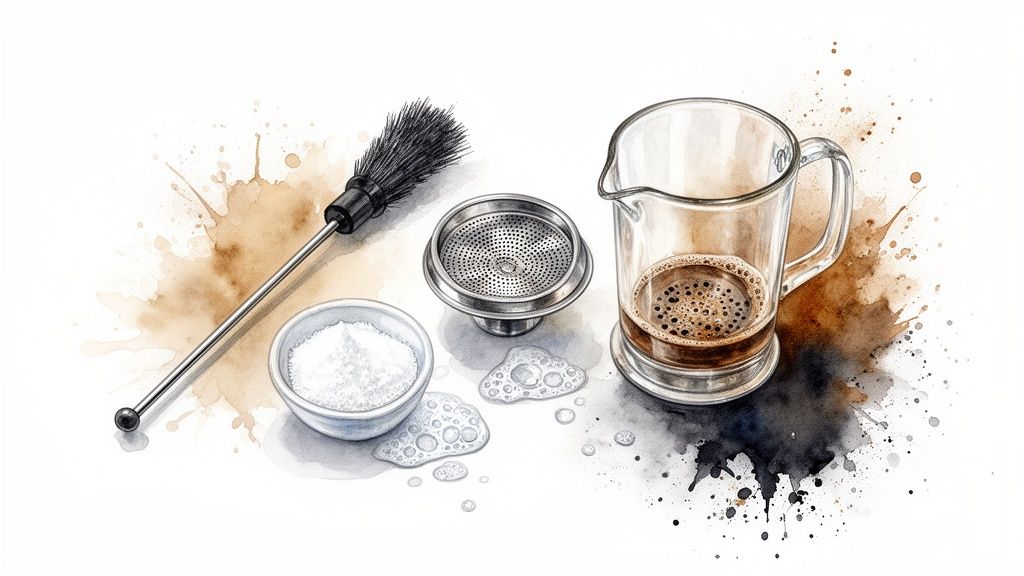
For a more intensive clean to tackle stubborn stains and that oily residue, you’ll want to disassemble the plunger. It sounds more complicated than it is; just unscrew the base from the rod to separate the mesh filter screens.
Once it's apart, you can get it sparkling again with one of these methods:
- Specialised Cleaner: For a guaranteed result, a dedicated product like the Puly Caff cleaner is designed to dissolve those stubborn coffee oils without any fuss.
- Bicarbonate of Soda: A fantastic and readily available household alternative. Just add a few teaspoons of bicarb to the carafe, fill it with hot water, and let everything soak for 20-30 minutes before giving it a scrub.
After soaking, grab a soft brush and gently scrub the mesh filters and the inside of the carafe. This extra step ensures no trapped particles are left behind, which is absolutely crucial for a pure-tasting brew.
Proper maintenance not only guarantees better-tasting coffee but also extends the life of your equipment. A clean press is a happy press, always ready to deliver that perfect brew.
Your Cafetiere Questions, Answered
Over the years, we’ve heard just about every question you can imagine when it comes to mastering the cafetiere. To save you some guesswork, we've pulled together the most common ones we get asked at the roastery. Consider this your go-to guide for clearing up any lingering uncertainties.
Can I Use Pre-Ground Coffee in My Cafetiere?
Technically, yes, but we wouldn’t recommend it if you can help it. The truth is, most pre-ground coffee is far too fine for a cafetiere, which is a recipe for a silty, over-extracted brew. Those tiny particles sneak right through the mesh filter, leaving you with a bitter, gritty cup.
If you absolutely must use pre-ground, hunt for a bag specifically labelled as 'coarse' or 'for French press'. Honestly though, investing in a simple burr grinder like the Hario Skerton Plus Hand Grinder will make a world of difference to your morning coffee.
How Do I Stop My Coffee From Getting Cold So Quickly?
This is a classic problem with a brilliantly simple solution: pre-heat everything. Before you even think about adding your coffee, pour some hot water from your kettle into the empty cafetiere and swirl it around. Do the same with your mug. Let them both sit and warm up for a minute while you’re grinding your beans.
Just before you’re ready to brew, tip that water out. This one tiny step keeps the brewing temperature stable during the four-minute steep and makes sure your final cup stays properly hot for much longer.
What Should I Do With the Used Coffee Grounds?
Whatever you do, don't pour them down the sink! It might seem harmless, but over time, those grounds build up and can cause some seriously stubborn blockages. Your plumber will not thank you.
Instead, put them to work in your garden. Used coffee grounds are packed with nitrogen and make a fantastic addition to your compost bin. You can also sprinkle them directly around acid-loving plants like roses, azaleas, and blueberries—they’ll love it.
Ready to put this all into practice with some incredibly fresh coffee? Here at Seven Sisters Coffee Co, we roast our beans in the heart of East Sussex to bring you exceptional flavour in every single cup.
Explore our full range of single-origins and signature blends, all perfect for your cafetiere, over at https://sevensisterscoffee.co.uk.