Making Espresso in an AeroPress: A UK Home Brewer’s Guide

Pulling an espresso-style shot with an AeroPress is a brilliant way to get that rich, concentrated coffee flavour without splashing out on expensive kit. While it's not technically a true espresso—it doesn't use the same high pressure—it creates an intensely flavourful base that's perfect for making lattes, Americanos, and cappuccinos right in your own kitchen.
This guide will walk you through how to nail the technique.
The Rise of the Home Café
There's a good reason the AeroPress has become a staple in countless UK kitchens. It’s the perfect, budget-friendly stand-in for a bulky espresso machine, giving you incredible control and consistency in a tiny, portable package.
Invented back in 2005 by Alan Adler, this clever bit of kit bridges the gap between filter coffee and traditional espresso. It uses a combination of immersion brewing and manual pressure to produce a concentrated shot with all the characteristics we love from a café-quality espresso: a rich body, intense flavour, and almost no bitterness.
So, Why Is the AeroPress So Popular?
The real magic of the AeroPress is in its simplicity and versatility. Unlike a temperamental espresso machine that demands a hefty investment and regular maintenance, the AeroPress is forgiving and surprisingly easy to get the hang of.
For anyone just starting their home coffee journey, it's an incredibly accessible way to start brewing better coffee. You can experiment with a huge range of recipes and techniques with just one simple tool, which is why it's a favourite for both complete beginners and seasoned coffee pros. If you're new to this brewer, our guide on how to use an AeroPress is a great place to start.
The UK's love for café-quality coffee at home has never been stronger. As we all look for ways to recreate our favourite drinks, the AeroPress has really stepped up as a champion of the home barista.
The home coffee scene has absolutely exploded, with 58.1% of UK consumers now trying to recreate their favourite café drinks in their own kitchens. This shift has put innovative, affordable brewers like the AeroPress squarely in the spotlight.
This trend is partly fuelled by the rising cost of living, with households now spending an average of £6.42 per week on coffee made at home. Retailing for around £30-£40, the AeroPress fits perfectly into this new reality, offering an affordable path to exceptional coffee. You can read more about the UK's growing home coffee market to see why this brewer is more relevant than ever.
Assembling Your AeroPress Espresso Toolkit
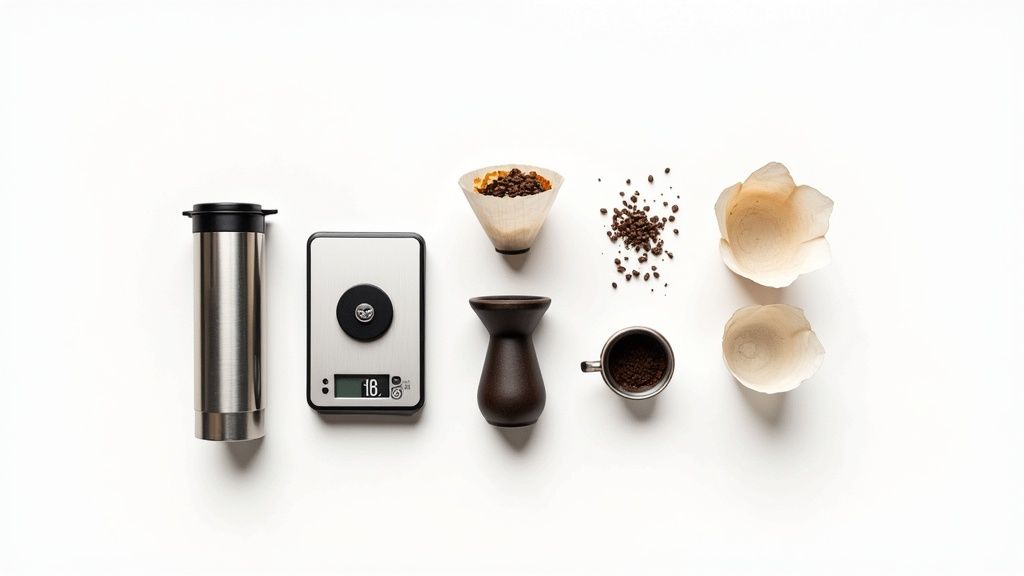
Before you can pull that first rich, intense shot, you'll need to gather the right gear. Making consistently brilliant espresso in an AeroPress is all about precision and control, and having the right tools makes a world of difference. While the brewer itself is the star of the show, a few other bits of kit are non-negotiable if you want fantastic results.
Naturally, the brewer is the centrepiece. If you don't have one yet, the classic AeroPress Coffee Maker is your first port of call. It’s tough, portable, and the foundation of every recipe we’ll cover here.
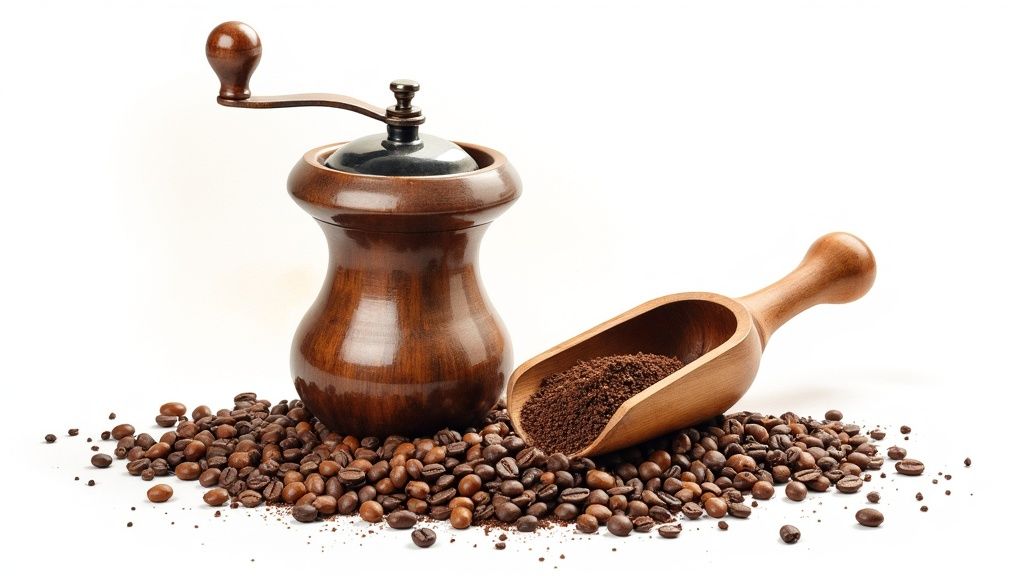
But the real hero of any coffee setup? A quality burr grinder.
Why The Grinder Is Non-Negotiable
A blade grinder just smashes beans into uneven chunks. This mess leads to a muddled brew that’s somehow both sour and bitter at the same time. Not ideal. A burr grinder, on the other hand, mills the beans between two revolving surfaces, giving you the consistent, fine grounds you need for a balanced extraction.
Honestly, it’s the single biggest upgrade you can make to your coffee game.
Choosing between different grinder types can feel a bit overwhelming at first. To make it easier, we’ve broken down the key differences in our guide comparing conical versus flat burr grinders. For now, just know that any decent burr grinder will set you on the right path.
Precision Tools for the Perfect Shot
Once you've got your brewer and grinder sorted, a couple of other tools will elevate your results from just good to genuinely great. These bits of kit give you the accuracy you need to follow recipes and, more importantly, repeat your successes day after day.
-
Digital Scales: Guessing your coffee dose is a recipe for disappointment. A set of digital scales accurate to 0.1 grams ensures you use the perfect amount of coffee and water every single time. It's the only way to build a consistent foundation.
-
Temperature-Controlled Kettle: Water temperature has a massive impact on flavour. A gooseneck kettle with temperature control lets you heat water to the ideal range (usually 90-94°C) and pour with precision, so you avoid scorching the coffee and can unlock its best flavours.
To pull everything together, here’s a quick checklist of the gear you'll want to have on your counter.
Your AeroPress Espresso Starter Kit Checklist
| Equipment | Why It's Essential | Recommended for UK Brewers |
|---|---|---|
| AeroPress Brewer | The core of your setup; durable, portable, and versatile. | The classic model is a fantastic starting point. |
| Burr Grinder | Provides the consistent, fine grind needed for balanced extraction. | A quality hand grinder offers great value and control. |
| Digital Scales | Ensures precise coffee-to-water ratios for repeatable results. | Look for one with 0.1g accuracy and a built-in timer. |
| Gooseneck Kettle | Allows for precise temperature control and a steady pour. | A temperature-controlled model is a game-changer. |
| Reusable Metal Filter | Allows more oils through for a richer body and fuller flavour. | A worthwhile upgrade for a more espresso-like texture. |
With these tools, you're not just making coffee; you're crafting it with the same care and precision as a professional barista.
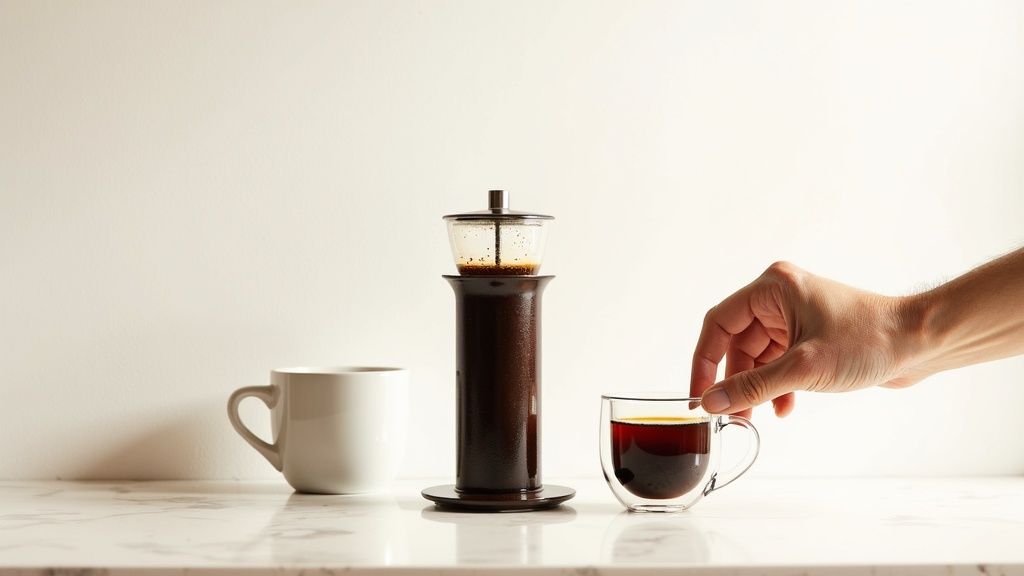
The UK coffee scene has exploded, and the AeroPress has brilliantly carved out its own niche. While many chase expensive automatic machines, the humble AeroPress thrives by producing a 1.5-2 oz shot in under a minute, beautifully mimicking espresso without the £500+ price tag.
A quick tip for a cleaner cup: while the AeroPress comes with paper micro-filters, think about getting a reusable metal filter. It allows more oils and fine particles into the cup, giving you a richer body and a more pronounced flavour that many people prefer for their espresso-style shots.
Choosing the Right Beans and Perfecting Your Grind
The coffee bean is the heart and soul of your shot. It dictates the entire flavour profile from the first sip to the last, so getting it right is non-negotiable. To pull a rich, satisfying espresso in an AeroPress, choosing the right coffee and nailing the grind size are easily the two most important steps. This is where you really take control of the final taste in your cup.
For that classic, full-bodied shot with low acidity and deep chocolatey notes, you’ll almost always want to reach for a medium-to-dark roast. Lighter roasts can be fantastic for filter coffee, but their brighter acidity often comes across as sharp and sour when brewed as a concentrated shot. Darker roasts, on the other hand, bring out those rich, bold flavours that stand up brilliantly to a splash of milk.
Our own Seven Sisters Espresso Blend is a perfect example of this. We specifically roast it to produce notes of rich chocolate, caramel, and nuts. This profile creates a fantastic espresso-style base, whether you're enjoying it neat or using it for a flat white. For a deeper dive, check out our guide on the best coffee for AeroPress.
Dialling In Your Grind
Once you’ve got your beans sorted, the next make-or-break step is perfecting the grind. This is where a quality burr grinder truly earns its keep, giving you the precision needed to fine-tune your extraction.
For an AeroPress espresso, you’re aiming for a fine grind, but not quite the powdery dust you'd use for a traditional espresso machine. Think of it as sitting somewhere between espresso and drip filter consistency. It should feel slightly gritty, a bit like table salt, rather than pure flour.
Getting the grind right is a balancing act. Too coarse, and your shot will be weak and sour (under-extracted). Too fine, and it’ll become harsh, bitter, and a nightmare to plunge (over-extracted). The sweet spot is where you unlock a balanced, rich flavour.
Finding the Sweet Spot
Start with a setting on your grinder that you think is close, then brew a shot. Taste it, and adjust from there. This little ritual, known as "dialling in," is fundamental to making genuinely great coffee.
- Tastes sour and thin? Your grind is too coarse. The water is gushing through without grabbing enough flavour. Adjust your grinder one or two steps finer.
- Tastes bitter and harsh? Your grind is too fine. The water is struggling to get through, pulling out all sorts of unwanted bitter compounds along the way. Adjust your grinder one or two steps coarser.
It might take a few attempts to get it just right, but once you find that perfect grind setting for your chosen beans, you can replicate a delicious shot time and time again. Do yourself a favour and write down the setting on your grinder so you don't forget it for next time
Two Core Recipes for AeroPress Espresso
Right, time to get hands-on and brew some incredible coffee. To get you started making fantastic espresso in an AeroPress, we’re going to walk through two reliable methods. Each recipe takes a different approach to extraction, so you'll end up with a unique character and flavour profile depending on which one you choose.
First up is the Standard Method, a really direct technique that’s perfect if you’re new to this. After that, we’ll dive into the fan-favourite Inverted Method, which uses full immersion to pull out a richer, more complex shot.
Think of these as solid starting points, not rigid rules. Feel free to tweak the grind size, dose, or timing until you find what works perfectly for your palate and the beans you’re using.
The Standard Method: A Direct Approach
The Standard Method is the most straightforward way to brew. You just pop the AeroPress right on your mug, add your coffee and water, and plunge straight through. It’s quick, clean, and ridiculously consistent once you’ve got your grind dialled in.
Here’s a great recipe to get you going:
- Coffee Dose: 18g of finely ground coffee.
- Water: 50g of water at 92°C.
- Filter: One pre-rinsed paper filter.
- Method: Place the AeroPress on a sturdy mug, add your ground coffee, and pour the water in quickly. Don't hang about – immediately start a slow, steady plunge. You're aiming for a total press time of about 20-30 seconds.
This method is brilliant for a clean, bright shot that makes a fantastic base for an Americano. If you fancy learning more about that classic drink, check out our simple guide on how to make an Americano coffee drink right here at home.
The Inverted Method: For Richer Extraction
There's a reason the Inverted Method has become such a firm favourite among coffee geeks. By flipping the AeroPress upside down, you stop any coffee from dripping through before you're ready. This gives you full control over the extraction time by allowing the grounds to steep fully, just like in a French press.
The result? You’ll often get a shot with a much fuller body and a lovely, pronounced sweetness.
To set this up, you assemble the AeroPress with the plunger already inserted a centimetre or two from the bottom. Then, you stand it up on the plunger itself. This creates a stable, sealed chamber for brewing.
Here’s a solid recipe for the Inverted Method:
- Coffee Dose: 18g of finely ground coffee.
- Water: 60g of water at 92°C.
- Steep Time: 45 seconds.
- Method: Add your coffee and water to the inverted chamber. Give it a gentle stir for about 10 seconds, then let it steep for the rest of the time. Screw the filter cap on securely, carefully flip the whole thing onto your mug, and plunge slowly for 20-30 seconds.
With more people seeking café-quality drinks at home, creative techniques like this have exploded in popularity. The AeroPress is perfectly suited for these experiments, delivering an espresso-like intensity without the hefty price tag of a machine.
Whichever recipe you go for, here’s a little tip that makes a big difference: pre-heat your AeroPress chamber and your mug with a bit of hot water before you start. It’s a simple step, but it helps keep the brewing temperature stable, leading to a much more balanced and delicious extraction.
Troubleshooting Your Brew and Perfecting the Shot
Even when you follow a recipe to the letter, some shots just don't hit the mark. That's coffee for you. The real art of brewing isn't just about following steps; it's about tasting a disappointing cup and knowing exactly how to fix it. This is where you graduate from a recipe-follower to a true home barista, making a genuinely brilliant espresso in an AeroPress.
So, what do you do when your shot tastes… off?
The Problem With Sour Shots
If your brew is unpleasantly sharp, thin, and makes you pucker, you’re tasting under-extraction. Simply put, the water didn't pull enough of the good stuff out of the coffee grounds. It’s a common issue, and thankfully, it's easy to fix.
The quickest and most effective change is to grind your coffee a little finer. This increases the surface area of the grounds, slowing the water down and giving it more time to extract all those lovely flavours. You could also try increasing your steep time by a few seconds or nudging the water temperature up. Small tweaks can make a massive difference.
Diagnosing a Bitter Brew
On the flip side, if your coffee is harsh, hollow, and leaves a dry, almost chalky feeling in your mouth, you've got over-extraction. This is what happens when the water hangs around for too long and starts pulling out the nasty, bitter compounds from the coffee.
To fix this, you just need to do the opposite of what you'd do for a sour shot. Start by making your grind setting a touch coarser. If that doesn't quite do the trick, try dropping your water temperature by a few degrees or shortening the steep time. Finding that perfect balance is the name of the game. It's also worth noting that an uneven grind can cause both sour and bitter flavours in the same cup, which is why a solid puck prep routine is vital. For more on that, have a look at our detailed puck prep guide on WDT and distribution.
Here’s a quick-glance guide to help you diagnose and fix your brew. Identify common taste issues and learn the simple adjustments needed to fix your brew.
AeroPress Espresso Troubleshooting Guide
| Problem (Taste) | Likely Cause | How to Fix It |
|---|---|---|
| Sour, sharp, thin, acidic | Under-extraction | Grind finer. Use slightly hotter water. Increase steep time. |
| Bitter, harsh, dry, hollow | Over-extraction | Grind coarser. Use slightly cooler water. Decrease steep time. |
| Both sour and bitter | Uneven extraction | Improve your puck prep. Check your grinder for consistency. |
| Weak, watery, thin body | Low coffee-to-water ratio | Increase your coffee dose. Reduce the amount of water used. |
Brewing is a constant dance of adjustments. Don't be discouraged by a bad cup—see it as a learning opportunity to dial in your technique for the next one.
Chasing That Elusive Crema
One of the most common questions we get is about crema. A true espresso machine uses around nine bars of pressure to create that signature reddish-brown layer. An AeroPress can't generate that, so what you see is a rich foam created by CO2. It’s a sign of fresh coffee, but it isn't true crema.
While you can't produce authentic crema, you can absolutely get a rich, satisfying foam that looks the part. The most important factor? Freshly roasted beans. The fresher the coffee, the more trapped CO₂ it has to release, creating that lovely foam when you plunge.
If you want to take it a step further and get a thicker, more stable foam, attachments like the Fellow Prismo are game-changers. Its pressurised valve helps build up more pressure before the coffee is released, resulting in a much richer texture that gets you visually closer to the real deal.
This simple flowchart helps break down the choice between the two main brewing methods.
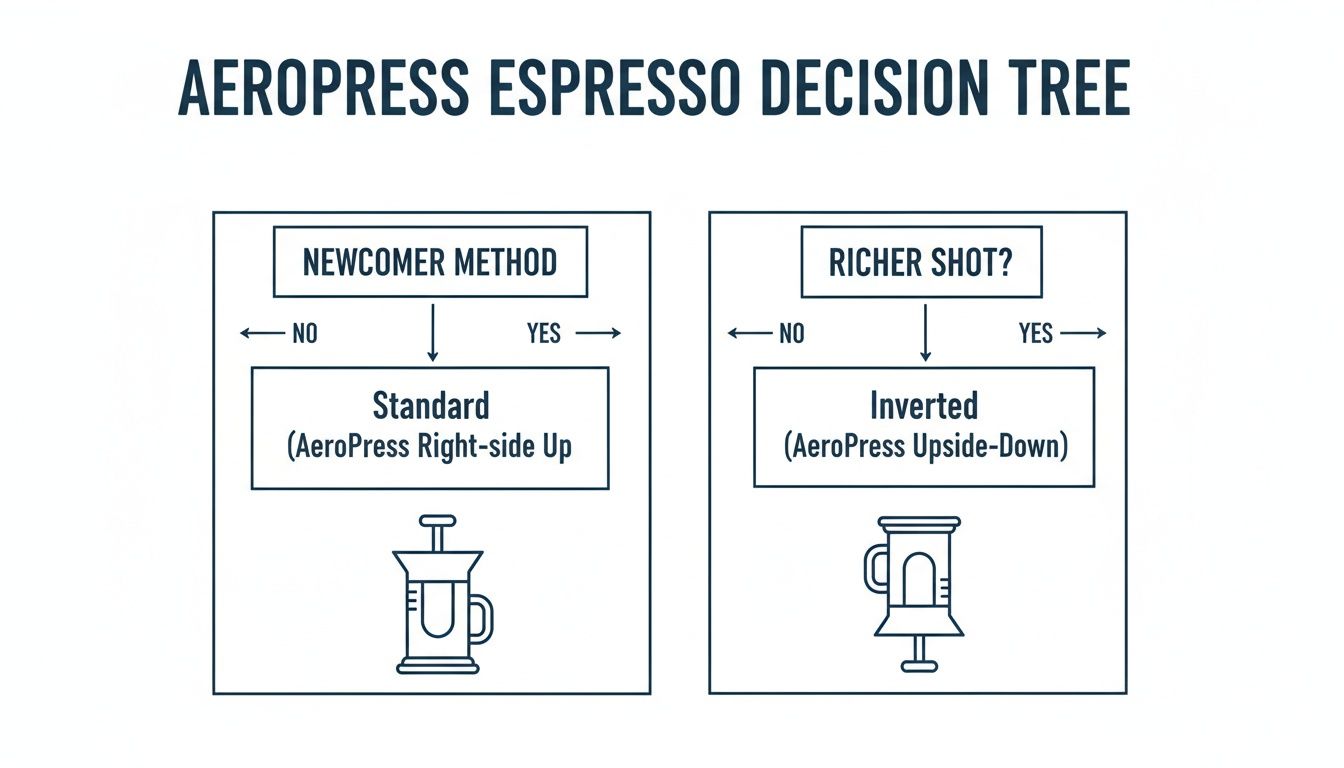
As you can see, the standard method is a fantastic starting point for newcomers, while the inverted technique gives you more control and is perfect for chasing a richer, fuller-bodied shot.
Your AeroPress Espresso Questions Answered
When you're trying to coax a proper espresso-style shot from an AeroPress, a few questions always pop up. It's a bit of an art, after all. Let's tackle the common queries we hear from home brewers across the UK, getting you from a good coffee to a truly great one.
Can I Just Use Pre-Ground Coffee for an AeroPress Espresso?
Look, you can, but I’d really steer you away from it. The problem is twofold: pre-ground coffee is nearly always too coarse for the kind of concentrated shot we're after, which leads to a brew that’s thin, watery, and often disappointingly sour.
But more importantly, coffee starts losing its magic the second it's ground. All those incredible aromas and delicate flavours begin to fade. If you want that intense, rich shot that properly mimics an espresso, grinding your beans fresh, right before you brew, is the single biggest upgrade you can make. It gives you maximum flavour and the control you need for a perfectly balanced extraction.
What's the Real Difference Between the Standard and Inverted Methods?
It all comes down to one thing: control over the steeping time.
- Standard Method: You pop the AeroPress on your mug, add your coffee and water, and it starts dripping through right away. It's quick, clean, and no-fuss.
- Inverted Method: Here, you flip the brewer upside down. This clever trick creates a sealed chamber where the coffee and water can fully immerse, with zero drips until you decide it's time to flip and press.
That total command over the steep time is precisely why so many coffee fans swear by the inverted method for espresso-style shots. It tends to produce a richer, more full-bodied coffee with a smoother flavour, making it perfect for this kind of brew.
How Do I Get More Crema on My AeroPress Shot?
Ah, the million-dollar question. Let's be honest: true espresso crema is that gorgeous reddish-brown foam created by the immense 9 bars of pressure in a proper espresso machine. Your AeroPress, brilliant as it is, just can't physically generate that kind of force.
The foam you see is actually trapped CO2 being released from fresh coffee. So, to get more of it, your number one rule is to use incredibly fresh beans—we're talking roasted within the last couple of weeks.
For a much more convincing, crema-like layer, an attachment is your best bet. Something like the Fellow Prismo uses a special pressure-actuated valve. It builds up more pressure before releasing the coffee, creating a significantly thicker, more stable foam that does a fantastic job of mimicking the real deal.
What’s the Best Way to Use My AeroPress Shot in Other Drinks?
This is where the fun starts! That concentrated shot you've just brewed is a fantastic foundation for all your café favourites.
Fancy a classic Americano? Just top up your shot with hot water until it hits the strength you like. For a flat white, latte, or cappuccino, pour the shot straight into your mug and follow it with your steamed, frothed milk.
One little tip: because an AeroPress shot is intense but not quite as punchy as one from a machine, you might want to use a slightly stronger ratio (like 20g of coffee) if you're adding a lot of milk. This ensures that wonderful coffee flavour still cuts through beautifully.
Ready to pull your own perfect shots? At Seven Sisters Coffee Co, we source and roast exceptional beans that are ideal for making espresso in an AeroPress. Explore our full collection of freshly roasted coffee beans and find your new favourite today.