How to Dial In Espresso Ratio: A Practical Barista Guide
Dialling in an espresso ratio is all about that delicate dance between your coffee dose, liquid yield, and extraction time. It’s what separates a truly great shot from a merely average one. You might start with a classic recipe—say, 18g of coffee to get a 36g espresso in about 25-35 seconds—but learning how to tweak this balance is where the magic really happens. It’s the key to moving beyond guesswork and pulling consistently delicious coffee, every single time.
Your Foundation for the Perfect Espresso Shot
Before we even touch a portafilter, let's get one thing straight: 'dialling in' isn't just jargon. It's the methodical process of adjusting your variables to pull the absolute best flavour out of your coffee beans. Think of it like tuning a guitar; a tiny adjustment can completely change the final sound. At its heart, it’s all about the relationship between three core elements.
This skill has become more important than ever as people bring the café experience into their homes. The UK's home coffee scene is exploding, with recent reports showing that around 58.1% of us are trying our hand at making barista-style coffee in our own kitchens. We want to recreate our favourite flat white without the high street price tag, and understanding your espresso ratio is fundamental to that.
To get a handle on the basics, it helps to be clear on the terminology. These are the core concepts you'll be juggling as you dial in your shots.
Essential Espresso Terminology at a Glance
This table is your quick reference guide to the core concepts of espresso brewing. Get familiar with these terms, as you'll see them pop up again and again.
| Term | Definition | Why It Matters |
|---|---|---|
| Dose | The weight of dry coffee grounds you use in your portafilter basket. | This is the foundation of your recipe and impacts the overall strength. |
| Yield | The weight of the liquid espresso in your cup once the shot is pulled. | This determines the concentration and body of your final espresso shot. |
| Time | The total duration of the extraction, from the moment the pump starts until it stops. | Time is a key indicator of how balanced your dose, yield, and grind size are. |
Mastering these three variables is the first step towards pulling consistently great shots and taking control of your home espresso setup.
A brilliant starting point for dialling in is a simple 1:2 ratio. So, if you use an 18-gram dose, you’ll aim for a 36-gram yield. This formula gives you a reliable baseline from which you can start tasting and making adjustments.
Essential Tools for the Job
Let's be honest: guesswork is the enemy of great coffee. To dial in your espresso with any degree of success, you need tools that deliver precision and repeatability. Without them, you're just flying blind, and you'll never be able to replicate that one "perfect" shot you accidentally pulled last Tuesday.
There are two non-negotiable pieces of kit: a quality burr grinder and a set of digital coffee scales.
A good grinder is non-negotiable because it gives you a uniform particle size, which is absolutely critical for an even extraction. If you're curious about the difference, our guide explaining conical vs flat burr grinders is a great place to start. Second, you’ll need a set of precise coffee scales to accurately measure both your dose and your yield. This data is what empowers you to make small, informed changes that lead to big improvements in the cup.
A Repeatable Workflow for Dialling In
Okay, with the basic theory out of the way, it’s time to get our hands dirty. The real secret to consistently brilliant espresso isn't finding some single 'magic' recipe; it's building a reliable, repeatable process. This workflow turns frustrating mornings into predictable, delicious coffee by letting you make logical, intentional adjustments to any beans you throw in the hopper.
The trick is to think like a scientist and adopt a 'control variable' mindset. If you change multiple things at once—your dose, your grind, your tamping pressure—you'll have no idea what actually made a difference. By keeping most things the same and only tweaking one element at a time, you can clearly see the impact of that single change.
Your starting point should always be a solid baseline recipe, and the classic 1:2 brew ratio is perfect for this. Pick a dose that suits your portafilter basket—18 grams is a fantastic, common starting point for most standard double baskets. Following our ratio, this means our target yield is 36 grams of liquid espresso in the cup. That leaves time as our main indicator of success.
This simple breakdown shows how these core variables connect.
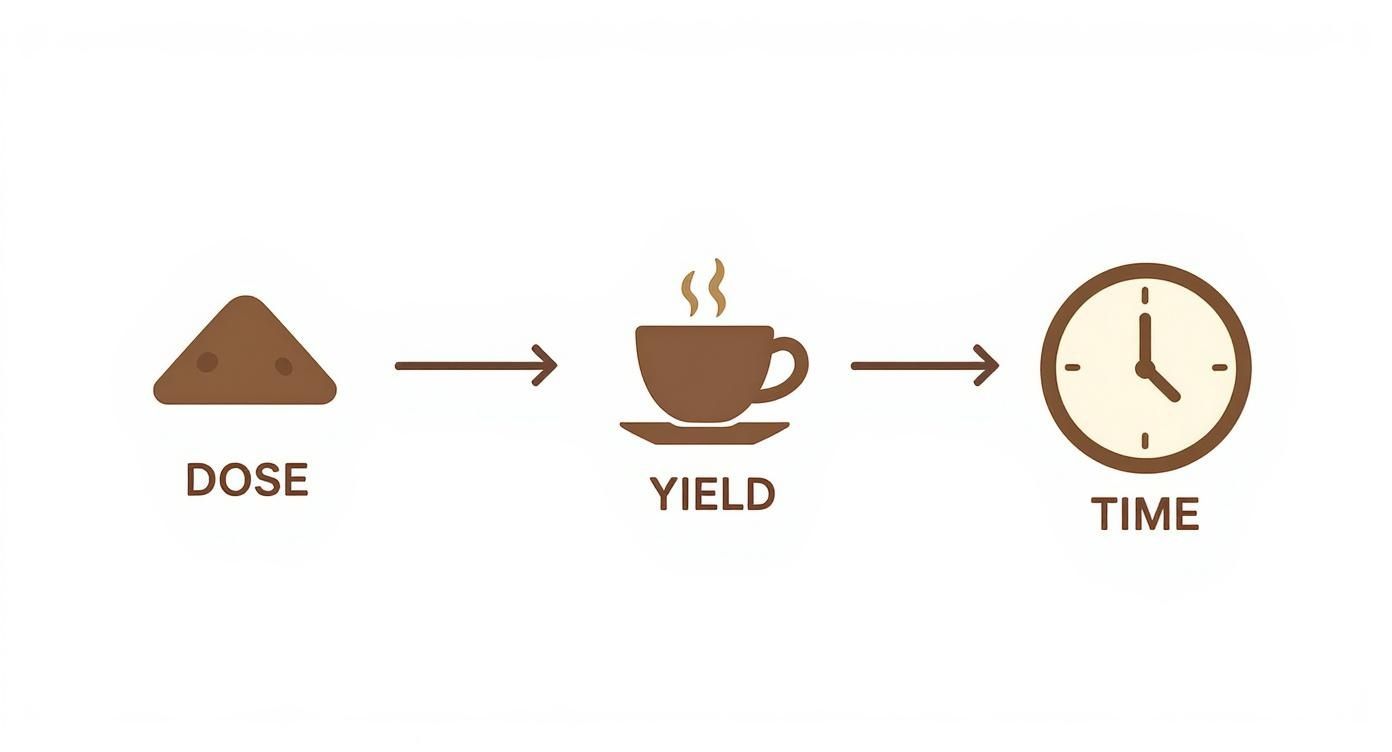
Think of it as a sequence: your dose (what goes in) determines your yield (what comes out), and the time it takes tells you how well it all worked. These are the key metrics you need to measure for every single shot.
Setting Up Your First Shot
Let’s pull our first shot using that baseline. Start by getting your dose precise. Weigh out exactly 18 grams of your chosen coffee beans. After you grind, pop your portafilter on the scales again to make sure the dose is still accurate, as some grinders can retain a small amount of coffee.
Now for one of the most critical steps: puck preparation. An uneven, lumpy coffee bed is the number one cause of channelling. This is where water blasts through weak spots in the puck, leading to a horrible shot that’s simultaneously sour and bitter. Good distribution and a firm, level tamp are completely non-negotiable if you want an even extraction.
Puck preparation is a massive topic on its own, but the goal is simple: create a perfectly flat, uniform bed of coffee grounds so water passes through it evenly. For a deep dive, check out our complete guide to puck prep and WDT distribution.
With your puck prepped, place your cup and scales under the portafilter. Tare the scales to zero, then start your shot and your timer at the exact same moment. Your only job now is to watch the scales and stop the shot right as the display hits 36 grams.
Observing and Making Your First Adjustment
Once the shot is stopped, look at your timer. How long did it take to get to that 36-gram yield? This one number tells you exactly what to do next.
- Shot ran too fast (e.g., under 25 seconds): The water found it too easy to get through the coffee. This is a classic sign of under-extraction, and the shot will likely taste sour, thin, and unsatisfying. Your grind is too coarse.
- Shot ran too slow (e.g., over 35 seconds): The water really struggled to push through the puck. This points straight to over-extraction, which tastes bitter, harsh, and often leaves a dry, chalky feeling in your mouth. Your grind is too fine.
- Shot was in the sweet spot (25-35 seconds): Fantastic! You're in the right ballpark. Now it’s time to taste it and decide if any smaller, flavour-based adjustments are needed.
Here’s the golden rule when you’re learning how to dial in: always adjust your grind size first. Keep your dose (18g) and your yield (36g) locked in. The grind setting is your primary control for speeding up or slowing down the extraction time.
Make one small adjustment on your grinder—finer to slow the shot down, or coarser to speed it up—and pull another shot. Measure everything again. This methodical process of changing just one variable at a time will quickly build your intuition and get you to that perfect, balanced cup much faster than random guesswork ever could.
How to Manipulate Dose, Yield, and Time
Now that you have a repeatable workflow, it's time for the fun part: making deliberate changes to steer your espresso's flavour. This is where you really start to understand the intricate dance between dose, yield, and time. Each variable has a distinct impact on the final taste in your cup.
Your primary tool for control is the grind size. Grinding finer increases the coffee's surface area and creates a more compact puck, which slows down the water flow. This longer contact time leads to higher extraction. On the flip side, a coarser grind lets water zip through much faster, shortening the shot and reducing extraction. Getting a feel for this relationship is a core skill. For a deeper dive, our detailed coffee grind size guide is a great resource.
Adjusting Your Dose
While it’s smart to keep your dose consistent when you're first learning, changing it can be a powerful lever to pull later on. Increasing the dose—say, from 18g to 19g—packs more coffee into the basket, which naturally restricts water flow. To hit the same shot time, you'll probably need to grind a little coarser. A higher dose generally gives you a richer, more viscous shot with a heavier body.
Conversely, dropping the dose allows water to flow more freely. You'll need to grind finer to compensate and maintain your target time. This often produces a shot with more clarity and brightness, letting subtle notes shine through.
The Role of Yield
Changing your yield directly affects the strength and concentration of your espresso. Let's stick with our 18g dose and see what happens when we tweak the amount of liquid in the cup.
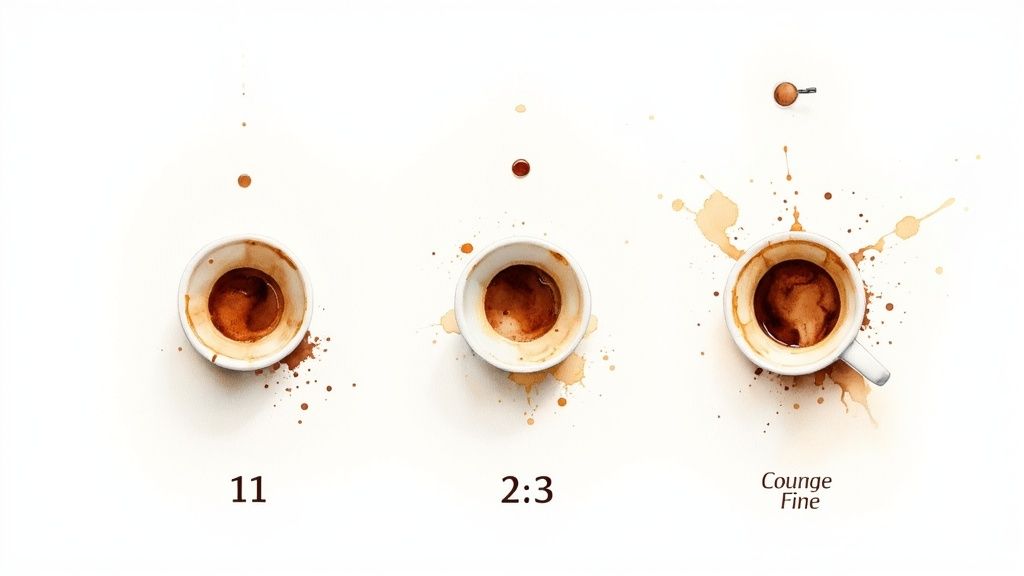
- Shorter Yield (e.g., 27g for a 1:1.5 ratio): This gives you a Ristretto-style shot. It will be more concentrated and sweeter with a thick, syrupy body. This ratio is brilliant for highlighting chocolatey and caramel notes.
- Longer Yield (e.g., 45g for a 1:2.5 ratio): This results in a more diluted shot, sometimes called a Lungo. While it reduces body, a longer pull can bring out delicate floral or fruity notes, especially in certain light-roast coffees that might otherwise be hidden.
This kind of precision isn't just for home enthusiasts; it's the bedrock of the commercial coffee world. The UK coffee shop sector, which includes over 8,654 businesses, is built on this consistency. Baristas meticulously stick to ratios around 1:2 to ensure every customer gets a balanced cup, a practice that directly fuels the industry's 7.0% annual growth.
A key takeaway: When you change one variable, you almost always have to adjust another to keep the shot balanced. Upping your dose will slow the shot, so you might need to grind coarser. Aiming for a longer yield will naturally take more time, so you might need a coarser grind to avoid over-extraction.
To consistently nail your espresso dose, yield, and time, it's crucial to know how to convert recipe measurements accurately. This meticulous approach is the final piece of the puzzle, giving you total control over the flavour of every single shot you pull.
Tasting and Troubleshooting Your Espresso
All the scales, timers, and ratios in the world are just guides. At the end of the day, your palate is the final judge of a good espresso. Learning to taste your shots and connect those flavours to specific problems is the most powerful skill you can develop. It turns frustrating guesswork into a clear, problem-solving process.
When an espresso tastes "off," it's almost always down to extraction. The two most common culprits are under-extraction and over-extraction. Think of it as a spectrum: you want to land right in that sweet spot in the middle, avoiding the unpleasant flavours at either end.
Diagnosing Under-Extraction
An under-extracted shot happens when the water flows through the coffee grounds too quickly, failing to pull out enough of the good stuff. The most tell-tale sign of this is a sharp, aggressive sourness, almost like biting into an unripe lemon.
You might also notice:
- A thin, watery body with very little texture.
- A weak, undeveloped flavour that lacks any real sweetness or depth.
- The shot will have finished well under your target time (e.g., less than 25 seconds).
The fix here is to slow the water down. You need to increase the contact time between the water and the coffee. Your first and most effective adjustment should always be to grind your coffee finer. This creates more resistance, extending the extraction time and letting those sweeter flavours come through.
Tackling Over-Extraction
Over-extraction is the opposite problem. The water spends too much time with the coffee, stripping out not just the desirable flavours but also the harsh, unpleasant compounds. This results in a shot that is overwhelmingly bitter and often has a drying, astringent quality, a bit like sucking on a used tea bag.
Other signs include:
- A harsh, burnt, or hollow flavour.
- A complete lack of any sweetness or pleasant acidity.
- The shot will have taken much longer than your target time (e.g., over 35 seconds).
To correct this, you need to speed things up. The most direct way to do that is to grind your coffee coarser. This reduces the resistance in the coffee puck, shortening the overall extraction time and stopping those bitter elements from taking over the cup.
Taste is a skill that develops with practice. Don’t be discouraged if you struggle to tell sour from bitter at first. Pulling and tasting shots back-to-back is the best way to train your palate to pick up on these key indicators.
We've put together a simple diagnostic chart to help you identify common taste issues in your espresso and provide clear, actionable steps to fix them.
Espresso Flavour Troubleshooting Guide
| If It Tastes… | It's Likely… | What to Do Next |
|---|---|---|
| Sour, sharp, acidic | Under-extracted (shot ran too fast) | Make your grind setting finer to slow the shot down. |
| Bitter, harsh, drying | Over-extracted (shot ran too slow) | Make your grind setting coarser to speed the shot up. |
| Balanced, sweet, vibrant | Well-extracted (in the right time window) | Enjoy it, and take note of your winning recipe! |
This table covers the basics of grind adjustment. For a more complete overview exploring how to get the most out of your machine, you might be interested in our guide on how to make perfect espresso.
Exploring Ratios Beyond the Classic 1 to 2
Once you’ve got the hang of the classic 1:2 ratio, it’s time to start seeing it less as a strict rule and more as your go-to starting point. A whole new world of flavour opens up the moment you begin experimenting with different brew ratios, tweaking them to fit the exact coffee you’re using and, of course, your own taste.
The UK's coffee scene is huge, with the café sector now turning over £6.1 billion. This boom is driven by coffee lovers like us who are after higher quality, more nuanced drinks. Many of the UK's best speciality cafés are now dialling in their shots somewhere between 1:2 and 1:2.5 to hit that perfect sweet spot, proving that precision is key.
Understanding Different Ratio Styles
Stepping away from the standard ratio is how you start to highlight different notes in your coffee. You’ll mainly hear about three styles: Ristretto, Normale, and Lungo. Each one is a totally different experience in the cup.
- The Ristretto (1:1 – 1:1.5): This is your "restricted" shot. By using less water, you pull a thick, syrupy, and intensely sweet espresso. It’s a fantastic way to tame bright acidity and really dial up those deep, chocolatey notes.
- The Normale (1:2 – 1:2.5): This is the balanced all-rounder we’ve been focusing on. It’s your reliable standard that usually delivers a harmonious blend of sweetness, acidity, and body for most coffees.
- The Lungo (1:3+): Meaning "long" in Italian, this ratio uses much more water to pull a more delicate, almost tea-like shot. It’s brilliant for coaxing out subtle floral or fruity notes in light roasts that a shorter shot might just bulldoze over.
Honestly, playing with ratios is how you truly get to know your coffee. A tight 1:1.5 ratio might make a Brazilian bean taste like liquid chocolate, while a longer 1:3 pull could unlock those vibrant, jammy berry notes in an Ethiopian coffee.
Matching Ratios to Your Coffee Beans
The coffee itself should always be your guide. Read the flavour notes on the bag and then use your ratio to bring them to the forefront.
For instance, if you’re working with a classic, full-bodied blend that has notes of dark chocolate and nuts, a tighter, Ristretto-style ratio of 1:1.5 is going to amplify that richness and give it an amazing syrupy texture.
On the other hand, for a complex single-origin light roast, you might want to pull longer shots to give its delicate flavours the space they need to shine. There’s a perfect recipe for all kinds of coffee beans for your espresso machine, so don’t be afraid to pull a few shots at different yields to see what you love most.
Your Dialling In Questions, Answered
Even with the best workflow, questions always come up. Getting your espresso ratio just right is a journey, not a destination, so here are a few answers to the things home baristas often puzzle over.
Why Is My Espresso Gushing Out Too Fast?
A shot that pours in under 20 seconds is the textbook definition of under-extraction. It’s almost guaranteed to taste sour and unpleasant. What’s happening is the water is blasting through the coffee grounds too easily, without enough resistance to pull out all the delicious, soluble flavours.
Nine times out of ten, the culprit is your grind setting being too coarse. The fix is simple: just adjust your grinder to a finer setting. Make a small tweak, pull another shot, and watch how the time changes. On rare occasions, it could be caused by not using enough coffee (under-dosing) or tamping with too little pressure.
What’s Channelling and How Do I Stop It?
Ever seen tiny jets of water spray out from your portafilter? That's channelling. It’s when water finds a weak spot and carves a path of least resistance through the coffee puck, like a river cutting through a canyon. This is a recipe for a frustrating shot that’s both bitter and sour, because some grounds get over-extracted while others are barely touched.
The solution is all in your puck preparation. Your goal is to create a perfectly even and level bed of coffee. Using a distribution tool, like a WDT tool, to break up clumps is non-negotiable for consistency. You can find some fantastic WDT tools at ADS Coffee Supplies that will make a world of difference. Once distributed, make sure you tamp completely level with firm, even pressure.
Channelling isn't a grind size problem; it’s a puck prep problem. A well-prepared puck is your best defence against uneven extraction and the key to unlocking balanced flavours in every shot.
Should I Tweak the Dose or the Grind Size First?
When you’re just getting started, always, always use the grind size as your main dial. It’s the single most effective tool you have for controlling how long your shot takes to pull.
Settle on a dose that suits your basket (an 18-gram dose is a great starting point) and keep it constant. From there, adjust the grind finer to slow your shot down or coarser to speed it up. Keep at it until you’re hitting your target time, somewhere in that 25-35 second sweet spot. Only once you're pulling consistently good shots should you start playing with the dose to fine-tune the flavour.
How Often Do I Need to Dial In My Espresso?
You’ll want to dial in your espresso every single time you open a new bag of coffee. Every coffee is different—beans vary in density, size, and processing, all of which demand a unique grind setting.
You'll also find yourself making tiny adjustments as the coffee gets older. Freshly roasted beans are constantly releasing CO2, which affects extraction. A coffee might need a slightly finer grind a week after you’ve opened the bag. Even things like humidity can throw your shot times off, so running a quick test shot each morning is always a good habit to get into.
At Seven Sisters Coffee Co, we’re firm believers that mastering these details is what elevates good coffee to truly great coffee. Why not explore our range of freshly roasted beans and put your new skills to the test?