How to Make an Espresso at Home | Easy Step-by-Step Guide
Learning how to make espresso at home is far simpler than you might think. It’s all about using pressurised hot water to pull a concentrated, intensely flavourful shot from finely-ground coffee beans. The entire process takes just 25-30 seconds, and it’s this little shot that forms the heart of all your favourite café drinks, from lattes to cappuccinos.
Your First Step To Perfect Homemade Espresso
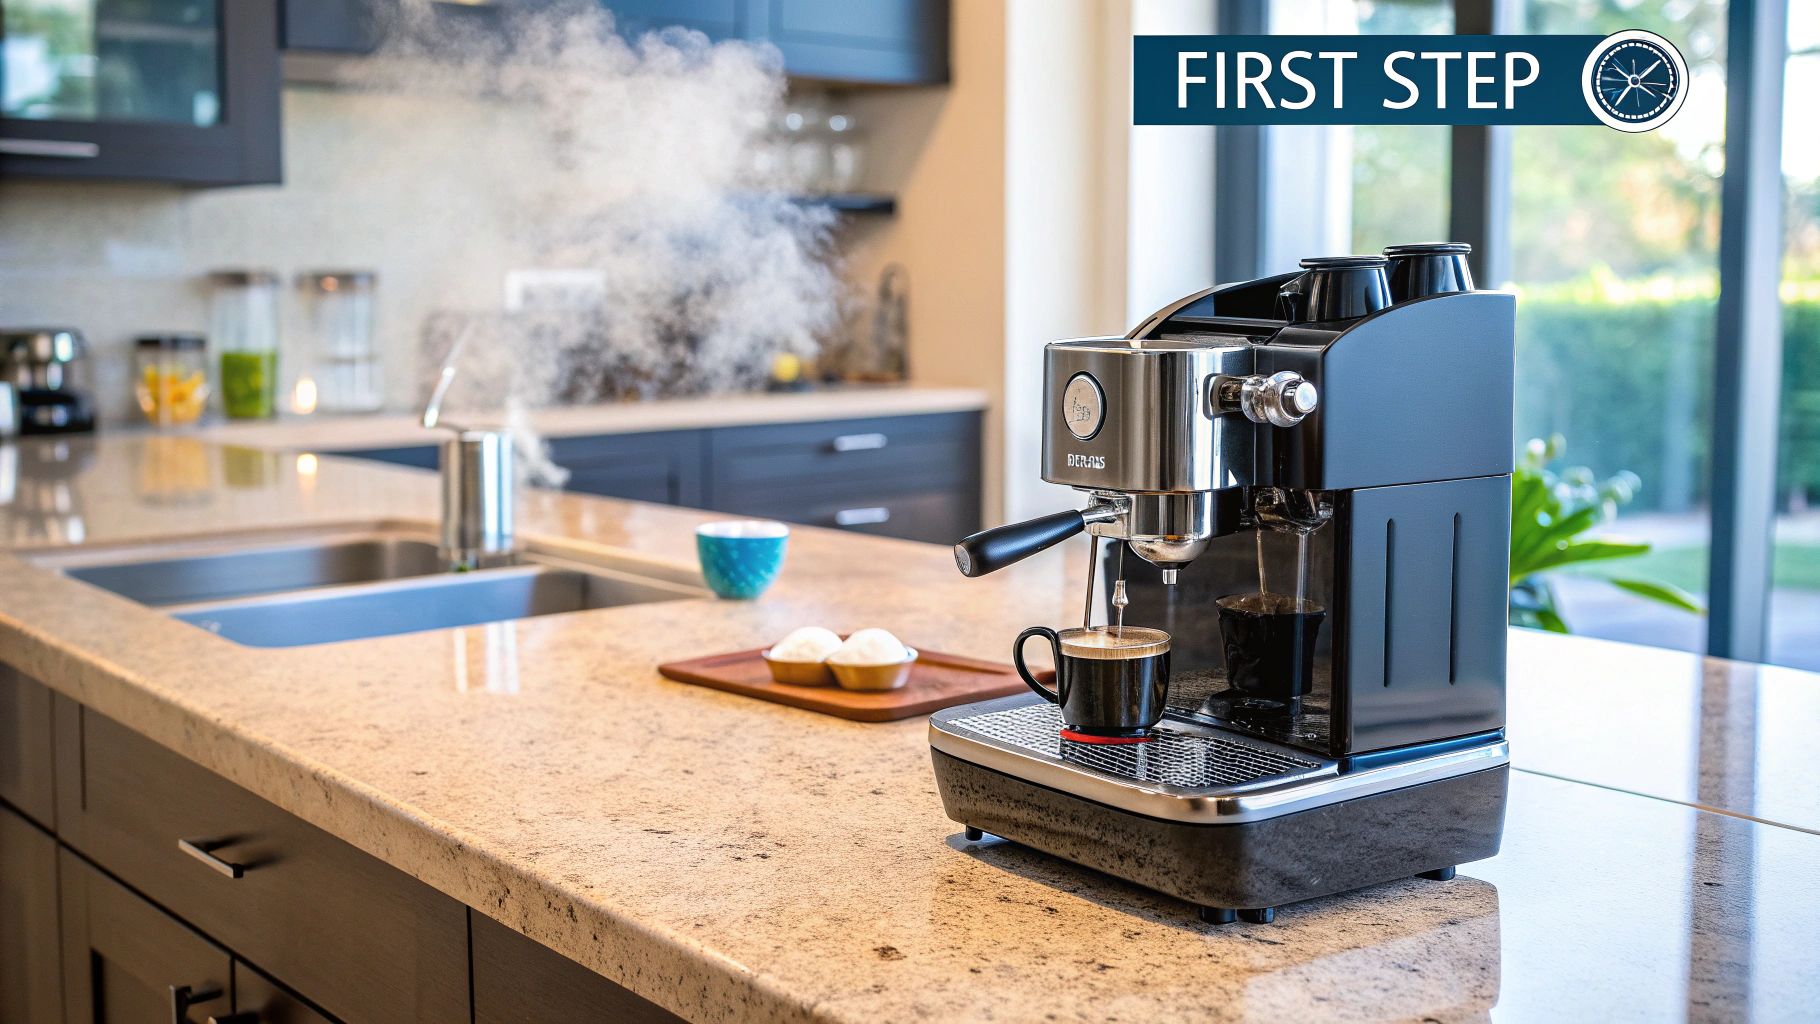
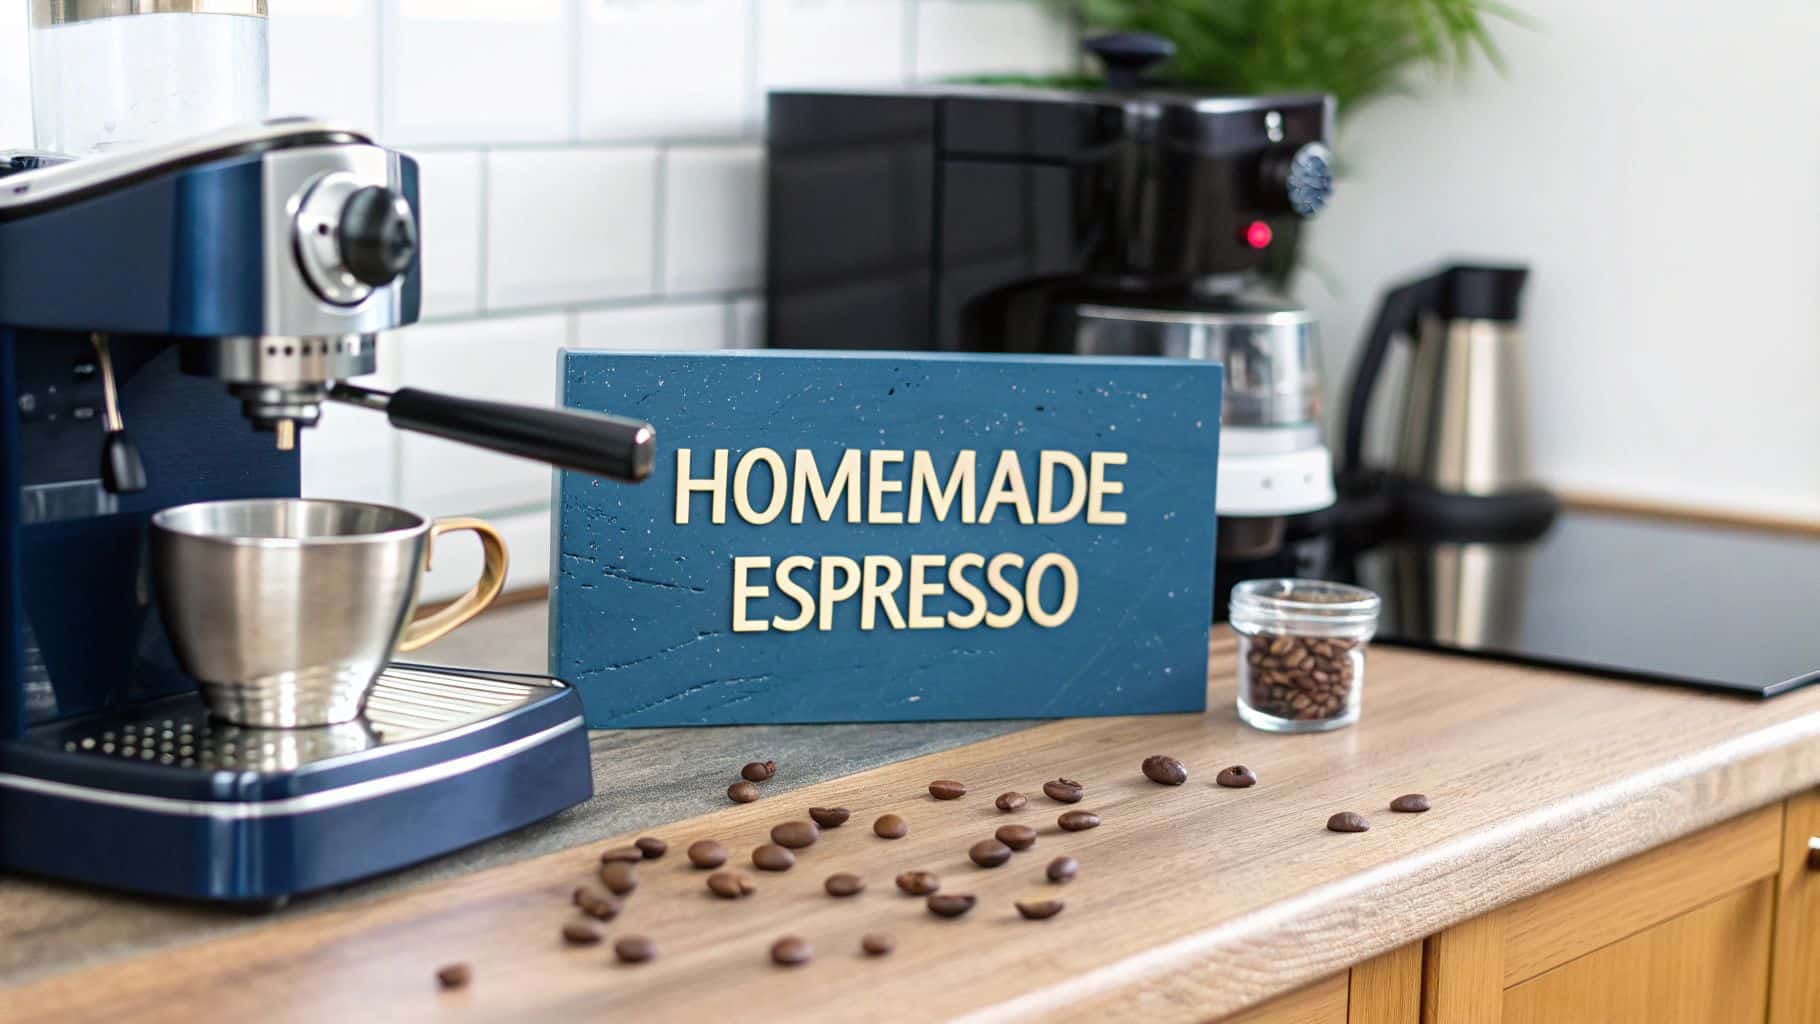
Welcome to the incredibly rewarding world of making genuine espresso right in your own kitchen. This is an art that goes way beyond just brewing strong coffee; it’s about crafting a rich, complex experience that is the soul of countless coffee specialities.
This guide is designed to demystify the process for UK coffee lovers like you. My goal is to help you go from a curious beginner to a confident home barista, pulling consistently delicious, café-quality shots every single time. We'll skip the overly technical jargon and focus on practical, actionable advice you can use immediately. Think of this as your personal roadmap, covering everything from the essential gear to the subtle techniques that make all the difference.
What Makes Espresso Special?
Unlike any other method, making espresso involves forcing hot water through a tightly packed ‘puck’ of finely ground coffee at incredibly high pressure. It’s this unique extraction that creates its signature characteristics, things you just don't get from a drip coffee maker.
- Intense Flavour: That high pressure pulls out oils and solids that other methods leave behind. The result is a much bolder, more concentrated taste.
- Rich Crema: You know that beautiful reddish-brown foam on top? It isn’t just for looks. The crema is a key sign of a well-pulled shot, contributing massively to the espresso’s aroma and long-lasting aftertaste.
- Versatile Base: A perfect shot of espresso is the essential building block for a huge range of drinks, from a simple, clean Americano to a creamy, velvety flat white.
The real magic of espresso lies in its concentration. A single shot packs an incredible amount of flavour into a small volume, offering a sensory experience that is both powerful and nuanced.
This guide will arm you with the knowledge to control every variable of the espresso process. But if you’re looking for broader inspiration, feel free to explore other ways to brew coffee at home.
Choosing Your Essential Espresso Gear
Before you can even think about pulling that perfect shot, you need the right tools. The gear you choose isn't just a purchase; it's the foundation of your entire home brewing setup, and it has a direct impact on the quality of every single espresso you make. While the machine is the obvious centrepiece, what many beginners don't realise is that a high-quality grinder is just as vital.
A great grinder gives you a uniform and consistent particle size, which is non-negotiable for a balanced extraction. Without it, water channels through the coffee unevenly, leading to a shot that's somehow both sour and bitter. Trust me, it's a disappointing result after all that effort.
The Heart of Your Setup: The Espresso Machine
Espresso machines can look intimidating, but they generally fall into a few categories. You've got manual lever machines, which offer the ultimate control but demand a lot more skill. Then there are semi-automatic machines, which are wildly popular for home use because they manage pressure and temperature for you, leaving the crucial steps—grinding, dosing, and tamping—in your hands.
This balance makes semi-automatics a fantastic starting point. They let you build real barista skills without the steep, often frustrating, learning curve of a fully manual setup. Your choice really boils down to your budget and how hands-on you want to be in the process.
The single most important investment after your machine is a burr grinder. Unlike blade grinders that just violently chop beans into inconsistent chunks, burr grinders mill them to a uniform size. This is absolutely critical for a perfect espresso pull.
Building Your Home Barista Toolkit
So, you've got the main hardware sorted. What's next? A few key accessories are essential for consistency and control. These are the tools that help you repeat your successes and figure out what went wrong when a shot doesn't taste right.
Here's a quick look at the gear that bridges the gap between a good setup and a great one. We've separated the absolute must-haves from the nice-to-haves.
Essential vs Optional Espresso Gear
| Item | Importance Level | Why You Need It |
|---|---|---|
| Digital Scale | Essential | Measures your coffee dose and final shot weight to 0.1 grams, ensuring you hit the right ratio every time. Precision is everything. |
| Tamper | Essential | Compresses coffee grounds evenly in the portafilter to create a level puck. A heavy, well-fitting tamper is a game-changer. |
| Portafilter | Essential | The handle that holds the coffee grounds. Most machines include one, but exploring different types can refine your technique later. |
| Knock Box | Optional | A dedicated container for discarding used coffee pucks cleanly and efficiently. A nice convenience, but not a necessity. |
| Tamping Mat | Optional | A silicone or rubber mat that protects your counter and provides a stable surface for tamping. |
| Distribution Tool | Optional | Helps level the grounds in the portafilter before tamping to prevent channelling and ensure an even extraction. |
While the list of potential gadgets can seem endless, starting with the essentials ensures you have what you truly need to master the fundamentals. A scale and a quality tamper will do more for your espresso quality than a dozen other fancy accessories combined.
To round out your station and discover tools that match your setup, you can explore our full range of essential coffee accessories.
Mastering Your Core Espresso Technique
With your gear all set, it’s time to get into the heart of the craft. Pulling a great shot of espresso is a bit of a dance, and it all comes down to four key moments: grinding, dosing, tamping, and extraction. Think of each step as building on the last—get them right, and you’re on your way to café-quality flavour at home.
The first move is always the grind. For espresso, you need a fine, consistent texture, almost like granulated sugar. If the grind is too coarse, the water will rush through, leaving you with a fast, watery shot that tastes sour. On the flip side, if it's too fine, it’ll choke the machine, and you’ll get a slow, bitter extraction. Nailing this balance is everything. For a deeper dive into getting it spot on, our coffee grind size guide has you covered.
The Precision of Dosing and Tamping
Once your coffee is perfectly ground, it’s time to dose—that is, measure out the exact amount for your shot. There’s no room for guesswork here. For a standard double shot, you’ll want to aim for 18-20 grams of coffee. Use a digital scale to be sure, as this little detail makes a huge difference to the final taste and body of your espresso.
With the grounds in the portafilter, give it a gentle shake or tap to distribute them evenly before you tamp. Tamping is simply compressing the coffee into a solid, level ‘puck’. The goal isn’t to use brute force, but to apply firm, even pressure straight down. This creates a compact and level surface that forces the high-pressure water to extract all that lovely flavour uniformly.
The infographic below shows how all these small, precise actions come together.
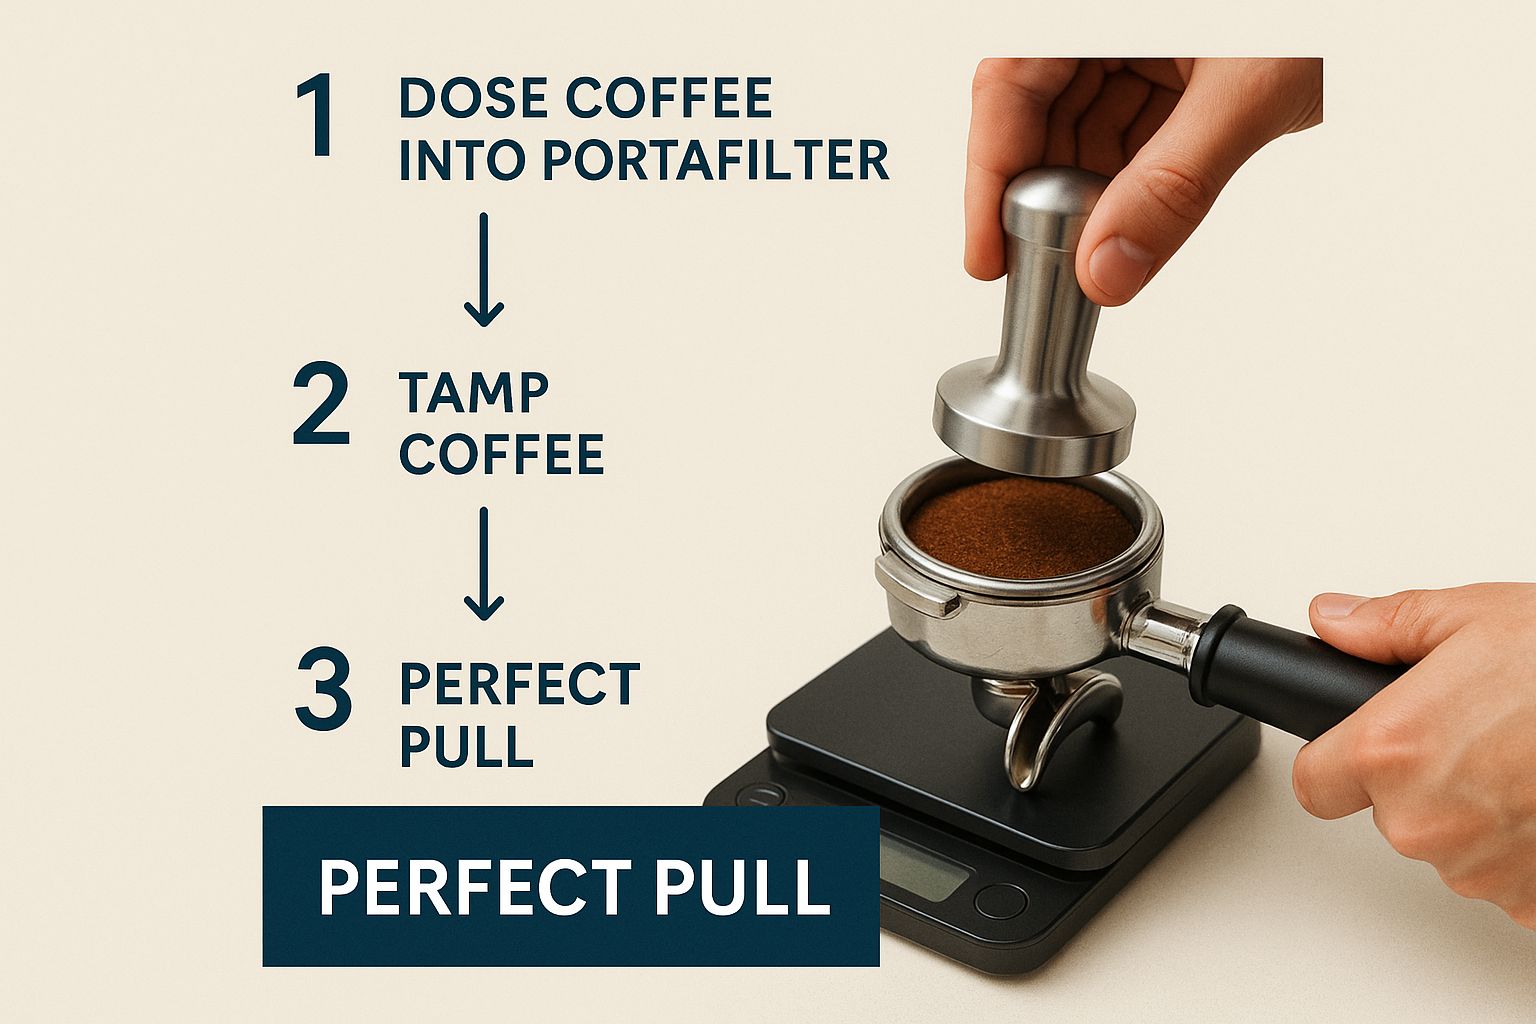
As you can see, using a scale is a game-changer. It’s the best way to ensure every shot starts with the correct dose for a consistent result, time after time.
The Art of the Extraction
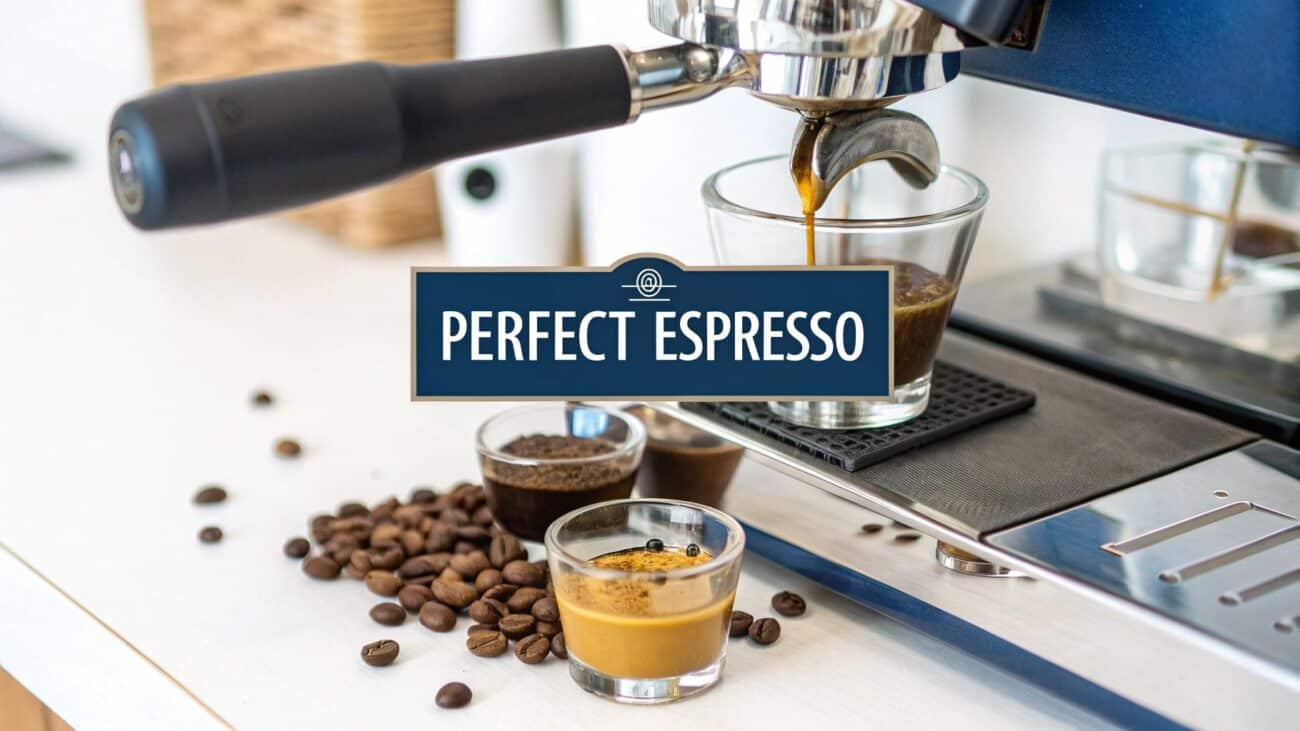
And now, the moment of truth: the extraction. Lock your portafilter into the machine and start the shot. You're looking for a flow that starts like warm honey—thick, dark, and syrupy—before it lightens in colour. The whole process should take somewhere between 25-30 seconds. This timing is your best clue that you've got everything right.
A perfect extraction is a beautiful thing to watch. You’ll see those first dark drips turn into a steady, caramel-coloured stream, all topped with a rich, reddish-brown crema. That crema is the hallmark of fresh coffee and solid technique.
This whole detailed process helps explain why you might pay around £2.75 for a cappuccino in the UK. There's a real craft to dialling in that 18-20 gram dose and hitting the 25-30 second extraction time at roughly 9 bars of pressure. If you want to take your skills even further, exploring some specialised online cooking classes can be a great way to elevate your technique.
Selecting the Right Coffee Beans for Espresso
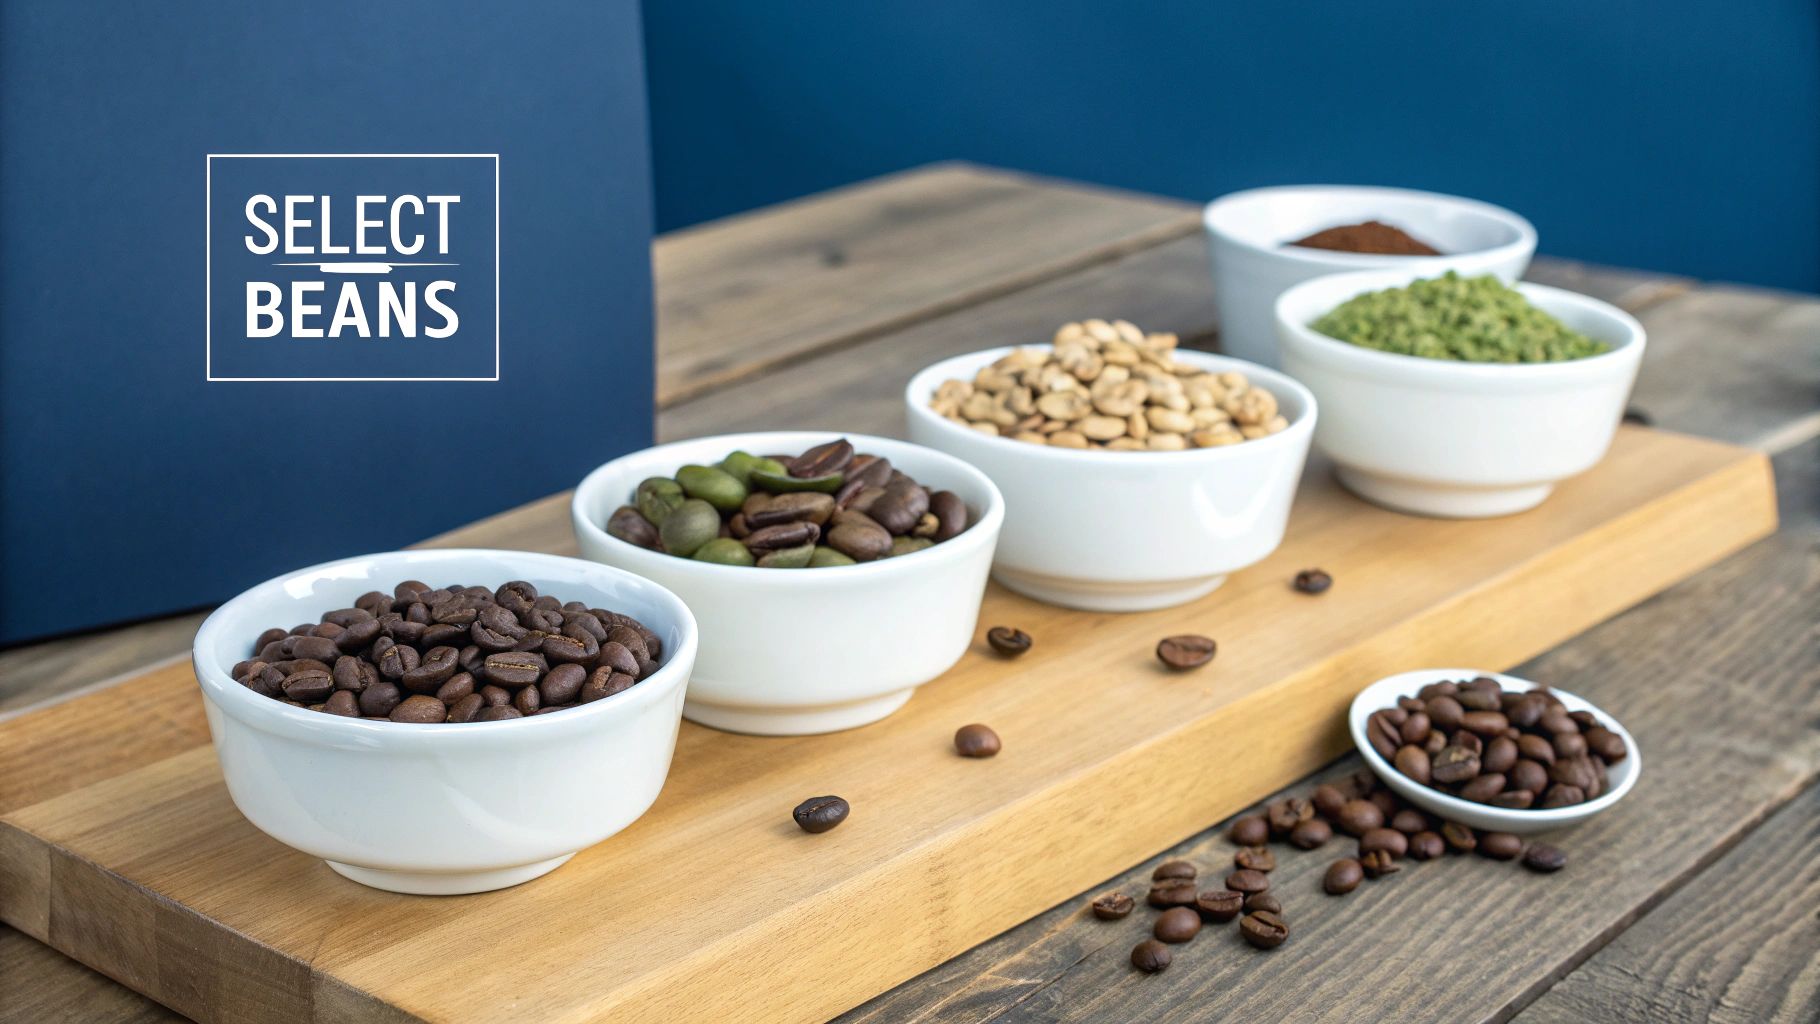
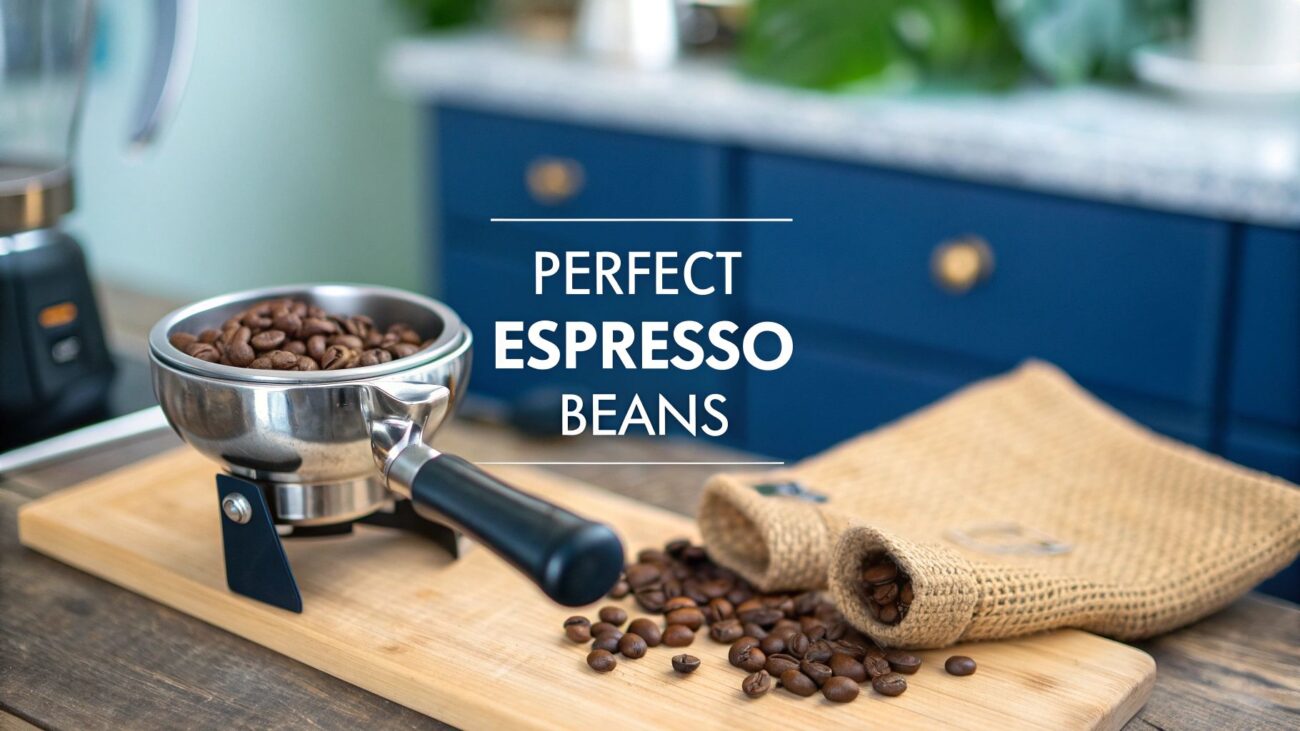
Before you touch a single dial on your machine, the most important decision has already been made: the beans. They are the very soul of your espresso, and the choice you make here will shape everything about the final shot. Getting this right is the first real step towards making espresso you genuinely love.
You'll see bags labelled as either single-origin or blends. Single-origin beans come from one specific farm or region, showcasing unique and distinct flavours—think of the bright, fruity notes you get from an Ethiopian bean. Blends, on the other hand, are a mix of beans from different places, crafted to create a more balanced, consistent, and well-rounded flavour profile.
Many professional baristas lean towards blends for espresso. Why? Because they're often designed specifically to produce a rich, stable crema and a complex flavour that cuts through milk beautifully in a flat white or latte.
Understanding Roast Levels
The roast level dramatically alters the bean's character. Roasters are masters at controlling this process to pull out specific qualities, and knowing your preference here will narrow down the options considerably.
- Light Roasts: These beans hold onto more of their original, bright, and acidic flavours. A light roast can produce a wonderfully complex and nuanced shot, but they’re notoriously trickier to extract correctly.
- Medium Roasts: This is the sweet spot for many espresso lovers, offering a balanced profile of acidity, sweetness, and body. You’ll find those crowd-pleasing notes of caramel, chocolate, and fruit here.
- Dark Roasts: With much lower acidity, these beans are bold, rich, and often pack a chocolatey or smoky punch. They are brilliant for producing that classic, powerful espresso flavour and a thick, stable crema.
No matter the origin or roast, the single most critical factor is freshness. Coffee beans hit their peak flavour between one to four weeks after their roast date. This is the magic window for vibrant flavour and that beautiful, thick crema we're all chasing.
To keep that peak flavour locked in, store your beans in an airtight container, well away from light, heat, and moisture. Get this foundation right, and you're already halfway to a great shot. If you want to go deeper, check out our full guide to the best coffee beans for espresso to find your perfect match.
How to Fix Common Espresso Problems
Even the most seasoned baristas pull a bad shot now and then, so don't get discouraged when it happens to you. Learning to make espresso is a journey of constant refinement, and troubleshooting is a massive part of the process. Think of each failed shot not as a mistake, but as valuable feedback telling you what to tweak next.
A common frustration is a shot that tastes sour, thin, and watery. This is a classic sign of under-extraction. It means the water blasted through the coffee grounds too quickly to pull out all the rich, sweet flavours you're after. The water simply didn't have enough time to do its job.
On the flip side, a shot that’s harsh, bitter, and leaves an unpleasant dry feeling in your mouth points to over-extraction. In this scenario, the water lingered with the coffee for too long, pulling out all sorts of bitter compounds that should have been left behind.
Diagnosing Fast and Slow Shots
Often, the speed of your shot is the biggest clue. A shot that flies out of the machine in under 20 seconds is what we call a 'gusher', and it will almost certainly be under-extracted and taste disappointingly sour.
On the other hand, a shot that barely drips out and takes well over 35 seconds is 'choked'. This slow, strained pull will be over-extracted, leading to a bitter and unenjoyable cup. Thankfully, the fix for both of these problems usually lies in adjusting your grind size.
- For a sour, fast shot (under-extracted): Your grind is too coarse. Make a small adjustment to a finer grind setting. This creates more resistance for the water, slowing it down and giving it more time to extract the good stuff.
- For a bitter, slow shot (over-extracted): Your grind is too fine. Adjust your grinder to a slightly coarser setting. This will allow the water to flow through the coffee puck more easily, shortening the extraction time and reducing bitterness.
Don't forget that bean freshness plays a huge role here, too. Stale beans can lead to fast, underwhelming shots with poor crema. Learning how to store coffee beans properly is a simple step that makes a world of difference for consistency and flavour.
Making these small, methodical adjustments is the secret. Only change one variable at a time—either your grind size or your dose—to see how it affects the outcome. This practical, problem-solving approach will quickly build your skills and have you pulling consistently delicious espresso in no time.
Your Espresso Questions, Answered
Even when you think you've nailed the process, espresso has a way of throwing new challenges at you. It’s all part of the fun. Let's tackle some of the most common questions that crop up for home baristas, offering some straight-up advice to get you back on track.
First up, water temperature. It's a big one. You're aiming for a sweet spot between 90-96°C (195-205°F). If the water's too cool, your shot will taste disappointingly sour and weak. Too hot, and you'll literally scorch the grounds, leaving you with a harsh, bitter flavour. Most decent semi-automatic machines keep this in check for you, but it’s a vital piece of the puzzle to be aware of.
Why Is My Crema Disappearing So Quickly?
A disappearing crema is another classic head-scratcher. When that lovely golden-brown layer vanishes in seconds, it's usually down to one of two culprits: stale coffee beans or the wrong grind size.
For a rich, stable crema, you need fresh beans. Ideally, use them within four weeks of the roast date, as this is when they still hold the CO2 needed to create that beautiful foam. If you know your beans are fresh, then it's time to look at your grinder. Try dialling the grind just a touch finer to create more resistance and slow the water down.
A stable, lasting crema isn't just for looks; it's a strong indicator of fresh beans and a well-dialled-in shot. It contributes significantly to the aroma and the velvety mouthfeel that defines a great espresso.
The passion for perfect espresso is a huge part of the UK's amazing coffee scene. The industry is massive, supporting over 210,000 jobs. With forecasts showing we’ll spend around £6.1 billion on coffee out-of-home in 2025, it’s clear we’re a nation that cares about quality. You can find more details about UK coffee consumption trends on gcrmag.com.
Ready to pull your own perfect shot? Explore our expertly sourced and freshly roasted coffee beans at Seven Sisters Coffee Co and take your home espresso game to the next level. Find your ideal blend at https://sevensisterscoffee.co.uk.