How to Make Perfect Espresso at Home

Before you even think about switching on your machine, let's talk about the single most important part of your espresso: the beans. They are the absolute heart and soul of your drink, dictating everything from flavour and aroma to the body of your shot. Getting this right is the first real step to pulling a truly brilliant espresso.
Choosing Beans: The Foundation of Flavour
The journey to an exceptional espresso starts long before the machine even warms up. It begins with picking high-quality, freshly roasted coffee beans that have all the right characteristics for a rich, balanced shot. If you're new to this, it's worth getting your head around some general coffee brewing principles first, as it helps to understand how all the different variables play together.
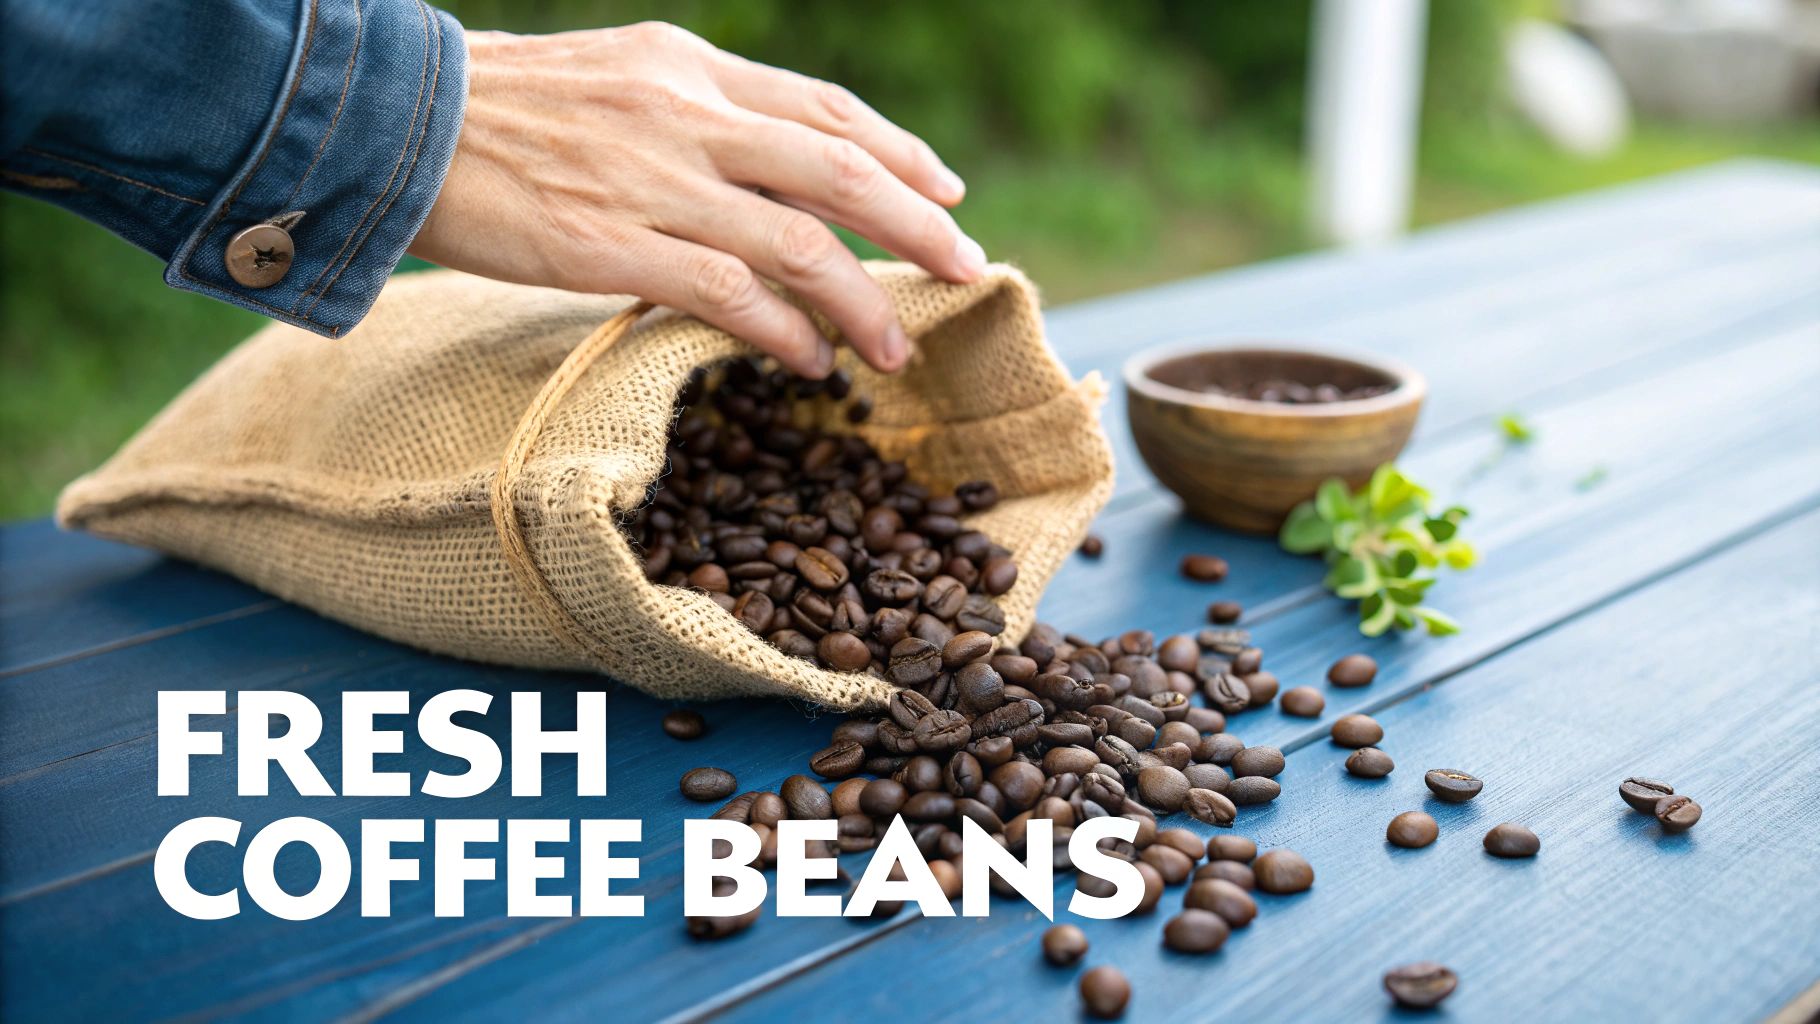
Freshness is everything. Once roasted, coffee beans start to 'degas', releasing CO2 and developing their peak flavour. This magical window is usually a few days to two weeks after roasting. Aim to use your beans within one to four weeks of their roast date – that’s the sweet spot for maximum flavour.
Understanding Roast Profiles
The roast profile is one of the biggest factors influencing how your espresso will taste. Think of it as a spectrum; where you land on it is purely down to your own preference.
Here’s a quick rundown:
- Light Roasts: These beans keep more of their original character from where they were grown. You’ll get brighter, more acidic notes—often fruity or floral. They can be fantastic in a filter coffee, but their high acidity can sometimes be tricky to balance in an espresso.
- Medium Roasts: For many, this is the perfect middle ground for espresso. It gives you a wonderful balance of acidity, sweetness, and body. This is where you start to find those classic caramel, nut, and chocolate notes coming through.
- Dark Roasts: Roasted for longer, these beans have very little acidity but a much fuller body. The flavours are bold and deep—think dark chocolate, smoke, and spice. This is your traditional Italian style of espresso. For more on this, check out our guide on coffee beans for espresso machines.
If I can give you one piece of advice, it's this: buy whole beans and grind them right before you brew. Pre-ground coffee goes stale incredibly fast as its aromatic compounds disappear into the air. No matter how good your technique is, you'll end up with a flat, lifeless shot.
Here in the UK, the coffee scene has exploded, and that's had a huge impact on how we all think about espresso. Big names like Costa have set a kind of benchmark for a good extraction. They typically aim for a shot time of 25-30 seconds, using 9 bars of pressure and a dose of 18-20 grams for a double shot.
This consistency has really shaped what people expect from their coffee, and it’s pushed home baristas like us to get more precise with our own brewing. It's no longer just about pushing a button; it’s about hitting those numbers to get that perfect balance of strength and flavour.
Mastering the Grind for Flawless Extraction
If there's one piece of kit you cannot skimp on when chasing the perfect espresso, it's your grinder. Honestly, it's even more critical than the espresso machine itself. Why? Because a flawless extraction lives or dies by the quality and consistency of your coffee grounds. It’s a process we baristas obsess over called ‘dialling in’.
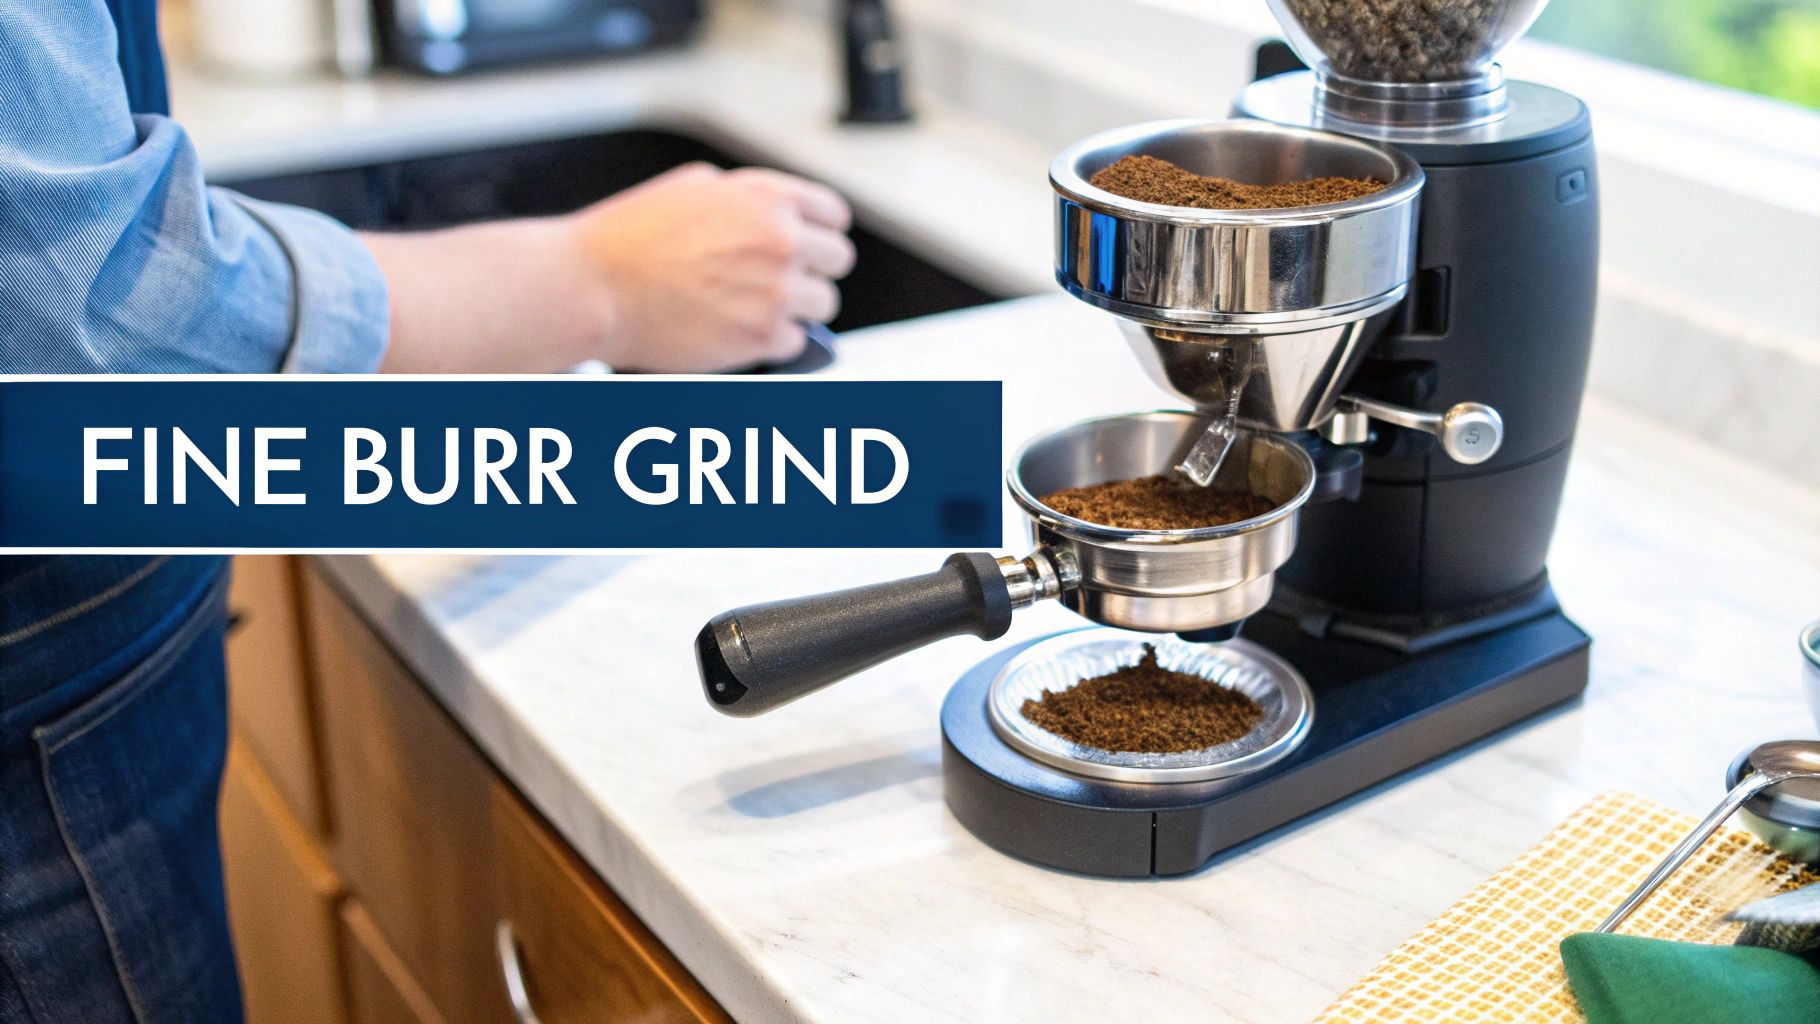
This is precisely why a burr grinder is non-negotiable. Blade grinders are the enemy of good espresso; they just smash beans into a chaotic mix of boulders and dust. Burr grinders, on the other hand, mill the beans between two revolving surfaces, creating wonderfully uniform particles. This consistency is essential for forcing hot water evenly through the coffee puck.
With inconsistent grounds, water will always find the path of least resistance. It creates tiny highways to rush through—a nightmare problem known as channelling. The result is a shot that’s disappointingly sour (from the under-extracted coarse bits) and unpleasantly bitter (from the over-extracted fine dust) all at once.
Finding Your Grind Sweet Spot
So where do you start? Aim for a grind texture that feels like fine sand or table salt. From there, it's all about making tiny, incremental tweaks based on how your shot pulls and, most importantly, how it tastes. Think of it as a delicate dance between your grind setting and the extraction time.
- Shot gushing out in under 20 seconds and tasting sour? Your grind is too coarse. The water is blasting through the coffee with zero resistance and isn't grabbing enough of the good stuff. You’ll need to adjust your grinder to a finer setting.
- Shot choking the machine, taking over 35 seconds, and tasting bitter? Now your grind is too fine. The coffee is packed so tightly that water can barely squeeze through, stewing the grounds and pulling out all sorts of harsh, nasty compounds. You'll want to dial it back to a coarser setting.
If you want to get a better visual on different grind sizes, our coffee grind size guide breaks it down with clear examples for all kinds of brewing methods.
A tiny nudge on your grinder’s dial can make a world of difference in the cup. The golden rule is to only ever change one variable at a time. Start with the grind, pull a shot, taste it, and then decide if anything else needs adjusting. This methodical approach is your secret weapon for consistency.
Here in the UK, the home barista scene has exploded, with more and more of us aiming for café-quality results. The go-to recipe is a 1:2 brew ratio—for instance, using 18 grams of ground coffee to yield 36 grams of liquid espresso in the cup. This kind of precision is easier than ever, thanks to modern home machines with built-in grinders and scales.
When you're first getting started, figuring out what's going wrong can feel like guesswork. This little troubleshooting table should help you diagnose the most common issues and get back on track.
Espresso Dialling-In Troubleshooting Guide
| Problem Observed | Likely Cause | How to Adjust |
|---|---|---|
| Shot runs too fast (<20s), tastes sour/weak. | Grind is too coarse. | Make the grind finer. |
| Shot runs too slow (>35s), tastes bitter/burnt. | Grind is too fine. | Make the grind coarser. |
| Shot timing is right, but it's still sour. | Dose might be too low. | Increase the coffee dose slightly (e.g., from 18g to 18.5g). |
| Shot timing is right, but it's still bitter. | Dose might be too high. | Decrease the coffee dose slightly (e.g., from 18g to 17.5g). |
Remember, this is just a starting point. Your palate is the ultimate judge, so trust what you're tasting and adjust accordingly.
Getting the grind right is an ongoing conversation with your coffee. Every new bag of beans will mean you have to dial in all over again. But once you truly get a feel for that relationship between grind size, time, and taste, you'll be pulling delicious, balanced espresso every single time.
How to Dose and Tamp for a Perfect Puck
So, you've dialled in your grind. The next battleground is the portafilter itself, where you build the foundation for a brilliant extraction: the coffee puck. This stage is all about precision and feel, a mix of accurate measurement and careful technique that stops problems before they even start. Honestly, it's often the difference between a beautifully balanced shot and a sink-shot.
The single most impactful habit you can adopt for consistency is weighing your coffee. Seriously. Ditching the guesswork and using digital scales to measure your dose is a genuine game-changer. For a typical double shot, you should be aiming for somewhere between 18-20 grams of ground coffee. This simple step ensures every shot you pull has the same starting point, making it worlds easier to figure out what went wrong if a shot goes sideways.
Creating an Even Coffee Bed
With your dose weighed out and sitting in the portafilter, the next job is distribution. If you just tamp a lumpy mound of coffee, you're pretty much guaranteeing an uneven extraction. The goal here is to create a perfectly level and uniform bed of grounds, which encourages water to flow through it evenly instead of finding weak spots.
At its most basic, this can involve just gently tapping the side of the portafilter with your palm to settle the grounds. A far more effective method, though, is to use a distribution tool.
- WDT (Weiss Distribution Technique): This fancy-sounding name just means using a tool with fine needles to stir the grounds in the basket. This action is brilliant for breaking up clumps and evenly distributing the coffee particles, getting rid of dense spots and empty pockets.
- Levelling Tools: These little gadgets sit on top of the portafilter and have a small propeller-like base. A quick spin perfectly levels the surface of the grounds before you even think about tamping.
Investing in some quality espresso-making accessories like a WDT tool or a good tamper can make a massive improvement in your puck prep and, ultimately, your shot quality.
This visual guide breaks down the key stages of creating the perfect puck, from dosing right through to tamping.
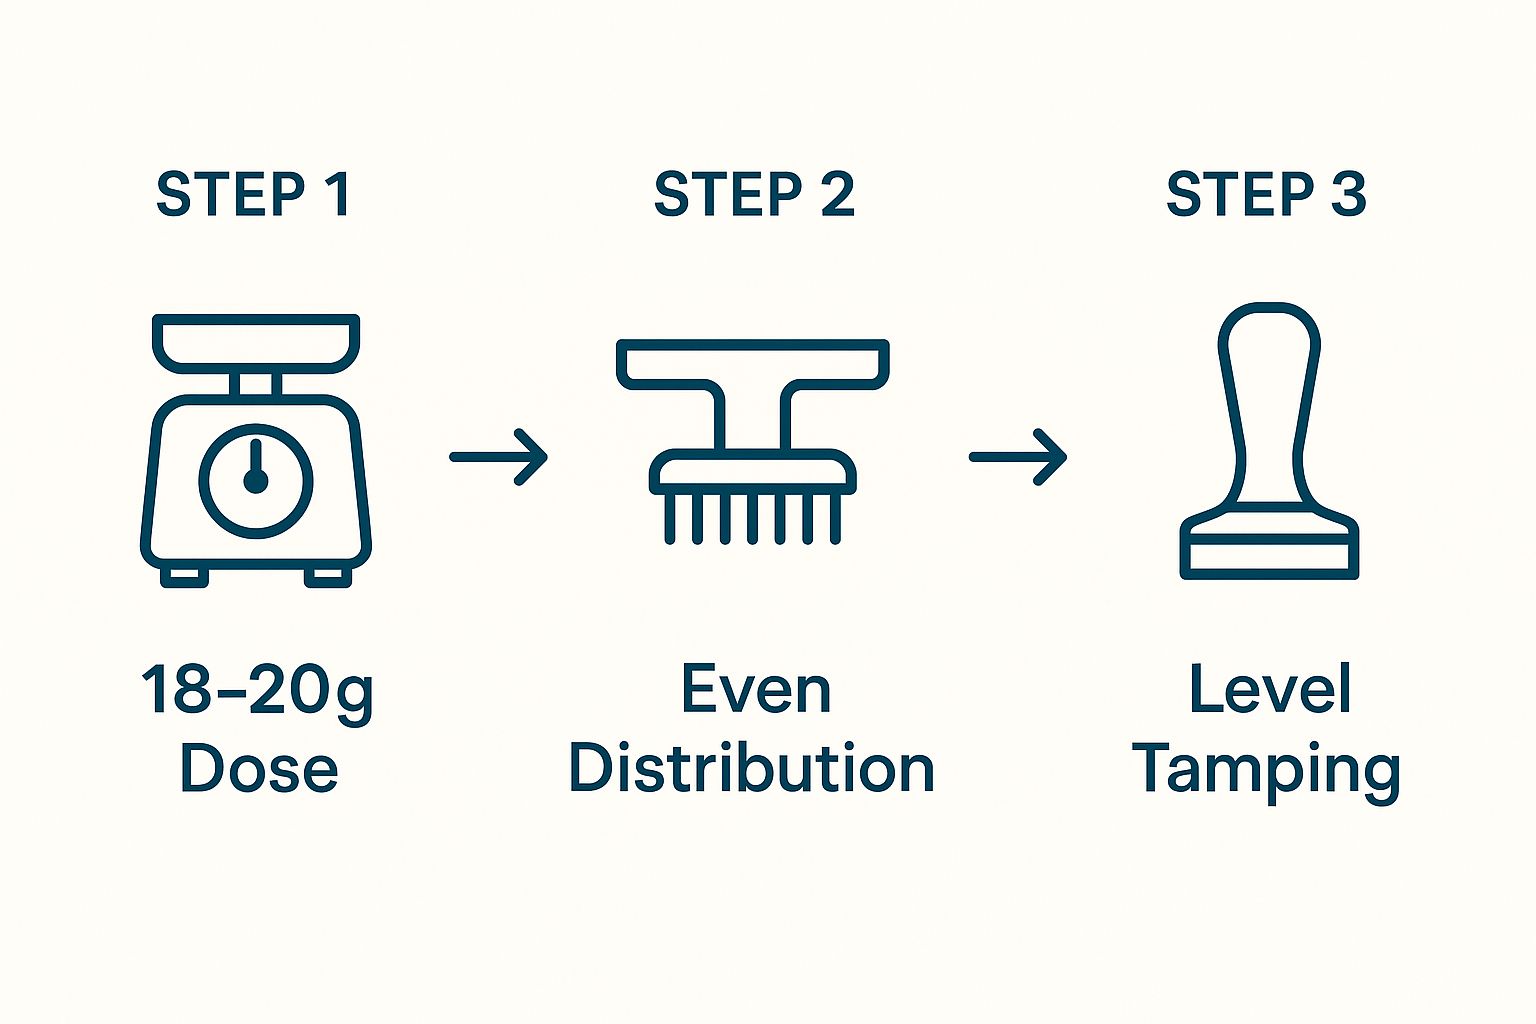
Following this sequence meticulously helps to knock out the variables that lead to poor extraction and ensures a solid foundation for every single shot.
The Art of a Level Tamp
Finally, we get to tamping. For years, the common wisdom was to apply 30 pounds of pressure, but this is largely a myth. The real goal isn't brute force; it's about achieving a perfectly level and consistently compressed puck.
The most common tamping mistake I see is an uneven press. If your tamp is even slightly slanted, you create a dense side and a less-dense side. Water will always take the path of least resistance, rushing through the less-dense area and causing channelling. That leads directly to a sour, under-extracted flavour in the cup.
Hold the tamper like you’re holding a doorknob, keeping your wrist dead straight. Press down firmly and evenly until you feel the coffee grounds stop compressing. Give the tamper a gentle spin without applying any more pressure—this just polishes the surface. The absolute key is consistency; apply the same level pressure every single time. A well-prepared puck is your best defence against a bad shot.
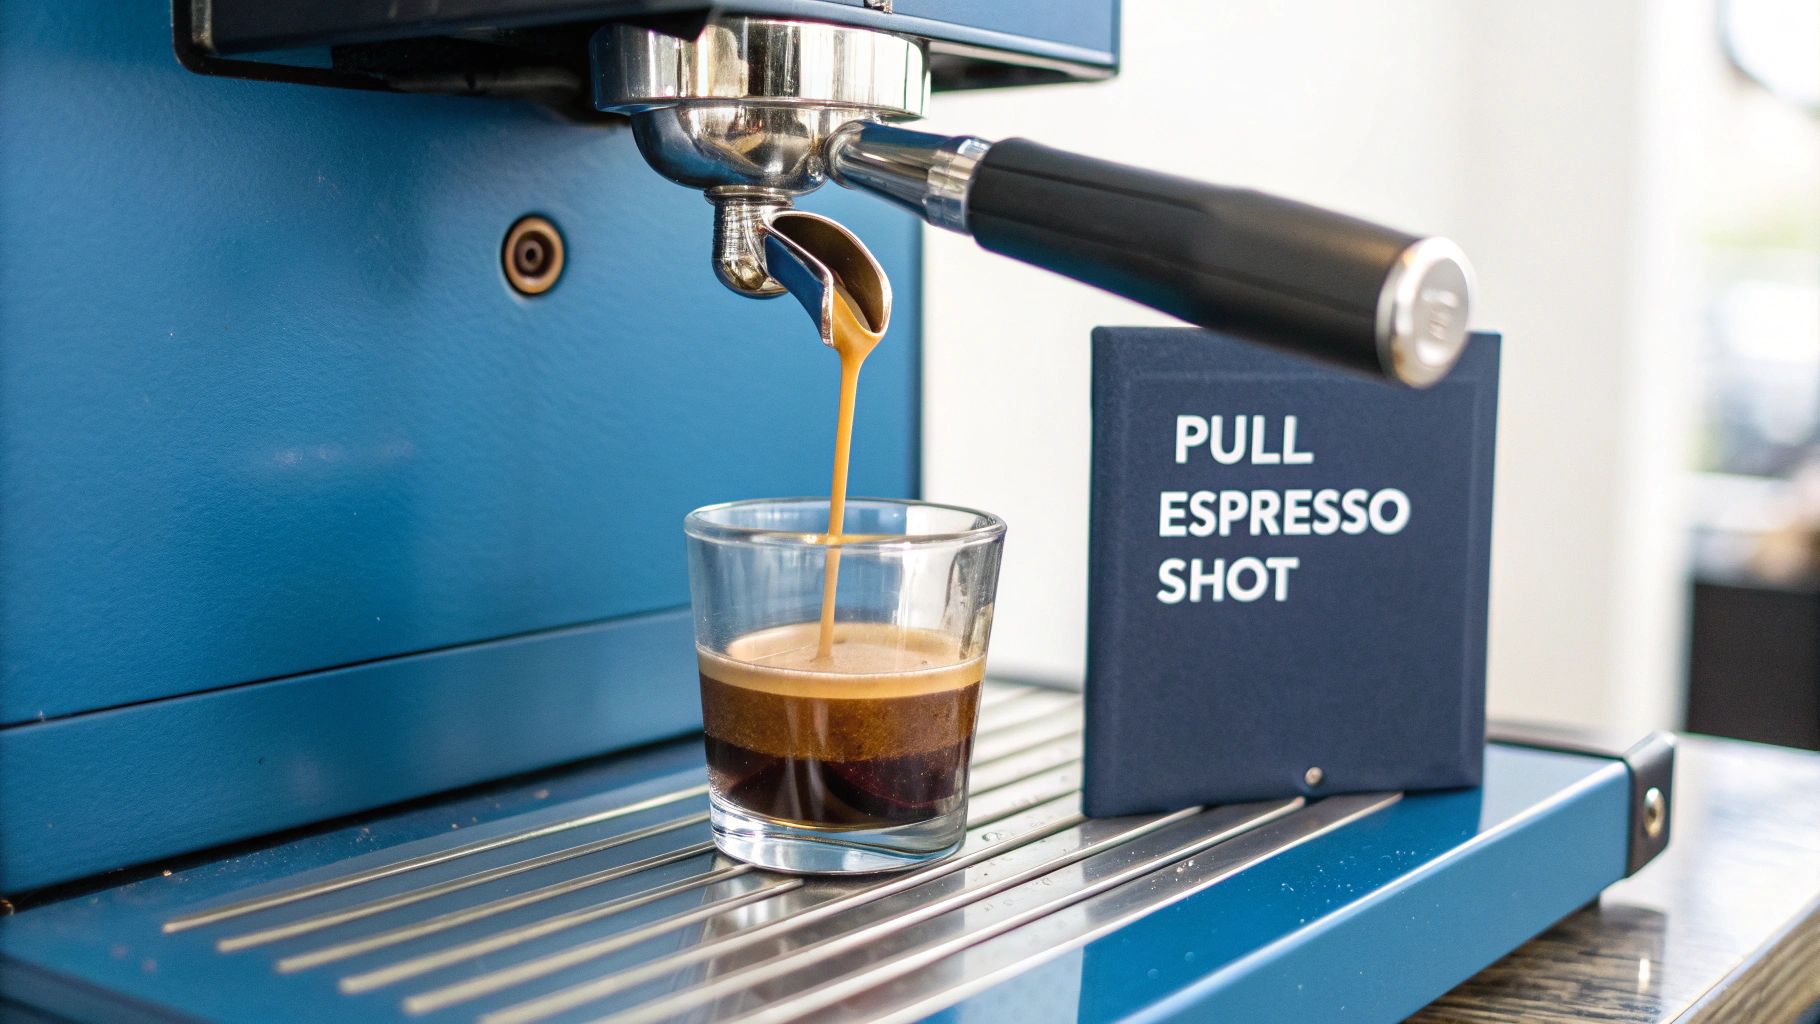
Pulling the Shot: The Moment of Truth
This is it—the moment where all your careful preparation comes together in the cup. Pulling the shot is a dynamic, sensory experience that transforms your perfectly prepped puck of coffee grounds into a rich, aromatic espresso. Honestly, watching the extraction unfold is one of the most satisfying parts of learning this craft.
Before you even think about hitting that brew button, make sure your equipment is thoroughly preheated. This is a step people often overlook, but preheating the machine, the portafilter, and your cup is vital for thermal stability.
Espresso extraction is incredibly sensitive to temperature swings. A cold portafilter or cup can instantly rob your shot of its heat, muting its complex flavours before you even take a sip.
Understanding the Brew Ratio and Timing
At the heart of any great extraction is the brew ratio. This is simply the relationship between the weight of your dry coffee grounds (your dose) and the weight of the liquid espresso in your cup (your yield). For consistency, a digital scale placed right under your cup is your best friend here.
A fantastic starting point for most coffees is a 1:2 ratio. What does that mean in practice? If you started with an 18-gram dose of ground coffee, you’ll want to stop the shot when the liquid in your cup weighs 36 grams. This ratio is a tried-and-true classic, known for delivering a balanced and full-bodied shot.
At the same time, you need to be timing the extraction. Start your timer the very second you press the brew button. The sweet spot for this 1:2 ratio usually falls within a 25-30 second window. This precise timing is crucial; it reflects a standard that both pro baristas and knowledgeable home brewers aim for. The demand for quality coffee at home has skyrocketed, and with it, an understanding of the key parameters: a fine grind, 9 bars of pressure, and a water temperature between 92-96°C. Getting these right ensures you extract all the good stuff without tipping into bitterness.
Your eyes are just as important as your scales and timer. A perfect shot tells a story as it extracts. Learn to read the visual cues, and you'll know when your espresso is at its absolute peak.
To make sense of all these numbers, here's a quick reference table summarising the ideal parameters for a standard double espresso.
Ideal Espresso Extraction Parameters
| Parameter | Recommended Range | Impact on Taste |
|---|---|---|
| Dose (Dry Coffee) | 18–20 grams | Affects the overall strength and body of the shot. |
| Yield (Liquid Espresso) | 36–40 grams (for a 1:2 ratio) | Determines the concentration and balance of flavours. |
| Extraction Time | 25–30 seconds | Too short can be sour; too long can be bitter. |
| Water Temperature | 92–96°C | Influences which flavour compounds are extracted. |
| Pressure | 9 bars | The industry standard for optimal, even extraction. |
Following these guidelines will put you firmly on the path to pulling consistently delicious shots that rival your favourite coffee shop.
Reading the Visual Cues of Extraction
Watching the espresso pour is where the real art comes in. Don't just set a timer and walk away. Pay close attention to the flow, as it gives you instant feedback on your puck preparation and grind setting.
Here’s what you should be looking for:
- First Drips: After a few seconds (this is the pre-infusion phase), the first drops should appear. They'll be dark, thick, and syrupy, almost like warm honey.
- The Main Flow: The drips will quickly merge into a steady, consistent stream. The ideal flow should have a beautiful 'tiger-striping' effect, showing mottled patterns of reddish-brown and caramel colours. This is a sign of a healthy, even extraction.
- Blonding: Towards the end of the shot, you'll see the stream lighten in colour, becoming pale and watery. This is called 'blonding', and it's your signal that all the desirable flavours have been extracted. Letting it run any longer will only add bitterness. This is your cue to stop the shot.
Once you’ve mastered pulling a straight espresso shot, you have the perfect foundation for all the classic coffee drinks. If you’re a fan of milky coffees, our guide on how to make a cappuccino is the perfect next step on your journey.
How to Taste and Refine Your Espresso
Pulling a shot that looks like liquid caramel is a great start, but it’s only half the story. The real art of exceptional espresso lies in what you do next: tasting it.
Think of each shot not just as a drink, but as crucial feedback. Your palate is your best diagnostic tool, telling you exactly what needs a little nudge in one direction or another. This is where you move from just making coffee to mastering it, creating a feedback loop where tiny, informed tweaks lead to consistently brilliant espresso.
Decoding the Flavours in Your Cup
When you take that first sip, you're searching for balance. Specifically, the harmony between acidity, sweetness, and bitterness. When these three elements are in sync, you’ve hit the jackpot. If one shouts louder than the others, your shot is telling you something went wrong during extraction.
Here’s what to listen for:
- Overly Sour and Thin: Does the shot make you pucker? A sharp, lemony sourness paired with a watery, thin texture is the classic sign of under-extraction. The water blasted through the coffee puck too quickly, leaving all the good stuff—the sugars and deeper flavours—behind.
- Harsh and Bitter: On the flip side, if the taste is ashy, hollow, or just plain harsh with a bitter aftertaste that won’t quit, you've over-extracted it. The water lingered too long with the grounds, pulling out unpleasant, bitter compounds that should have stayed put.
A truly well-pulled shot hits you with a pleasant brightness upfront, moves into a rich, deep sweetness, and finishes with a clean, gentle bitterness that ties it all together. The roast itself plays a huge role here; getting familiar with different coffee roasting profiles explained will give you clues about what flavours to expect from your particular beans.
How to Make Adjustments Based on Taste
Once you've identified the main imbalance, you can make a targeted fix. Just remember the golden rule: change only one variable at a time. If you tweak the grind and the dose simultaneously, you’ll have no idea which one actually made the difference.
Your grinder is your most powerful tool for dialling in a shot. A tiny adjustment to the grind size can completely transform your espresso. If it's sour, grind finer to slow the water down. If it's bitter, grind coarser to speed it up.
Beyond those core flavours, pay attention to the body and aftertaste. Body is all about the texture on your tongue—is it rich and syrupy, or is it light and more like tea? The aftertaste should be clean and enjoyable, not astringent or medicinal.
Developing a sensitive palate takes practice, but this methodical approach to tasting will fast-track your learning curve. Soon enough, you'll be able to diagnose and perfect every single shot you pull.
All that hard work—finding the perfect beans, dialling in your grind, tamping just so—means absolutely nothing if you're pulling shots through a dirty machine. It’s a bitter truth, both literally and figuratively. Over time, coffee oils and mineral deposits build up, turning rancid and injecting foul, unpleasant flavours into what should be a perfect espresso.
If you're serious about your coffee, consistent maintenance isn't just a suggestion; it's non-negotiable. A clean machine doesn't just make for better-tasting coffee; it also massively extends the life of your equipment, helping you avoid costly repairs down the line.
Your Practical Cleaning Schedule
The easiest way to stay on top of maintenance is to build a simple routine. Don't overthink it. Just break it down into daily, weekly, and occasional tasks until it becomes second nature.
Daily Habits (After Each Session)
A couple of quick actions after you’re done brewing for the day will make all the difference.
- Flush the Group Head: Before and after you pull a shot, run hot water through the group head for a few seconds. This simple rinse clears out any stray coffee grounds that are hanging around.
- Clean the Portafilter: As soon as you're finished, knock out the used coffee puck and give the basket a good wipe until it's clean and dry. Whatever you do, don't leave a wet, used puck sitting in the machine.
Regular cleaning isn't just about hygiene; it's one of the most critical parts of preserving flavour. Rancid coffee oil is the number one enemy of a sweet, balanced espresso shot, and it builds up far quicker than you might think.
Weekly and Monthly Tasks
Once a week, you'll want to do a proper backflush using a specialised espresso machine cleaner. This isn't a simple rinse. The process forces a cleaning solution back up through the group head, shower screen, and valves, dissolving all the stubborn, built-up coffee oils that water alone can't touch.
Every so often, you'll also need to descale your machine. This involves running a descaling solution through the boiler to get rid of limescale build-up. If you live in a hard water area, this is especially crucial. How often you need to do it depends entirely on your water hardness, but it’s an absolutely essential step for keeping your boiler healthy and your temperature stable.
Got Espresso Questions? We've Got Answers
Even when you think you've got everything dialled in, the espresso machine has a way of throwing you a curveball. It happens to everyone. This section is your go-to troubleshooting guide, tackling the most common hurdles you'll face on your journey to the perfect shot.
So, your espresso shot tastes sour, making you pucker up? That sharp, acidic flavour is a dead giveaway for under-extraction. In simple terms, the water blasted through the coffee grounds way too fast, not giving it enough time to pull out the sweet, balanced flavours. The fix is almost always to adjust your grinder to a finer setting. This adds more resistance, slowing the water down and giving it the contact time it needs.
What Is Crema and Does It Matter?
That beautiful, reddish-brown foam sitting proudly on top of your espresso shot? That's the crema. It's created when hot, high-pressure water emulsifies the coffee oils and mixes with the CO2 gas that's been trapped inside the beans since they were roasted.
While a thick, stable crema often points to fresh beans and a solid extraction, don't let it be the only thing you judge your shot on. Flavour is king. I've seen plenty of gorgeous-looking shots that tasted absolutely dreadful. Always trust your palate first and foremost.
Can I Use Pre-Ground Coffee?
Technically, you can, but I can almost guarantee you'll be disappointed with what ends up in your cup. Espresso is incredibly fussy about grind size and, crucially, freshness. The moment you grind coffee, it starts losing its aromatic compounds, and within minutes, the flavour becomes flat and lifeless.
To really get to grips with the craft, it's worth exploring these essential tips for mastering espresso coffee making. If you're serious about making genuinely great espresso at home, investing in a quality burr grinder isn't just a recommendation—it's non-negotiable. Grinding your beans right before you brew is the single biggest step up you can make.
Ready to elevate your home coffee experience? Explore the exceptional range of freshly roasted, speciality coffee beans at Seven Sisters Coffee Co and start your journey towards the perfect cup. Find your new favourite blend at https://sevensisterscoffee.co.uk.