How to Make a Cappuccino at Home
To whip up a proper cappuccino at home, you need to get the balance just right: one part espresso, one part steamed milk, and one part milk foam. This classic 1:1:1 ratio is what creates that signature harmony of bold flavour and luxurious, airy texture. Nail this simple formula, and you're already on your way to making café-quality coffee.
The Art of the Perfect Home Cappuccino
Ever wondered what separates a decent cappuccino from a truly great one? It's all about that perfect balance. The drink, which has its roots in Italy, is a beautiful harmony of three distinct layers, all working together to create a single, unforgettable experience.
The goal isn't just to slosh some coffee and milk together. It's about crafting a drink where the rich espresso flavour shines through, complemented by the sweetness of perfectly steamed milk and capped with a light, velvety microfoam. Understanding this structure is the first real step toward mastering the cappuccino in your own kitchen. While many modern coffee shops have put their own spin on the recipe, the traditional composition remains the gold standard for a very good reason.
A UK Coffee Staple
The cappuccino has become an absolute fixture in the UK's vibrant coffee scene, shaking off its old reputation as just a breakfast drink to become a cornerstone of the café experience for millions. In fact, the UK now gets through a staggering 98 million cups of coffee every single day, a figure that speaks volumes about our national love affair with good coffee.
As the coffee shop sector boomed, the cappuccino's popularity soared, cementing its place as a go-to choice for coffee lovers everywhere. If you dive into the UK's coffee consumption habits, you'll quickly realise just how essential these drinks have become.
A true cappuccino is more than just a recipe—it's an experience. The aim is to create a harmonious blend where the rich, complex notes of the espresso are perfectly complemented by the sweet, creamy texture of the milk and foam.
This guide is designed to set you up for success. We'll break down the whole process, making sure you understand not just the steps, but the why behind them. The cappuccino is just one of many different types of coffee drinks you can explore making at home, each with its own unique character.
So, before we get into the gear and the techniques, let's get a clear picture of the delicious, perfectly balanced drink you're about to create.
Setting Up Your Home Barista Station
Crafting a brilliant cappuccino at home starts long before you even think about pulling your first shot. It all begins with setting up your space and getting the right tools for the job. Think of it as creating your own personal coffee corner, a dedicated spot where everything you need is right there, ready to go.
When your kit is organised and in one place, the whole process just flows better. It's smoother, less stressful, and frankly, a lot more fun. This isn’t about splashing out on expensive gear; it’s about knowing which pieces of equipment really make a difference to the flavour and texture in your cup. Every single tool, from your grinder to your scales, plays a part.
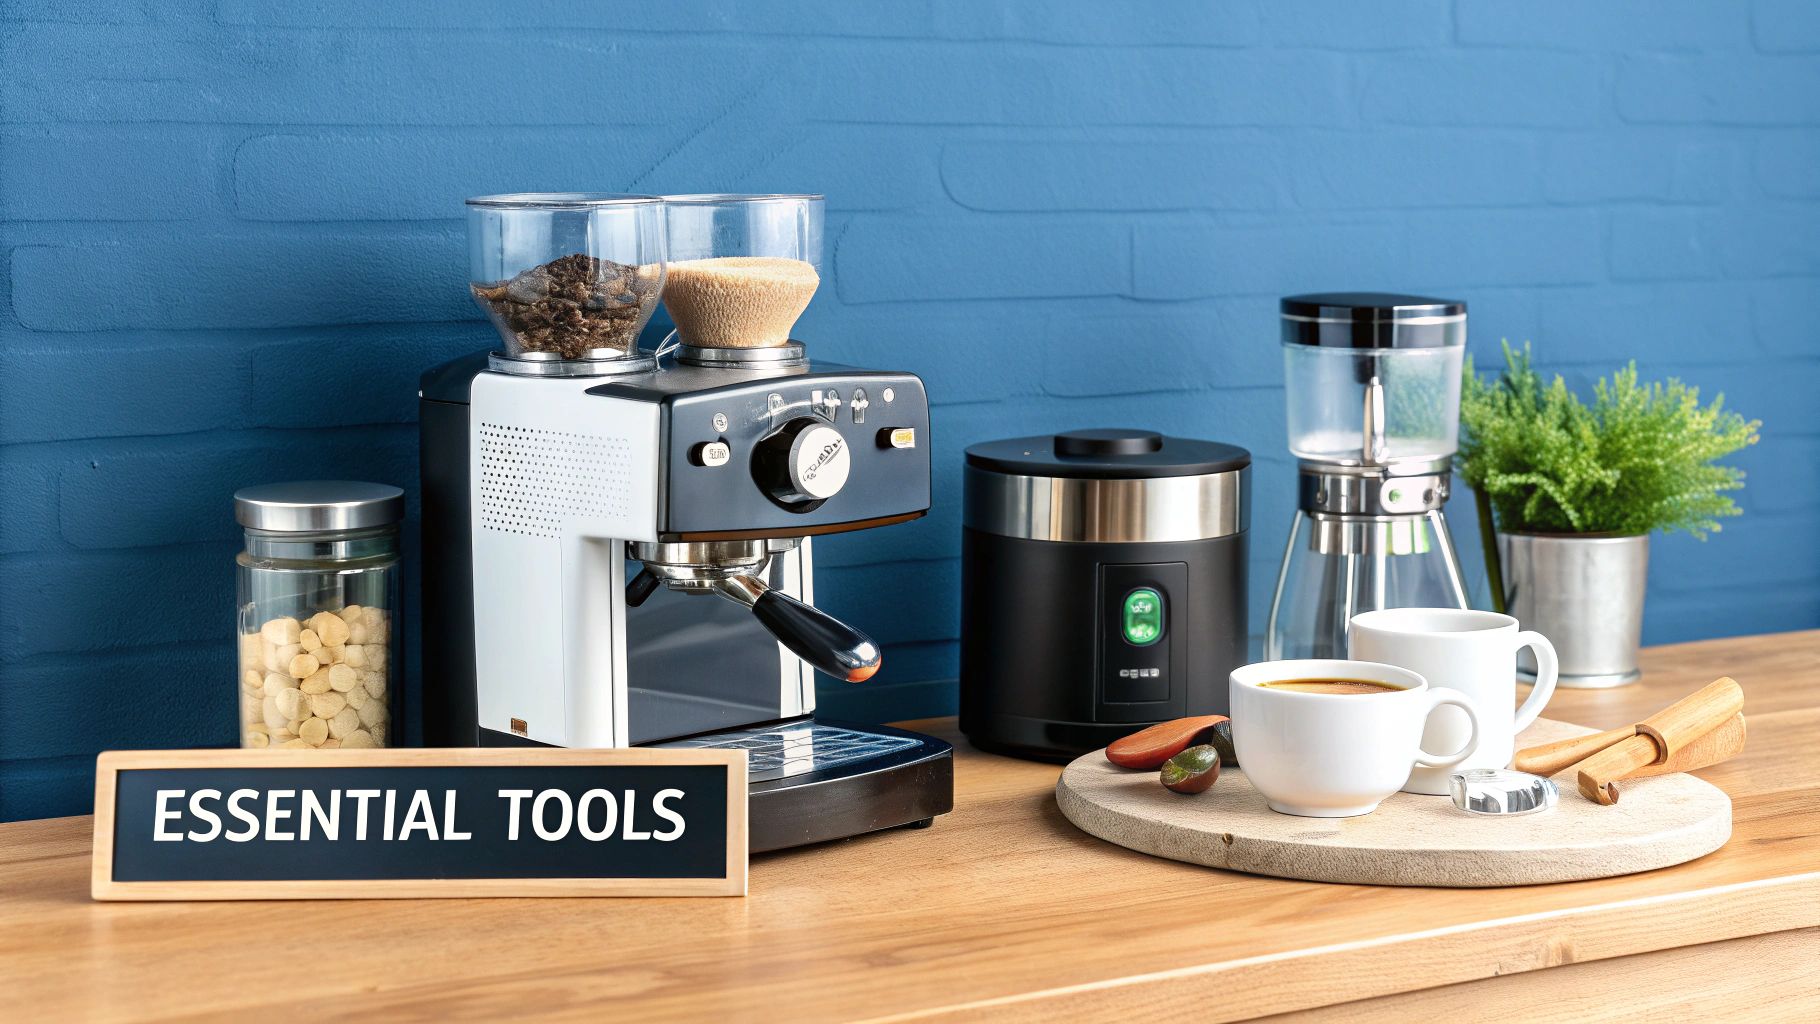
The Core Equipment for Authentic Cappuccinos
If you want to make a cappuccino the traditional way, a few key items are simply non-negotiable. While the espresso machine grabs all the attention, its supporting cast is just as crucial for getting those café-quality results we're all chasing.
Here’s a rundown of the essentials for your setup:
- Espresso Machine: This is the heart of your station. It’s what creates that concentrated, flavourful coffee base under pressure. Ideally, look for one with a built-in steam wand for texturing your milk.
- Burr Grinder: Freshly ground coffee is a complete game-changer. A burr grinder gives you a consistent grind size, which is absolutely vital for a balanced espresso extraction. Blade grinders just shatter the beans unevenly, and that’s a recipe for a disappointing shot.
- Digital Scales: Precision is everything in coffee. Using scales to weigh your coffee grounds (your 'dose') and the liquid espresso (your 'yield') means you can replicate that perfect recipe time and time again.
- Tamper: This simple tool helps you evenly compress the coffee grounds in the portafilter. A nice, level puck encourages water to flow through it uniformly, which leads to a much better extraction.
- Milk Jug: A stainless steel jug with a good spout is essential for steaming. Its shape is designed to help create the whirlpool motion you need for silky microfoam, and the spout gives you control when you pour.
You don't need a top-of-the-line commercial setup to make an excellent cappuccino. A reliable home espresso machine and a quality burr grinder will give you the control you need to pull fantastic shots and steam perfect milk.
Smart Alternatives for Any Budget
No espresso machine? No problem. You can still whip up a delicious, cappuccino-style drink using more accessible equipment. It won't be a true espresso, but you can get remarkably close to the experience.
A Moka pot is a brilliant little stovetop brewer that produces a strong, concentrated coffee that works beautifully as a base. For the milk, a handheld milk frother is an inexpensive yet surprisingly effective tool for creating a thick, airy foam. You can even use a French press by pumping hot milk up and down rapidly to build texture.
You'll find that many of these handy coffee-making accessories can help you achieve great results, no matter your setup.
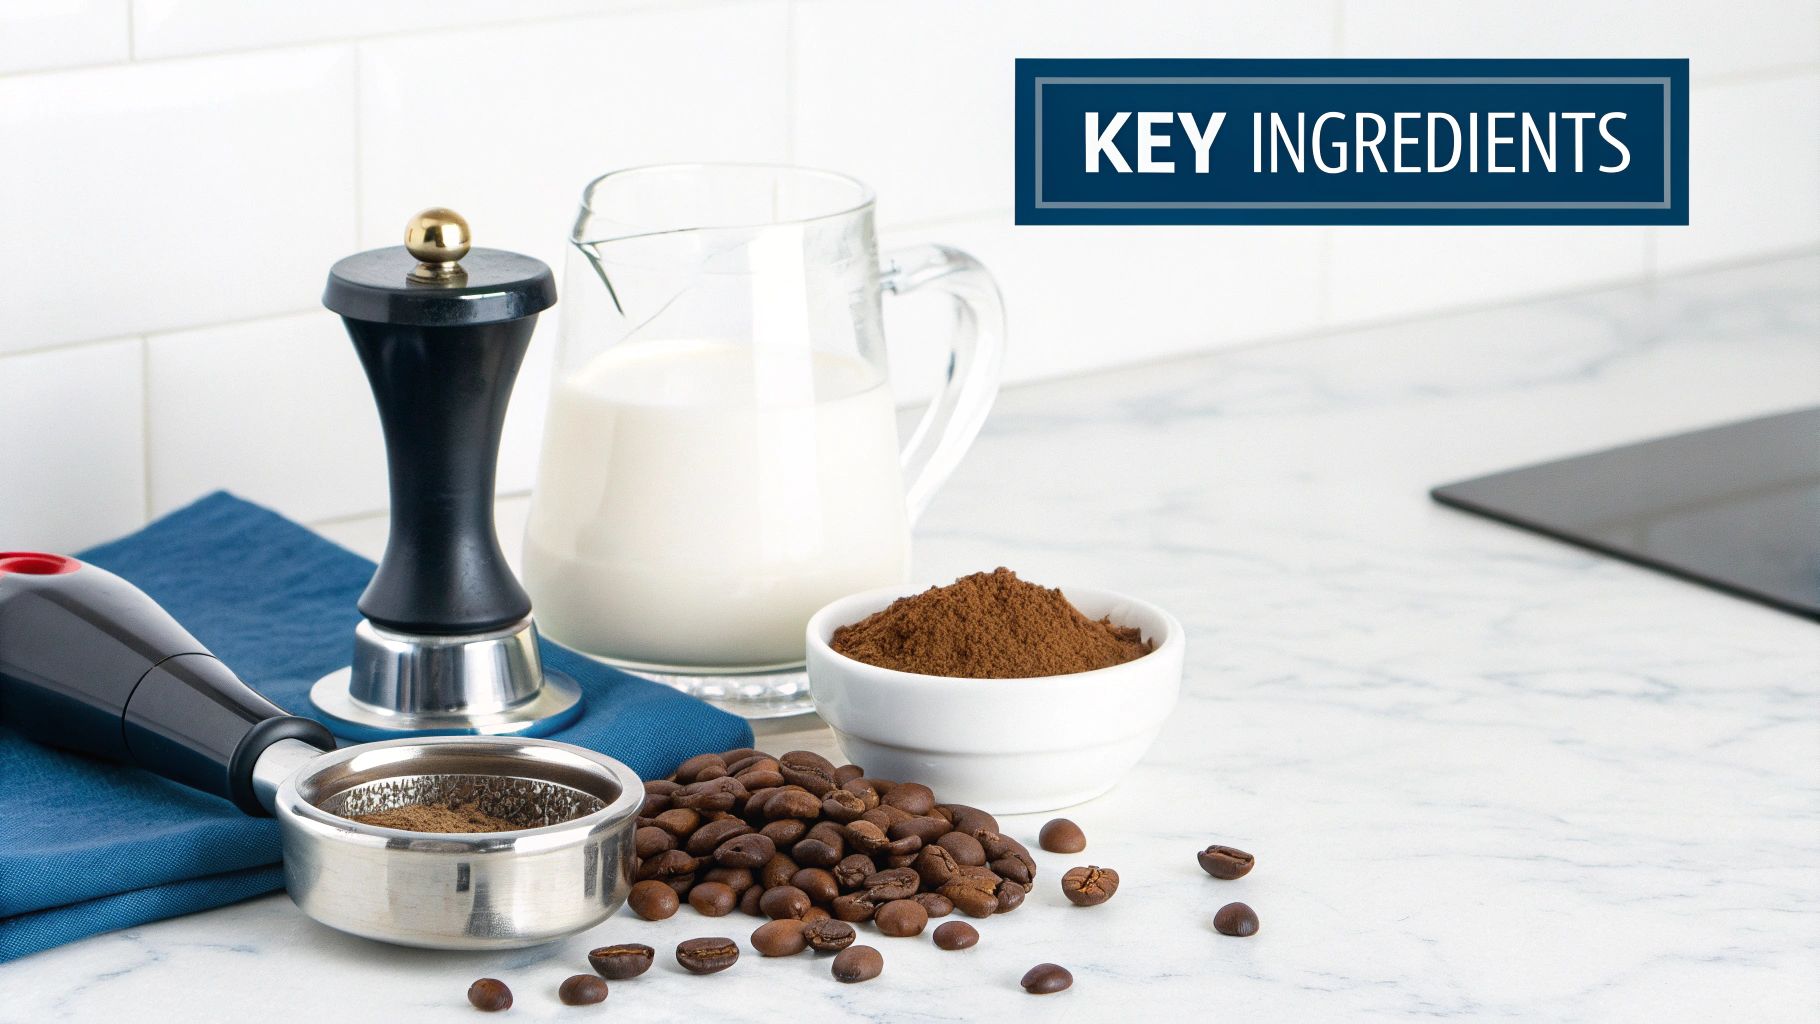
Choosing and Grinding Your Coffee Beans
The journey to an exceptional cappuccino starts right here, with the beans. Your espresso shot is the very soul of the drink, and its quality hinges entirely on the coffee you choose and how you prepare it. Get this part right, and you're building on a solid, flavourful foundation.
For a classic cappuccino, you want a coffee with enough character to stand up to the sweetness of the milk without getting lost. This is where the roast profile plays a massive role.
Finding the Perfect Roast
Medium-to-dark roasts are usually the go-to for cappuccinos, and for good reason. These roasts develop those rich, deep flavours we all love—think chocolate, caramel, and toasted nuts—which harmonise beautifully with steamed milk. Lighter roasts, while fantastic for filter coffee, can sometimes taste a bit too acidic or fruity once you add milk, creating a flavour clash rather than a perfect partnership.
It's clear that people are paying more attention to bean quality. Millennials, in particular, are a major driving force behind the UK’s coffee shop culture, shifting preferences from instant coffee towards premium, barista-style drinks. This trend highlights a growing appreciation for bean origin and sustainable sourcing.
Your coffee choice is the single most important decision you'll make. A well-chosen bean will provide a rich, complex base that sings through the milk, while the wrong one can leave your cappuccino tasting flat or sour.
Whether you opt for a single-origin bean with a distinct flavour profile or a balanced espresso blend comes down to personal taste. Blends are often crafted specifically to create a consistent and well-rounded flavour in milk-based drinks, making them a safe and delicious bet if you're just starting out.
Choosing the right roast profile can feel a bit daunting, but it’s all about matching the coffee’s inherent characteristics to the rich, creamy texture of cappuccino milk. Different roast levels bring out completely different notes.
Espresso Bean Roast Profile Guide for Cappuccinos
This table breaks down how light, medium, and dark roasts typically behave when mixed with milk, helping you pick the perfect bean for your palate.
| Roast Level | Acidity | Body | Flavour Notes in Cappuccino | Best For |
|---|---|---|---|---|
| Light Roast | Bright, high | Lighter | Can taste sour or overly fruity; delicate notes get lost. | Filter coffee; adventurous palates who enjoy a sharp contrast. |
| Medium Roast | Balanced | Medium | Chocolate, caramel, toasted nuts; sweetness is enhanced. | The classic, crowd-pleasing cappuccino with balanced flavour. |
| Dark Roast | Low | Heavy, rich | Dark chocolate, smoky, roasty; cuts through milk boldly. | Those who love a strong, intense, and traditional Italian-style cappuccino. |
As you can see, medium and dark roasts are generally the safest and most satisfying choices for a traditional cappuccino, providing that classic rich flavour that complements the milk so well.
The Importance of a Fresh Grind
Once you've chosen your beans, the next step is grinding them correctly. I can't stress this enough: using freshly ground coffee is non-negotiable for a great espresso. The moment beans are ground, they begin to lose their aromatic oils and vibrant flavours.
To get the most out of your coffee, you need to dial in your grinder. This term simply means finding the perfect grind size for your specific beans and machine. For espresso, you’re aiming for a fine, consistent grind—something resembling granulated sugar.
- Too coarse? Your espresso will gush out too quickly. The result is a weak, sour, and under-extracted shot.
- Too fine? The water will struggle to pass through the coffee. This leads to a slow, bitter, and over-extracted shot.
Achieving the right grind takes a bit of trial and error. Start with your grinder's recommended espresso setting and pull a shot. Then, make small adjustments—a tiny bit finer or coarser—until you hit that sweet spot where the espresso flows like warm honey.
Of course, even the best grind won't save stale beans. Properly storing your beans is crucial for maintaining their freshness, and our guide on how to store coffee beans will help you lock in that flavour. This attention to detail is what separates a good cappuccino from an unforgettable one.
How to Steam Milk for Velvety Microfoam
Silky, luscious microfoam is what separates a decent cappuccino from an unforgettable one. It’s the crowning glory, that signature velvety texture that makes the drink so special. Mastering this skill isn't about complicated science; it's much more about listening, feeling, and getting a little bit of practice under your belt.
The whole process really boils down to two key phases: stretching and texturing. First, you'll introduce air into the milk to create volume. Then, you'll create a powerful whirlpool to break down those air bubbles into a silky, perfectly integrated foam.
The Stretching Phase: Introducing Air
This first stage is all about aeration. You’ll want to start with cold milk in a cold jug—fill it to just below where the spout begins. Before you do anything else, purge your steam wand to clear out any trapped water, then dip the tip just below the surface of the milk.
Now, turn the steam on full blast. You should immediately hear a gentle hissing or tearing sound, a bit like ripping paper. That's the sound of air being pulled into the milk. As the volume grows, you'll need to slowly lower the jug to keep the wand's tip right near the surface. The goal here is to increase the volume by about 30-50%.
The infographic below shows the principles behind a great espresso shot, which is the base your beautiful microfoam will sit on.
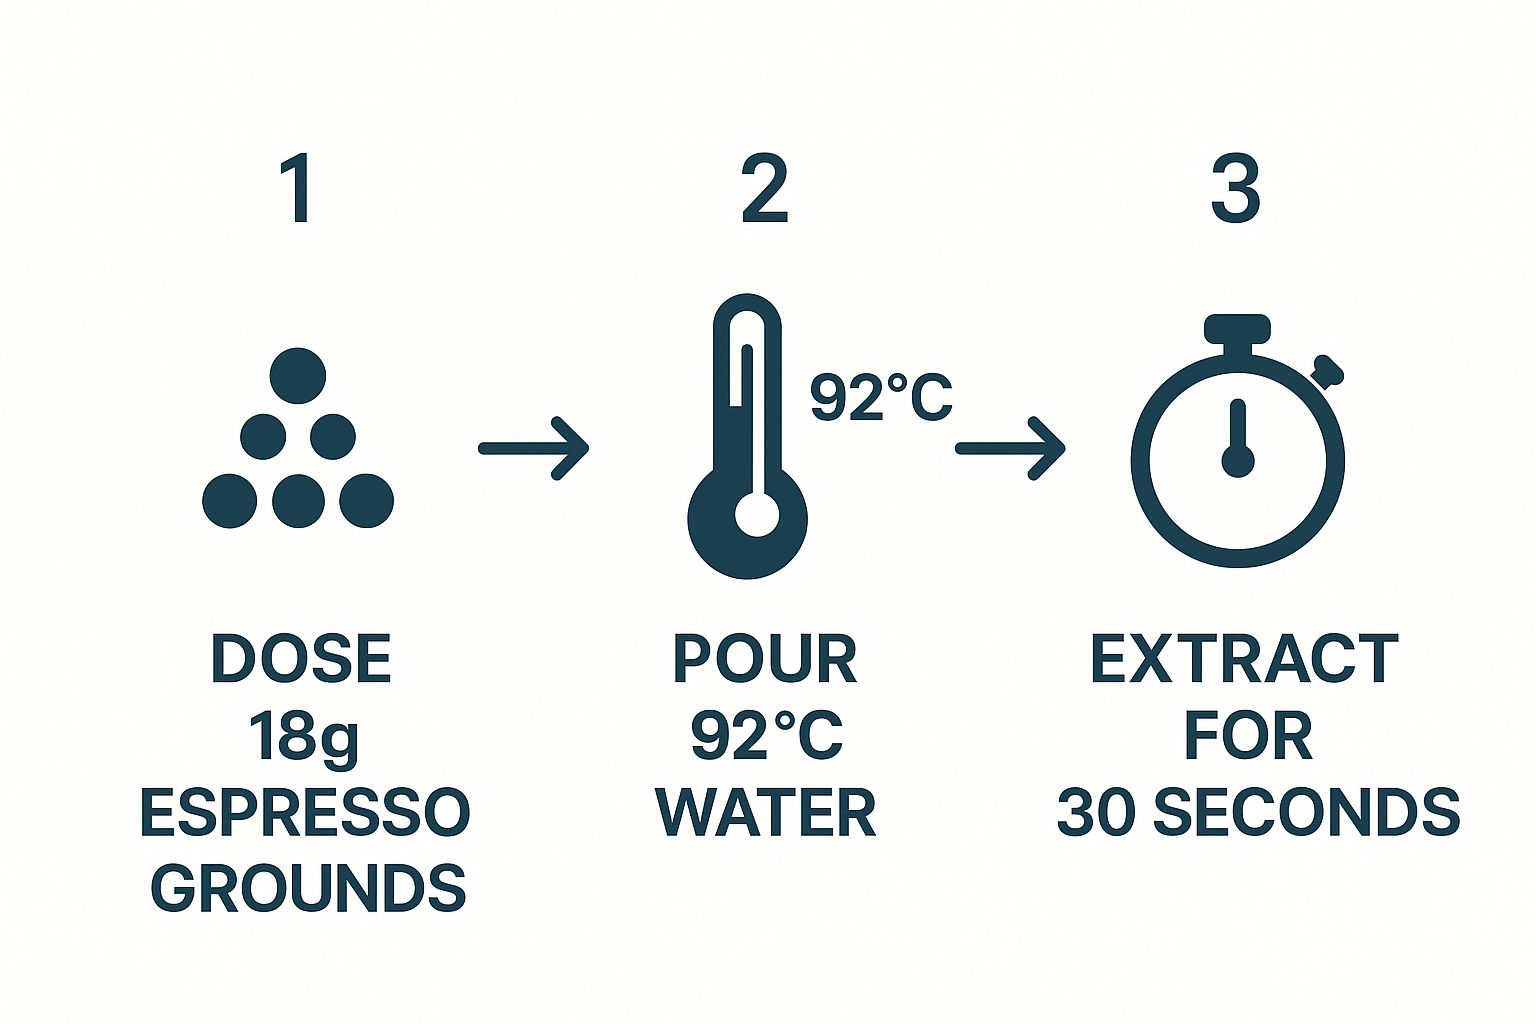
The precision needed for the coffee base mirrors the care you need to take when steaming your milk. It all works together.
The Texturing Phase: Creating the Whirlpool
Once you've stretched the milk to the right volume, it’s time to create that silky-smooth texture. Plunge the steam wand deeper into the milk and position it slightly off-centre. This is how you'll create a spinning vortex, or whirlpool.
This spinning motion is crucial. It folds the larger bubbles back into the milk, breaking them down into the fine, glossy microfoam we're after. The hissing sound should stop completely, replaced by a much quieter rumble.
Keep one hand on the side of the jug so you can feel the temperature. As soon as it becomes too hot to comfortably keep your hand there for more than a second (around 60-65°C), turn off the steam immediately. If you overheat it, the milk will scorch, ruining its natural sweetness and destroying the foam's structure.
The perfect milk temperature is everything. Aim for that sweet spot of 60-65°C. Go any hotter and the milk proteins break down, causing the foam to collapse and the flavour to turn bitter.
Choosing Your Milk
The type of milk you choose will have a massive impact on your final result. It's the proteins and fats that give the foam its structure and creamy mouthfeel.
- Whole Milk: This is the undisputed champion for steaming. Its high fat and protein content creates a rich, creamy, and stable foam that’s an absolute dream to work with.
- Semi-Skimmed Milk: You can still get a good foam with this, but it will be noticeably lighter and less creamy than what you’d get from whole milk.
- Oat Milk (Barista Edition): Many barista-style oat milks are brilliant. They're specifically formulated with added oils and stabilisers to steam beautifully, creating a texture that’s impressively close to dairy.
- Soya and Almond Milk: These can be a bit trickier. They often create a stiffer, more bubbly foam and have a tendency to curdle if you aren't careful.
While the technique for steaming milk is quite distinct, it’s the final pour that truly differentiates various coffee drinks. If you’re curious about a drink with less foam and more steamed milk, you can check out our guide on how to make a perfect latte at home. It’s a great way to put your new milk-texturing skills to the test.
Assembling Your Café-Quality Cappuccino
You’ve pulled a beautiful espresso shot and steamed a jug of silky microfoam. Now for the satisfying part: bringing it all together. This is where your practice pays off, turning two great components into one harmonious drink.
Before you even think about pouring, grab your cup. A cold cup is a coffee killer. It’ll instantly sap the heat from your espresso and milk, dulling the flavour before your first sip. A simple but crucial step is to pre-warm your cup by filling it with hot water and letting it sit for a minute while you prep your shot.
The Art of the Pour
With your perfectly pulled shot waiting in its warm cup, it's time to combine everything. Give your milk jug a firm swirl to make sure the foam and liquid milk are fully combined into one glossy, paint-like texture. No separation allowed.
Now, hold the cup at a slight angle. Start pouring the milk steadily into the centre of the espresso, but from a bit of a height at first. This lets the liquid milk dive underneath the crema and mix properly with the espresso base. As the cup starts to fill up, bring the spout of your jug much closer to the surface.
This change in height is the key. It encourages the foam to float on top, creating that classic cappuccino dome. Straighten the cup as it fills and slow your pour right at the end to settle the foam gently.
The final pour is more than just combining ingredients; it's a technique that defines the cappuccino's texture and visual appeal. A steady hand and a well-swirled jug of milk are your keys to success.
Finishing Touches and Flourishes
A perfectly poured cappuccino is a thing of beauty on its own, but a few final touches can add that personal flourish. For many, a light dusting of high-quality cocoa powder is the traditional way to finish, adding a subtle chocolatey aroma that complements the coffee beautifully.
If you're feeling a bit more adventurous, you could even try some simple latte art. A classic heart is a great starting point for cappuccino foam. As you finish pouring with the jug held close, you'll see a white dot of foam appear. To create the heart shape, simply lift the jug and pull the stream of milk right through the centre of the dot.
It might seem like a small detail, but these finishing touches are what make the drink feel special—like something you'd get in a proper coffee shop. They mirror the standards set by the big chains that have popularised the drink across the UK. For instance, major players like Costa Coffee (with a 38.3% market share), Starbucks (18.7%), and Caffè Nero (9.1%) have standardised the cappuccino experience, making that thick foam and optional chocolate sprinkle an expectation for many.
Of course, none of this matters without a solid foundation. For a refresher on getting that perfect base, check out our guide on how to make espresso at home.
Your Home Cappuccino Questions Answered

As you start pulling shots and steaming milk, it's completely normal for a few questions to pop up. Every home barista runs into the same hurdles. This section is all about tackling those common queries with clear, practical answers to help you troubleshoot like a pro.
Think of this as the fine-tuning stage. Sometimes, the smallest tweak is all that stands between a decent coffee and a truly great one.
What Is the Correct Ratio for a Traditional Cappuccino?
A true, classic Italian cappuccino is all about balance, following a beautifully simple 1:1:1 ratio. That breaks down into one part espresso, one part steamed milk, and one part airy milk foam.
In real-world terms, you’re looking at a single 30ml espresso shot paired with 60ml of steamed milk and 60ml of foam. It's traditionally served in a smaller 150-180ml (that's about 5-6 ounce) cup. While many UK coffee shops now serve much larger, milkier versions, getting this classic balance right is the key to understanding what makes a cappuccino special.
Can I Make a Cappuccino Without an Espresso Machine?
Absolutely. While it won't be a technically authentic espresso-based cappuccino, you can get incredibly close and create a fantastic drink with that familiar rich coffee and foam experience. You just need to get a little creative.
The trick is to tackle the two main components—the coffee and the milk—separately.
- For the coffee: A Moka pot or an AeroPress is perfect for this. Both can produce a strong, concentrated coffee that serves as a brilliant base, giving you the intensity needed to cut through the milk.
- For the milk: A simple handheld frother works wonders for creating thick, luscious foam. No frother? No problem. You can get similar results by plunging hot milk rapidly in a French press or, in a pinch, by shaking hot milk vigorously in a tightly sealed jar.
You don’t need the most expensive kit to enjoy the ritual and taste of a great cappuccino at home. Resourcefulness and good technique with simpler tools can produce delicious results.
This just goes to show that learning how to make a cappuccino is accessible to everyone, no matter the budget.
Why Is My Milk Foam Disappearing So Quickly?
It's one of the most common frustrations: you create a beautiful dome of foam, only for it to collapse into a sad, thin layer within a minute. The problem almost always comes down to either your technique or the temperature.
The most likely culprit is that you've created large, unstable bubbles instead of a fine, silky microfoam. This tends to happen if you introduce way too much air at the start (that loud, aggressive hissing sound) or don't get a smooth whirlpool going to properly texturise the milk. Those big bubbles are mostly air and have no structure to hold them together.
Overheating is the other big foam-killer. If you take your milk much above 70°C, the proteins responsible for giving the foam its structure will break down. For the most stable, sweet-tasting, and longest-lasting foam, always aim for a final milk temperature of around 60-65°C. It’s the sweet spot for both flavour and texture.
At Seven Sisters Coffee Co, we believe that exceptional coffee starts with exceptional beans. Whether you're pulling a perfect shot on an espresso machine or brewing with a Moka pot, our ethically sourced and expertly roasted coffees provide the perfect foundation for your home cappuccino creations. Explore our full range at https://sevensisterscoffee.co.uk.