A Guide to Coffee Roasting at Home
So, you’re thinking about roasting your own coffee at home? Good. This is the single biggest leap you can take towards brewing coffee that genuinely rivals your favourite café. This guide will walk you through the entire craft, showing you how roasting green beans yourself unlocks a world of freshness and flavour you simply can’t find in a pre-packaged bag.
Why Start Roasting Coffee at Home?
Jumping into home roasting turns your daily coffee from a simple habit into a deeply rewarding ritual. It’s about more than just making a brew; it’s about getting hands-on with the craft and discovering the true potential locked inside every single green coffee bean. The level of control you get is incredible, allowing you to fine-tune every batch to your exact taste.
The payoff is both immediate and immensely satisfying. Your kitchen will be filled with the most amazing aromas, and you'll notice a massive improvement in the freshness and complexity of your coffee's flavour. You’re no longer stuck with what’s on the supermarket shelf; you can explore beans from countless origins and create a roast that’s perfect for you.
There are some seriously good reasons to get started:
- Unbeatable Freshness: Coffee hits its flavour peak just days after roasting. When you roast at home, you experience coffee at its absolute best—a level of freshness that shop-bought beans just can't touch.
- Serious Cost Savings: Green coffee beans are significantly cheaper than their roasted counterparts. Over time, these savings can easily cover the initial cost of your equipment, making top-tier speciality coffee much more affordable.
- Complete Flavour Control: You are in the driver's seat. Love those bright, acidic notes? A light roast is what you're after. Craving rich, chocolatey flavours? A darker roast will get you there. You become the artisan.
The Growing Appeal in the UK
The trend of coffee roasting at home is really taking off across the UK. It’s a movement fired up by a desire for both better quality and better value. As more of us invest in high-quality brewing gear, taking control of the beans themselves is the logical next step. It’s all part of a bigger shift towards appreciating craft and authenticity in what we eat and drink.
A recent report pointed out that UK consumers are increasingly making coffee at home to save money on frequent café trips, but they still want that premium, barista-style experience. This growing interest in home brewing has naturally led many to start exploring the world of roasting. You can learn more about the growth of the UK's home coffee market and the trends behind it.
Roasting your own coffee is the ultimate expression of a coffee lover's passion. It bridges the gap between being a consumer and becoming a creator, giving you a direct hand in shaping the flavour in your cup.
Your journey really begins when you choose your raw materials. The best way to understand how geography and processing shape taste is to explore a wide range of single-origin beans. By experimenting with different speciality coffee beans, you’ll quickly figure out which profiles you love most, from the fruity notes of an Ethiopian Yirgacheffe to the nutty sweetness of a Brazilian Santos.
Choosing Your Roasting Gear and Green Beans
Jumping into coffee roasting at home boils down to two big decisions: what gear you'll use and which green beans you'll roast. Your equipment doesn't need to break the bank; in fact, you might already have what you need to get started. The real goal is finding a method that fits your budget, your kitchen space, and how deep you want to dive.
Picking your tools is the first genuinely exciting step. Each method gives you a different level of control and produces a completely different result in the cup, so let's walk through the main options.
Accessible DIY Roasting Methods
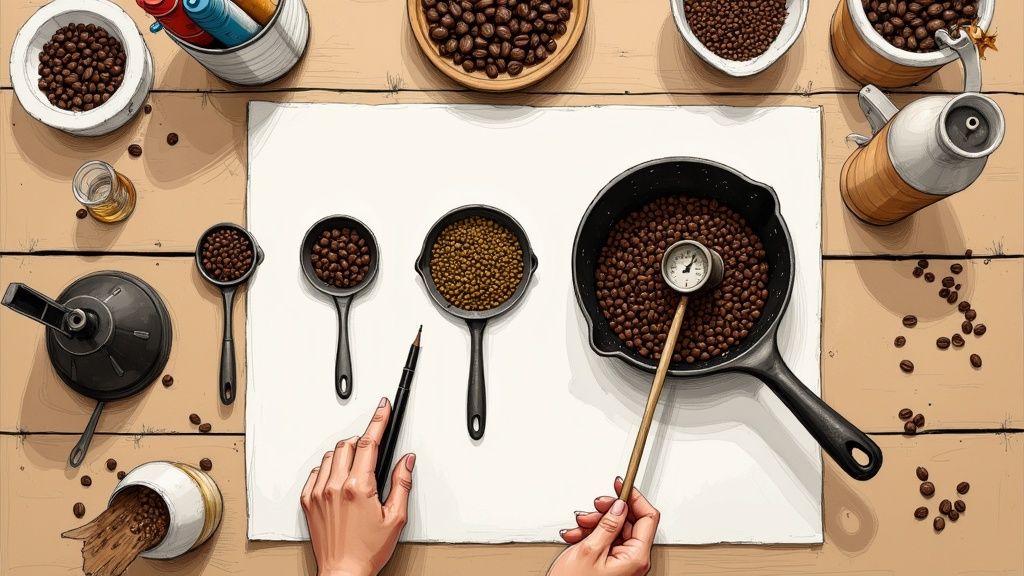
You can kick off your roasting journey with surprisingly simple setups. A heavy-bottomed frying pan or a repurposed popcorn popper are the classic entry points that have introduced countless people to the craft.
A simple, non-stick pan on a gas hob is probably the most traditional way to do it. It demands constant stirring to get an even roast, but it gives you a very direct, hands-on feel for the entire process. You’ll see every colour change and hear every crack up close.
Alternatively, an old-school hot air popcorn popper can be a fantastic starter roaster. These little machines work by circulating hot air, which tumbles the beans and roasts them pretty evenly. They're known for creating bright, clean flavours, but the trade-off is small batch sizes and very little control.
The secret to success with these DIY methods is agitation. Whether you're stirring frantically in a pan or relying on the air from a popper, keeping those beans moving is the only way to prevent scorching and get an even roast.
These low-cost options are perfect for getting a feel for the roasting process without a big financial commitment. More importantly, they teach you to rely on your senses—sight, sound, and smell—which are the most fundamental skills for any roaster.
Dedicated Home Coffee Roasters
Once you’re ready for more control and consistency, dedicated home roasters are the logical next step. These machines are built specifically for coffee and usually fall into two camps: fluid bed roasters and drum roasters. Each has its own distinct advantages.
- Fluid Bed Roasters: These work a bit like a popcorn popper but on a much more sophisticated level. They use a powerful column of hot air to levitate and roast the beans. This method is fast and tends to produce coffee with bright acidity and very clean, distinct flavour notes.
- Drum Roasters: These machines use a rotating drum to tumble the beans over a heat source, mimicking commercial roasters. This method relies more on conductive heat transfer, often resulting in coffee with more body, sweetness, and a rounder flavour profile. They offer brilliant control over the roast.
While the UK coffee scene is booming, home habits are interesting. Around 80% of households still buy instant coffee, but there's a clear shift towards speciality and ground coffee, especially among younger people. With 57% of UK coffee drinkers having more than one cup at home daily, the desire for higher quality is what's pushing many to explore home roasting.
How to Select Your First Green Beans
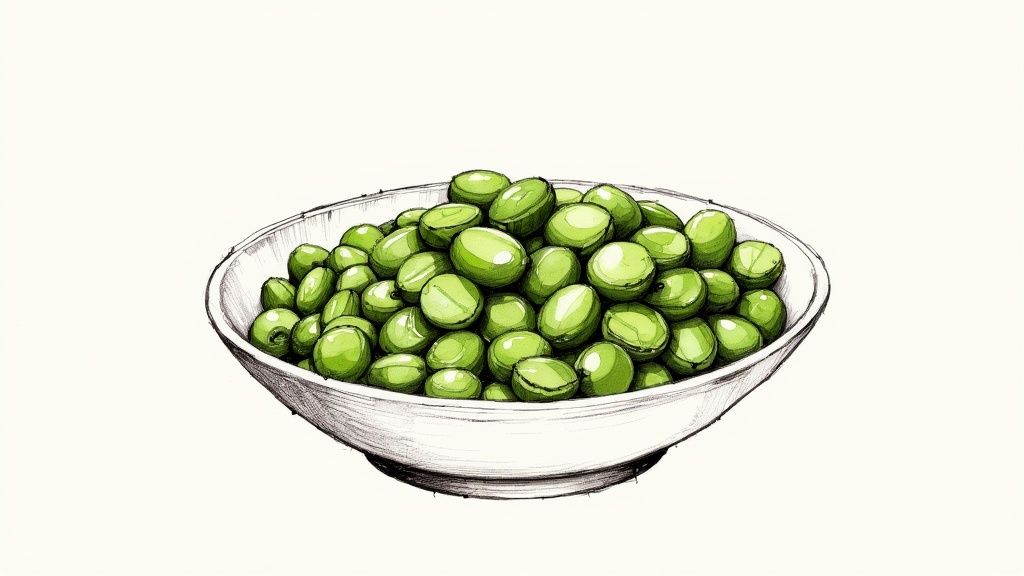
Your equipment is only half the story; the quality and type of your green beans will ultimately define what you taste in the cup. Choosing green beans is an adventure in itself, a trip around the world of coffee agriculture.
Start by thinking about the coffee's origin. Different countries and regions are known for specific flavour profiles. For instance, Ethiopian coffees are often floral and fruity, while beans from Brazil tend to be nutty and chocolatey. Understanding these general traits helps you pick beans that match what you like to drink. If you're new to all this, it's a great idea to read up on what single origin coffee is to get your head around how location shapes flavour.
The processing method is another crucial piece of the puzzle. This is all about how the coffee cherry is removed from the seed (the bean) after it's picked, and it has a massive impact on the final taste.
There are three main methods to look out for:
- Washed Process: The fruit is washed off the bean before it's dried. This method typically produces clean, crisp coffees with bright acidity and very clear flavour notes.
- Natural Process: The entire coffee cherry is dried with the bean still inside. This process imparts intense, fruity, and often wine-like flavours into the coffee.
- Honey Process: This is a middle ground where some of the fruit pulp is left on the bean while it dries. The result is a sweet, balanced cup with a syrupy body.
When you're starting out, it's smart to buy small amounts of a few different beans. Sourcing from reputable UK suppliers who provide detailed information about their coffee will give you the best shot at success. Look for tasting notes, origin details, and processing information—this will help you connect what you're doing in the roaster to what you're tasting in your mug.
A Sensory Guide to the Roasting Process
Forget the stopwatch for a moment. Successful coffee roasting at home is as much an art as it is a science, and your best tools are your own senses. Learning to see, smell, and hear the changes in the beans is what separates a good roaster from a great one. This is where you connect with the process and learn to make intuitive decisions that bring out the best in every coffee.
The entire transformation from green bean to fragrant, roasted coffee happens in a matter of minutes. Each stage is marked by distinct sensory cues that tell you exactly what’s happening inside your roaster. Let's walk through this incredible journey, focusing on what the beans are telling you.
The Initial Drying Phase
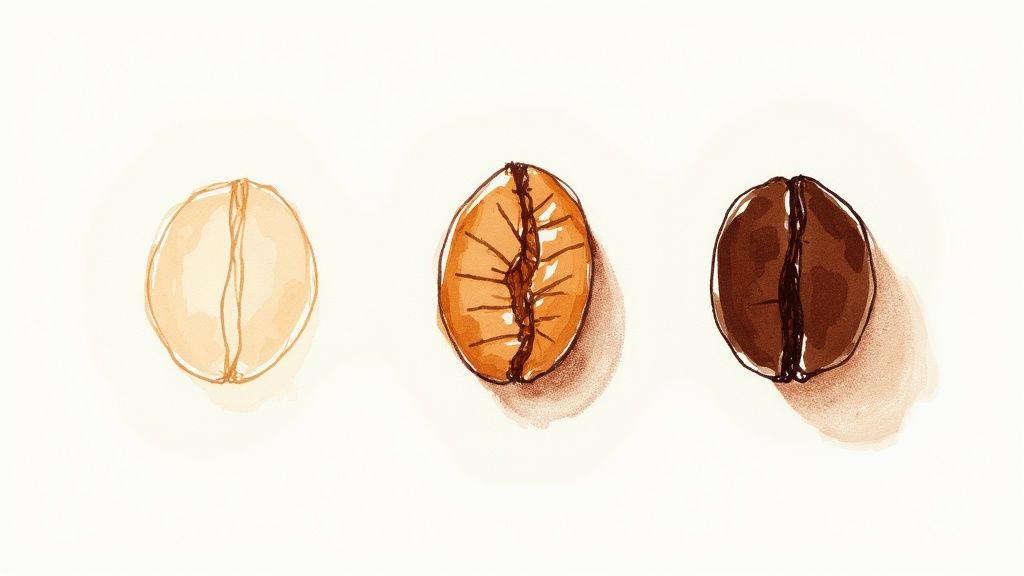
The first stage of any roast is all about removing moisture. Your green beans, which can have a moisture content of around 10-12%, need to dry out before the real flavour development can begin. As you apply heat, the beans will slowly change colour from their original bluish-green to a pale yellow, and then to a light tan.
During this drying phase, you’ll notice a distinct change in aroma. The initial smell is often grassy and vegetal, a bit like hay or fresh peas. This is a sign that water is evaporating and the beans are preparing for the more dramatic changes to come. You won’t hear much at this point, but paying close attention to the colour shift is key.
Browning and the Maillard Reaction
Once the water has mostly evaporated, the magic truly begins. This next stage is driven by the Maillard reaction, a complex chemical process responsible for browning and the creation of hundreds of new aromatic compounds. It’s the same reaction that gives toasted bread, seared steak, and baked biscuits their irresistible flavours and smells.
The aroma in your kitchen will transform from grassy to something much more inviting, like baking bread or toasted nuts. The beans will darken from tan to a cinnamon brown. This is a critical point where you need to manage your heat carefully; too much heat can scorch the beans, while too little can lead to a flat, "baked" flavour.
Roaster's Tip: This is the stage where the foundation for sweetness and body is built. A steady, controlled application of heat through the Maillard reaction will lead to a more balanced and flavourful final cup. Rushing this phase can result in a coffee that lacks depth.
Listening for the First Crack
Now for the most anticipated moment in any roast—the first crack. As internal pressure from steam and carbon dioxide builds up inside the beans, they will audibly crack open. The sound is sharp and distinct, very similar to the noise of popcorn popping.
This is a massive milestone. The first crack signals that the beans have become exothermic, meaning they are now generating their own heat. It marks the beginning of a light roast. If you were to stop the roast right as the first crack begins, you'd have a coffee with high acidity, a light body, and prominent floral or citrus notes.
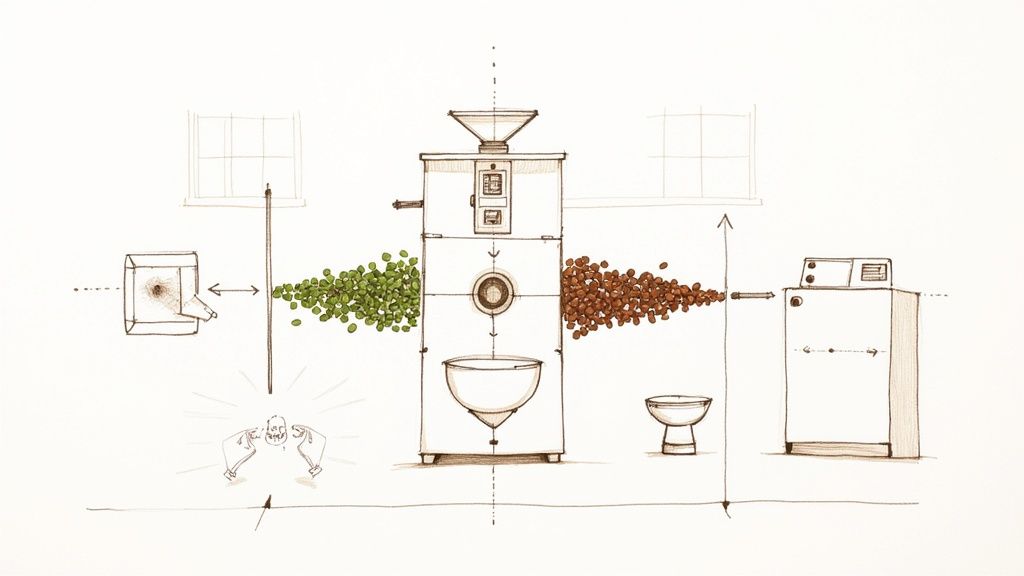
Here is a simplified visualisation of the key moments in a typical home roast, from preheating to cooling.
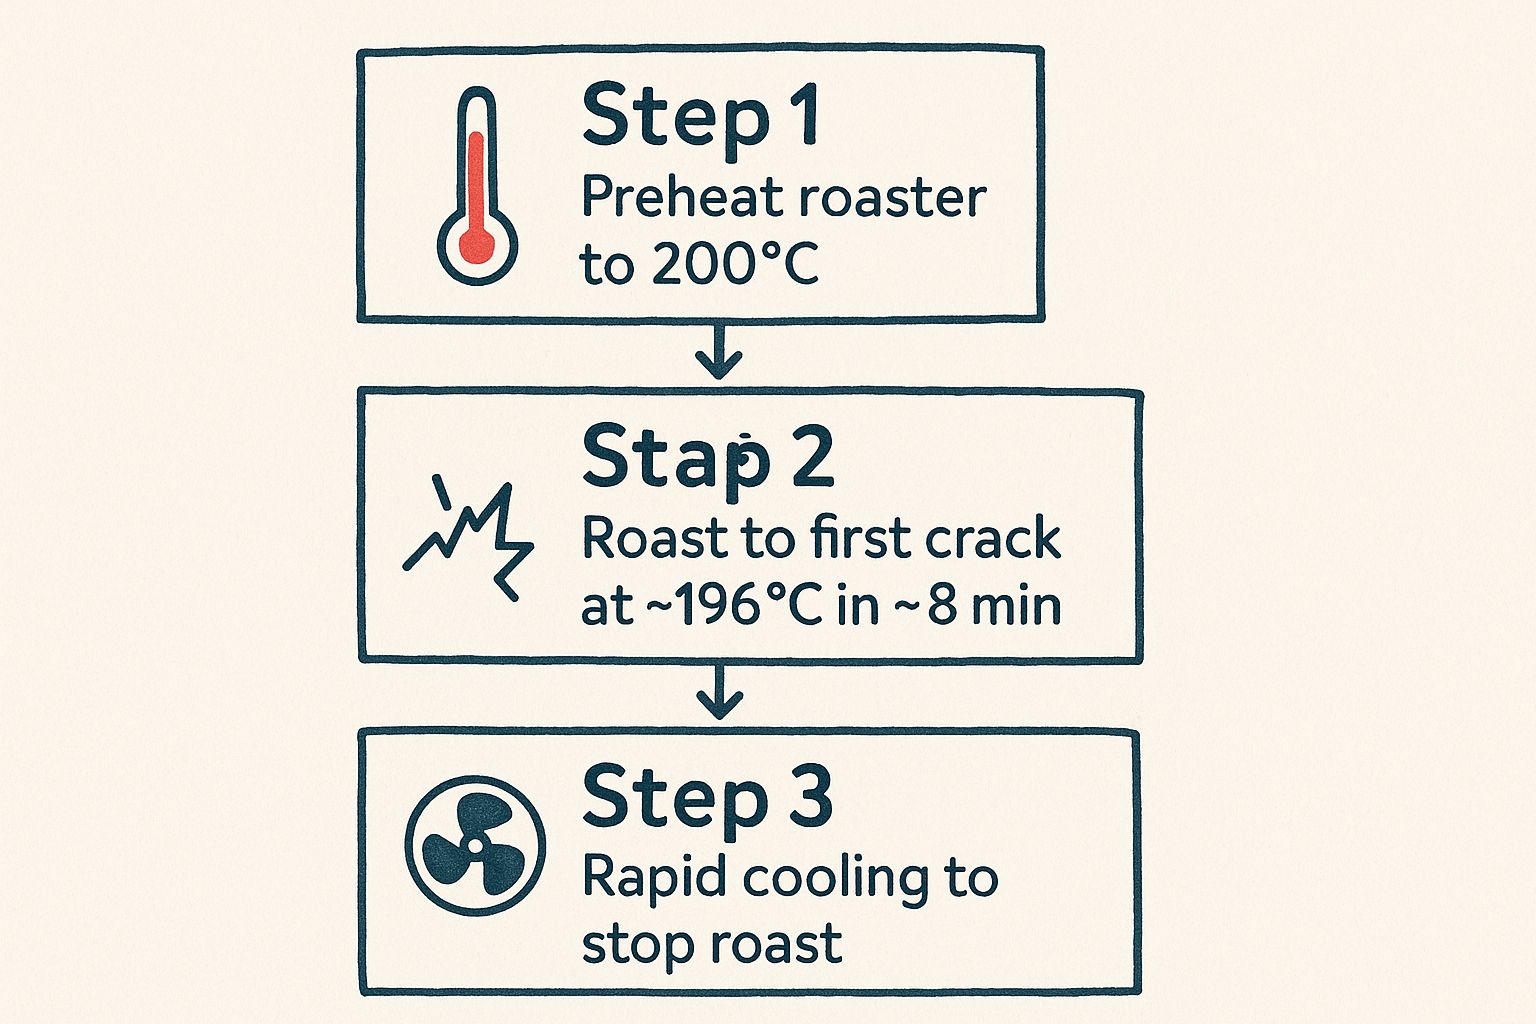
This infographic shows how quickly the process moves, with the critical first crack happening around the eight-minute mark before rapid cooling is needed to lock in the desired flavour.
Pushing Towards Medium and Dark Roasts
The period immediately following the end of the first crack is known as the development phase. The decisions you make here will define the coffee’s final character. By continuing to apply heat, you can guide the beans from a light roast towards medium and dark profiles.
During this time, the beans will continue to darken, and their surface will become smoother as the natural oils start to migrate outwards.
- Medium Roast: To achieve a medium roast, you'll want to stop the process a minute or two after the first crack has finished. The beans will be a rich, medium brown, with a balanced profile of acidity, sweetness, and body.
- Medium-Dark Roast: Pushing a little further brings you into medium-dark territory. The beans will have a slight sheen of oil on their surface, and the flavours will become bolder, with caramel, chocolate, and nutty notes taking centre stage.
The Ominous Second Crack
If you continue roasting well past the development phase, you'll encounter the second crack. This sound is quieter and more rapid than the first, often described as a crackling or sizzling noise, like pouring milk on crisp rice cereal. This crack is caused by the fracturing of the bean's cellular structure as oils are forced to the surface.
The second crack is the gateway to a dark roast. The beans will be very dark brown, oily, and shiny. The original flavours of the coffee’s origin will be almost entirely replaced by roast-imparted notes of smoke, dark chocolate, and spice.
It's a fine line here. Roasting into the second crack requires extreme care, as the beans are now very close to burning. The difference between a rich, smoky dark roast and a cup of carbon is often a matter of seconds.
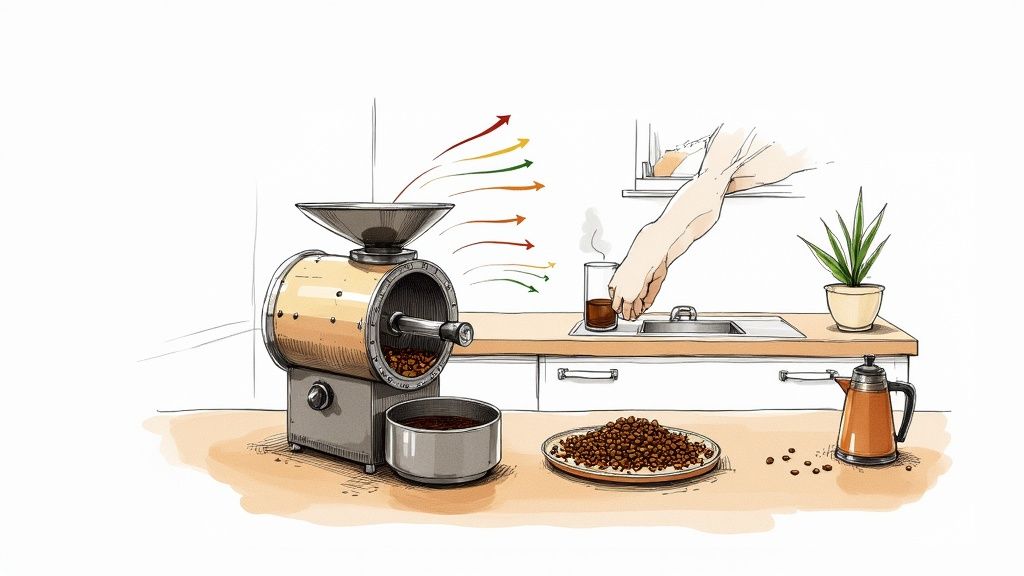
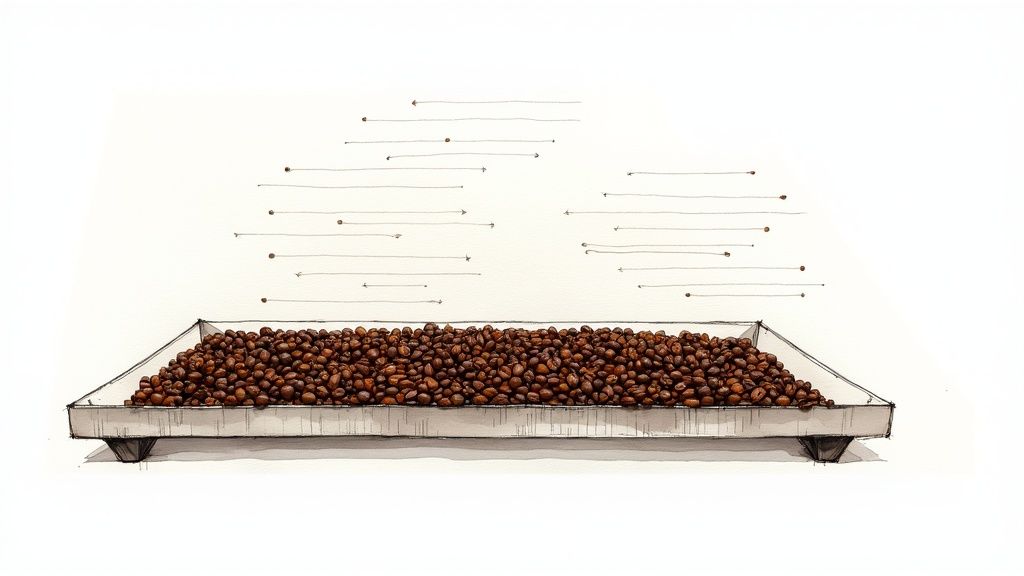
Once you’ve reached your desired roast level, the final step is to cool the beans as quickly as possible. This halts the roasting process instantly, preventing the beans from continuing to "bake" from their own residual heat. Tipping them into a metal colander and stirring them in front of a fan is a simple and effective method. By mastering these sensory cues, you gain the confidence to steer every batch towards its perfect expression of flavour.
Developing Roast Profiles and Flavours
Alright, you've got a handle on the sights, sounds, and smells of a roast in progress. This is where the real fun begins. We're moving beyond just roasting coffee to intentionally crafting flavour.
Think of it as moving from a technical exercise to a creative art form. Your main tool here is the roast profile—essentially a blueprint for how you apply heat over time to shape the final taste in the cup.
A roast profile isn’t just about hitting a certain colour; it's the journey the beans take to get there. How fast you go, how much heat you use, and when you apply it will completely change the coffee's acidity, body, sweetness, and aroma.
For example, a quick, high-heat roast can lock in the delicate, bright notes of a washed Ethiopian bean, giving you a vibrant, floral cup. On the other hand, a slower, gentler approach might be perfect for developing the rich, chocolatey body of a Brazilian coffee, creating a brew that's all about smooth comfort.
Mastering the Development Phase
The most critical part of any roast profile is what we call the development phase. This period kicks off right at first crack and ends the very second you drop the beans into the cooling tray. The length of this phase, measured against the total roast time, is what allows you to fine-tune the balance between the coffee's natural origin flavours and the deeper notes created by the roast itself.
- Short Development (Light Roast): If you end the roast just after the first crack finishes, you'll preserve the bean's natural acidity and complex aromatics. This is the sweet spot for highlighting the fruity, floral character of high-quality single-origin beans, which are perfect for filter brewing.
- Medium Development (Medium Roast): Let it go a little longer, and you'll start to mellow out the acidity while boosting sweetness and body. You'll begin to taste notes of caramel, nuts, and chocolate emerging alongside the coffee's original character. This is your all-rounder, a versatile and well-rounded coffee.
- Long Development (Dark Roast): Push the development time towards the second crack, and you'll almost completely replace those origin flavours with bold, smoky, and bittersweet notes from the roast process. The body gets much heavier, and the acidity drops off significantly.
The development phase is where your most important decisions are made. A difference of just 15-30 seconds can completely transform the character of a coffee, shifting it from bright and zesty to sweet and syrupy.
The table below breaks down how the roast level directly impacts what you'll taste in the cup.
How Roast Level Affects Flavour
| Roast Level | Typical Colour | Acidity | Body | Common Flavour Notes |
|---|---|---|---|---|
| Light | Light Cinnamon Brown | High, Bright | Light | Floral, Fruity, Citrus, Grassy |
| Medium | Medium Brown | Balanced | Medium | Caramel, Nutty, Chocolate, Balanced Fruit |
| Medium-Dark | Rich, Dark Brown | Low | Heavy | Bittersweet Chocolate, Smoky, Toasted Spice |
| Dark | Very Dark Brown/Oily | Very Low | Very Heavy | Smoky, Burnt Sugar, Carbon, Roasty |
As you can see, each stage unlocks a completely different sensory experience from the same green bean.
Sample Roast Profiles for Different Brews
To help bridge the gap between theory and what you actually do with your roaster, let's walk through a couple of real-world examples. Treat these as starting points, not rigid rules, for your own coffee roasting at home experiments.
Bright and Fruity Profile for Filter Coffee
This profile is all about showcasing the vibrant acidity and delicate notes of a washed African coffee, like an Ethiopian Yirgacheffe or a Kenyan AA.
- Goal: A fast roast with a short development time.
- Approach: Hit it with high heat early to get through the drying phase quickly. Just before you expect the first crack, ease off the heat a bit to avoid scorching the beans.
- Target: Aim to end the roast about 60-90 seconds after the first crack has finished. The beans should look like light cinnamon brown.
Rich, Full-Bodied Profile for Espresso
Here, the goal is to develop sweetness and body to create a balanced and forgiving shot of espresso. This works beautifully with beans from Central and South America, like those from Guatemala or Brazil.
- Goal: A slower roast with a longer development time.
- Approach: Use more moderate heat throughout the roast. This prolongs the Maillard reaction, which is key for building that delicious sweetness and depth.
- Target: Extend the development phase to around 2-3 minutes after the first crack ends. You'll want to stop just before the second crack begins. The beans will be a rich, medium-dark brown.
Getting your head around the principles behind these profiles is a massive step forward. For a much deeper dive, you can learn more about how to master different coffee roasting profiles for every brew in our detailed guide.
By learning to manipulate your roast profile, you're no longer just a button-pusher. You're a flavour designer, taking a raw ingredient and shaping it into a specific sensory experience. You are unlocking the incredible potential hidden inside every single green bean.
Post-Roast Care and Troubleshooting Common Issues
Dropping a perfectly roasted batch into the cooling tray feels like a victory, but your work isn't quite finished. The moments and days right after the roast are just as crucial for developing spectacular flavour as the roast itself.
What you do next will determine whether all your careful work pays off in the cup. This post-roast period is all about letting the coffee settle and mature. Think of it less like an abrupt stop and more like a gentle cool-down lap that sets the stage for an exceptional brew.
The Importance of De-Gassing
As soon as coffee beans come out of the roaster, they begin to release gases—primarily carbon dioxide (CO2). This process, known as de-gassing, is a natural and essential part of flavour development.
Brewing coffee that is too fresh is a classic rookie mistake, and it often leads to a disappointing cup. The trapped CO2 interferes with water extraction, creating an uneven and often sour taste. Allowing your beans to rest gives this excess gas time to escape, which results in a much more balanced brew.
The ideal resting time really depends on the beans and how you plan to brew them.
- Filter Coffee: For methods like a V60 or French press, a rest period of 2-5 days is usually perfect.
- Espresso: Because it's an extraction under pressure, espresso is highly sensitive to CO2. It can completely disrupt a shot's flow and ruin the crema. Resting beans for 5-10 days often yields far better results.
Don't rush to brew. The patience you show during the de-gassing stage is one of the biggest secrets to unlocking your coffee's full potential. It's the final, quiet step in crafting flavour.
Proper storage is also key. For the first day or so, keep your beans in a container with a one-way valve or simply leave the lid slightly ajar. After that, store them in an airtight, opaque container away from heat, light, and moisture to preserve those delicate aromatics.
Troubleshooting Common Roasting Problems
Even seasoned roasters run into issues. When your coffee roasting at home doesn't go to plan, understanding what went wrong is the key to improving. Here are a few common problems and how to fix them.
Problem: Uneven Roasts
Ever looked at a finished batch and noticed some beans are much darker than others? Or maybe they have dark spots on their flat faces (scorching) or burnt tips (tipping). This usually points to a couple of common issues.
Uneven colour is a dead giveaway for poor agitation—the beans just aren't moving around enough. Scorching or tipping often means your initial temperature was far too high, searing the outside of the beans before the inside could catch up.
Solution:
Make sure your beans are in constant motion, whether that means stirring more vigorously in a pan or checking that your machine's rotation is working properly. To prevent scorching, try charging your roaster at a slightly lower temperature. A gentler start makes a world of difference.
Problem: Baked and Lifeless Coffee
A "baked" coffee is one that tastes flat, bready, and lacks any of the vibrant acidity or sweetness you were hoping for. It’s a frustrating result that happens when the roast loses momentum and stalls out.
This often occurs if you apply too little heat during the crucial Maillard reaction phase or if your total roast time just drags on for far too long. The beans are technically roasted, but all their potential for dynamic flavour has been cooked away.
Solution:
Focus on maintaining a steady rate of rise throughout the roast. If you notice the temperature is plateauing for too long before first crack, you probably need to apply a bit more heat to keep things moving. The goal is a steady climb, not a slow bake.
Understanding these post-roast steps and learning to diagnose issues will make you a more confident and consistent roaster. It transforms mishaps into learning opportunities, bringing you one step closer to that perfect cup. As you refine your skills, you'll also want to explore the best coffee brewing methods to truly do your freshly roasted beans justice.
Your Home Roasting Questions Answered
When you're first dipping your toes into the world of home coffee roasting, it's natural for a few practical questions to pop up. Let's tackle some of the most common queries I hear from newcomers, so you can start your roasting journey with total confidence.
These are the little details that can feel like big hurdles, but they're surprisingly straightforward once you know what to expect.
How Much Money Can I Really Save?
Honestly, the savings can be massive once you get into the swing of things. Green coffee beans typically cost 50-70% less than their roasted speciality counterparts. That's a huge difference that adds up fast.
Think about it this way: a standard 250g bag of top-tier roasted coffee in the UK might cost you anywhere from £10 to £15. For the same amount of unroasted green beans, you're likely looking at just £4-£7. Even after the initial cost of your gear, you'll feel the benefit in your wallet pretty quickly.
Is Home Roasting Messy or Smelly?
It can be, but it’s nothing you can't handle with a bit of prep. Roasting definitely produces smoke, especially as you push into darker profiles, so good ventilation isn't just a suggestion—it's essential. Just opening a window or roasting under a cooker hood will make all the difference.
Then there's the chaff, a thin, papery skin the beans shed as they roast. The easiest way to deal with this is to cool the beans in a colander outside or over a sink. A gentle shake and a bit of agitation will help the chaff fall away cleanly. The smell is mostly quite pleasant, like fresh baking bread, but if you let the beans burn, the smoke can get pretty acrid.
Most people are surprised by how manageable it all is. A bit of airflow and a simple cooling routine are really all it takes to keep your kitchen clean and the air clear.
How Long Should My Beans Rest After Roasting?
This is a step you absolutely cannot skip. It's called de-gassing, and it's when the freshly roasted coffee releases a large amount of CO2. If you brew too soon, all that gas will lead to a sour, unbalanced cup. Patience is a virtue here.
Here are some solid guidelines to follow:
- Filter Coffee: If you're brewing with a V60 or French press, letting the beans rest for 2-5 days usually hits the sweet spot for a beautifully balanced flavour.
- Espresso: Espresso is notoriously fussy about excess CO2. You'll get far better results—think richer crema and a smoother taste—if you wait 5-10 days.
Where Should I Buy Green Coffee Beans in the UK?
There are some fantastic online suppliers in the UK who cater specifically to home roasters. The key is to find retailers who give you plenty of detail on the coffee’s origin, processing method, and what tasting notes to expect.
Reputable spots like Rave Coffee and Hasbean are brilliant places to start your search. You'll also find that many speciality coffee websites have dedicated 'green coffee' sections. My advice? Start with smaller 250g-1kg bags. It’s a great way to experiment with different origins without having to commit to a huge sack of beans.
At Seven Sisters Coffee Co, we're all about helping you discover the joy of incredible coffee, from sourcing the finest green beans to perfecting your brew. Explore our collection to find your next favourite coffee. Learn more at https://sevensisterscoffee.co.uk.