Mastering V60 Coffee Brewing at Home

Brewing with a V60 is a hands-on, pour-over method that puts you in complete control of your final cup. It’s famous for producing coffee that’s clean, bright, and full of nuance. That iconic design and engaging process make it a favourite for showing off the delicate notes in speciality beans, offering a level of precision you just can’t get from an automated machine.
Why the V60 Is a UK Coffee Favourite
Before we get into the nitty-gritty of brewing, it helps to understand why the Hario V60 has become so popular within the UK’s speciality coffee scene. From buzzing London cafés to quiet kitchens in Edinburgh, this simple dripper has turned into a symbol of craft and quality. It’s more than just a piece of kit; it’s an invitation to connect with your coffee on a much deeper level.
The magic of the V60 is all in its design. The cone itself is set at a precise 60-degree angle, which helps create a deeper bed of coffee grounds. This depth, paired with a large single hole at the base, lets water flow through freely, giving you huge influence over the extraction speed and the final taste.
The Power of Precision
What really makes the V60 stand out is the control it gives you. Those spiral ridges running up the inside wall aren’t just for looks—they create channels for air to escape, allowing the coffee grounds to expand evenly when you add water. This helps achieve a much more uniform extraction, which is key to avoiding a brew that’s either bitter or sour.
It’s this thoughtful design that lets you pull out the subtle, complex notes from high-quality, single-origin beans. A V60 can unlock flavours you might otherwise never notice.
- Clarity of Flavour: The fast flow rate and thin paper filter work together to produce a cup with almost no sediment, resulting in a really clean and crisp taste.
- Total Control: You get to dictate every variable—from water temperature and pouring speed to grind size. The room for experimentation is endless.
- Versatility: It’s just as good at brewing a light, tea-like Kenyan coffee as it is a rich, full-bodied Sumatran.
The V60 asks for your attention, but that’s exactly its charm. When you master it, you can consistently brew coffee that truly reveals the character of the beans, turning your daily ritual into something special.
A Fit for UK Coffee Culture
The hands-on, almost scientific nature of V60 brewing fits perfectly with the UK’s growing love for artisanal products. It might seem a bit daunting with its focus on exact measurements, but this brewer delivers a customisable experience that, once you get the hang of it, can easily beat the quality of many coffee shops. You can see how different brewers stack up by exploring the best coffee brewing methods.
This blend of craft and simplicity is what has cemented its status as a go-to tool for professional baristas and dedicated home brewers all over the country.
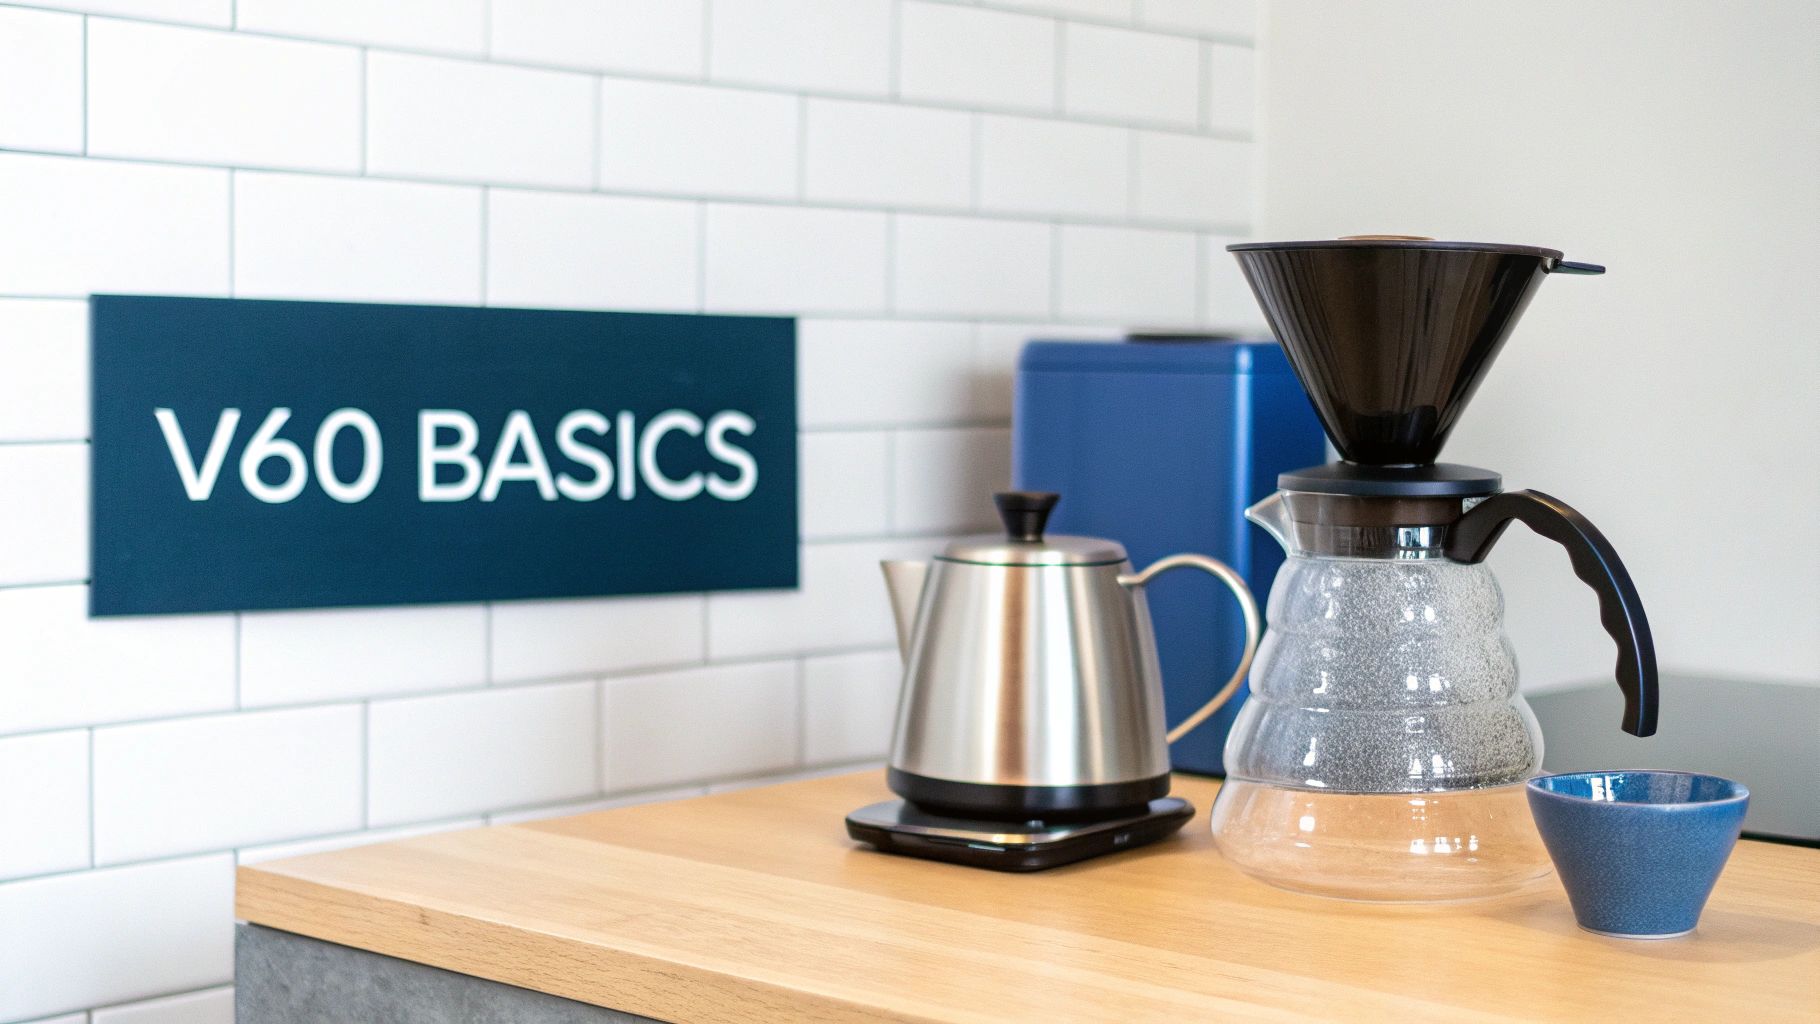
Assembling Your V60 Brewing Toolkit
Having the right gear is half the battle when it comes to V60 brewing. It’s not about owning the most expensive kit, but understanding what each piece does to help you nail a delicious cup, time after time. Think of it as setting up your workshop; the right tools give you the control to create something special.
The most obvious starting point is the V60 dripper itself. These come in a few different materials, and each has its own personality. Plastic is a fantastic, budget-friendly choice known for brilliant heat retention, which helps keep your brewing temperature stable.
Ceramic, on the other hand, looks beautiful and has a satisfying weight to it, but it absolutely needs a good preheat to stop it from stealing warmth from your brew. For a reliable and wallet-friendly choice, many of us start with a simple Hario V60 size 02 white plastic dripper.
Essential Brewing Companions
Beyond the dripper, a few other items are non-negotiable if you want to unlock the V60’s full potential. They all work together to give you the precision needed for a repeatable, top-quality brew.
Before we dive into the specifics, here’s a quick rundown of the gear you’ll want on your counter.
Your Essential V60 Brewing Gear
| Equipment | Why It’s Essential | A Practical Tip |
|---|---|---|
| Gooseneck Kettle | Gives you pinpoint accuracy and control over your pour, which is vital for even extraction. | Don’t pour from too high up. Keep the spout close to the coffee bed to maintain temperature and avoid agitating the grounds too much. |
| Digital Scales with Timer | Consistency is everything. Scales measuring to 0.1 grams let you weigh coffee and water precisely, while the timer tracks your brew. | Tare your scales after placing your V60 and server on top, so you’re only measuring the weight of the water you add. |
| Burr Grinder | The single biggest upgrade you can make. It produces consistent coffee grounds, leading to a balanced extraction. | Blade grinders create dust and boulders, resulting in a muddy, bitter brew. Always go for a burr grinder if you can. |
| V60 Paper Filters | Specifically designed to fit the cone. Hario’s papers contribute to the clean, sediment-free character of the brew. | Always rinse the paper filter with hot water before adding your coffee. This removes any papery taste and preheats the dripper. |
This setup isn’t just a list of items; it’s a system designed to give you complete control over the brewing process.
Getting your toolkit right from the start removes so much guesswork and frustration. It turns brewing from a game of chance into a craft you can deliberately improve with every cup.
A gooseneck kettle is a real game-changer. The long, slender spout lets you pour hot water with incredible accuracy, controlling both where the water goes and how fast it flows. This is crucial for saturating the coffee grounds evenly.
Then there are digital scales. Consistency is your best friend here, and scales that measure to 0.1 grams are perfect. Paired with a built-in timer, they let you follow recipes to the letter and repeat your successes.
Finally, if you invest in one piece of kit, make it a good burr grinder. It’s the most important factor for an even, balanced extraction because it produces coffee grounds of a uniform size. Blade grinders just smash the beans into a chaotic mix of dust and chunks, which is a recipe for a disappointing, often bitter, cup of coffee.
With these items and the right Hario paper filters, you are perfectly equipped to start your V60 journey.
Dialling In Your V60 Fundamentals
With your toolkit ready, it’s time to get into what really makes the magic happen. Brewing an exceptional V60 isn’t about some secret technique; it’s about understanding and controlling the relationship between three core variables: your coffee-to-water ratio, grind size, and water temperature.
Get these right, and you’ll build a solid, repeatable foundation. Think of these elements as the language of V60 coffee brewing—learning them is what unlocks that perfect cup, every single time.
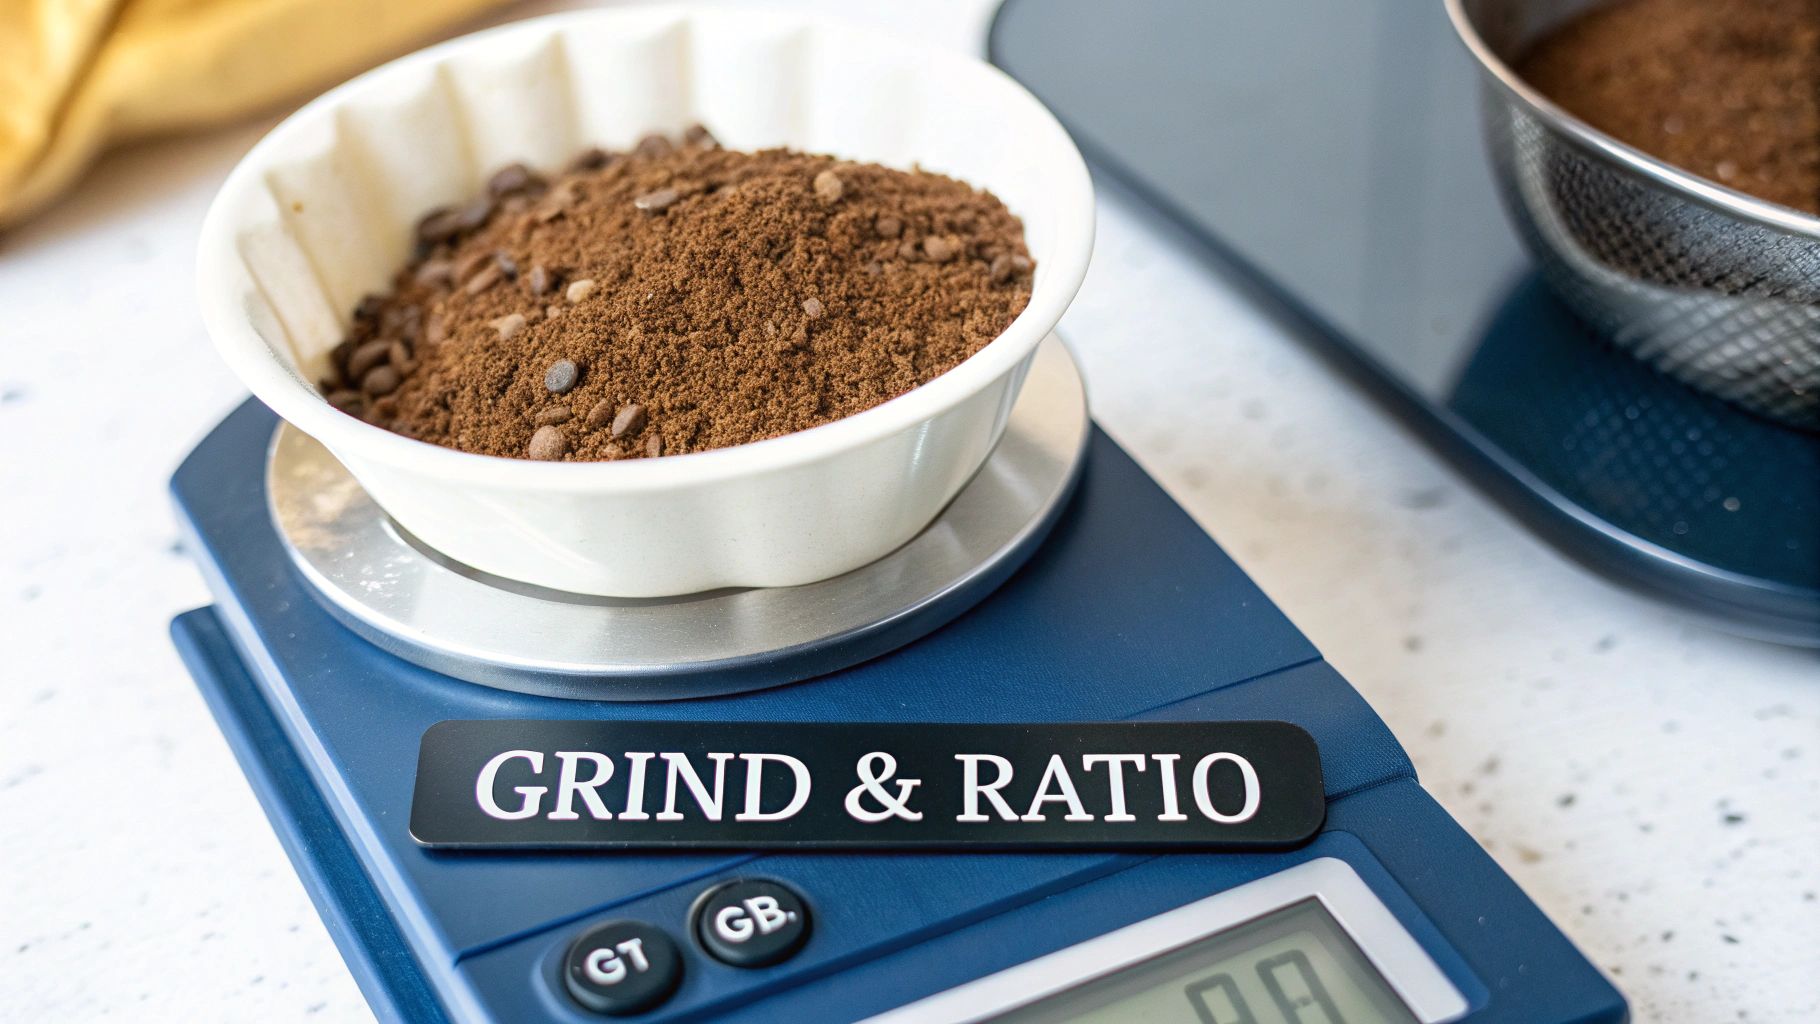
Finding Your Ideal Coffee to Water Ratio
One of the first questions people always ask is, “How much coffee should I actually use?” A fantastic place to start, and one that’s widely loved in the speciality coffee world, is a 1:16 ratio. This is simpler than it sounds: for every 1 gram of coffee, you’ll use 16 grams (which is the same as 16ml) of water.
For a single, generous mug, that usually looks something like this:
- 15g of coffee grounds
- 250g of hot water
This ratio tends to hit the sweet spot, producing a balanced, flavourful cup that isn’t too weak or overpowering. But treat it as your baseline, not a rigid rule. If your coffee tastes a bit thin, try tightening the ratio to 1:15 (that’s 225g of water for 15g of coffee) for a stronger brew. For more general advice, you can check out our complete guide on how to brew coffee.
The beauty of the V60 is how responsive it is. Tiny tweaks to your ratio can create noticeable changes in strength and body, so don’t be afraid to play around and find what you truly enjoy.
Demystifying Grind Size
Grind size is probably the single most critical variable you can control. It directly impacts how long the water hangs around with the coffee grounds—a process we call extraction. Honestly, the wrong grind size is the usual suspect behind a disappointing brew.
For a V60, you’re aiming for a medium-fine grind. A good visual is the texture of table salt or granulated sugar. It should feel gritty and you can see the distinct particles, but it’s nowhere near as coarse as what you’d use for a French press.
If your grind is too fine (like powder), water will get stuck and take forever to drip through. This leads to a long brew time and a bitter, over-extracted taste. On the flip side, if it’s too coarse (like rough sand), water will just rush straight through, leaving you with a sour, weak, and under-extracted coffee.
Mastering Water Temperature
Finally, let’s talk heat. Pouring water straight from a boiling kettle can actually scorch your delicate coffee grounds, pulling out harsh, bitter flavours you definitely don’t want. The ideal window for V60 brewing is between 92-96°C.
You don’t need a fancy temperature-control kettle to hit this, either. A simple and effective trick is to bring your water to a full boil, then just let it sit off the heat for about 30-60 seconds before you start pouring. That little pause is usually all it takes to drop it into that perfect brewing zone, ensuring you extract all the sweet, complex notes from your coffee without any of the nasty bitterness.
V60 Brewing Starting Parameters
To help you get started with confidence, here’s a quick reference table. Think of this as your cheat sheet for the first few brews. You can adjust from here, but these parameters will put you in a great position to brew something delicious from your very first cup.
| Variable | Recommended Starting Point | How It Affects Taste |
|---|---|---|
| Coffee to Water Ratio | 1:16 (15g coffee to 250g water) | A tighter ratio (e.g., 1:15) makes it stronger; a wider ratio (e.g., 1:17) makes it weaker. |
| Grind Size | Medium-fine (like table salt) | Too fine leads to bitterness (over-extraction); too coarse leads to sourness (under-extraction). |
| Water Temperature | 92-96°C (let boiling water rest for 30-60 seconds) | Too hot can scorch the coffee, creating bitter flavours. Too cool results in a weak brew. |
This table provides a reliable launchpad. As you get more comfortable, you’ll start to learn how changing one variable affects another, which is where the real fun of mastering the V60 begins.
Once you’ve got your ratio, grind, and temperature locked in, it’s time for the most hands-on part of making V60 coffee: the pour. This is where your technique really starts to matter, and where you can elevate a good brew into something truly special. Don’t stress about getting it perfect on day one; it’s a rhythm you’ll pick up over time.
The whole thing is a delicate dance between timing and control. Your main goal is to get an even extraction, making sure all the coffee grounds release their delicious flavours at the same pace. Get it right, and you’ll avoid that muddled cup that tastes a bit sour and a bit bitter all at once.
The Crucial First Step: The Bloom
The very first part of your pour is called the bloom, and honestly, it’s a non-negotiable step for a balanced cup. It’s simply when you add a small amount of hot water to the coffee grounds for the first time—just enough to wet them all.
Freshly roasted coffee has a lot of trapped carbon dioxide (CO2) from the roasting process. The bloom gives this gas a chance to escape in a flurry of bubbles. If you skip this, those bubbles will just create chaos during your main pour, pushing water away from the grounds and leaving you with an uneven, under-extracted brew.
For a standard 15g dose of coffee, here’s how to nail the bloom:
- Start your timer the second you pour the first drop of water.
- Gently pour in about 30-50g of water, moving in a spiral to make sure you wet all the grounds.
- Now, just let it sit and “bloom” for about 30-45 seconds. You’ll see the coffee bed puff up and bubble away.
This simple pause sets the stage perfectly for everything that comes next, getting the coffee bed ready to properly absorb the rest of the water.
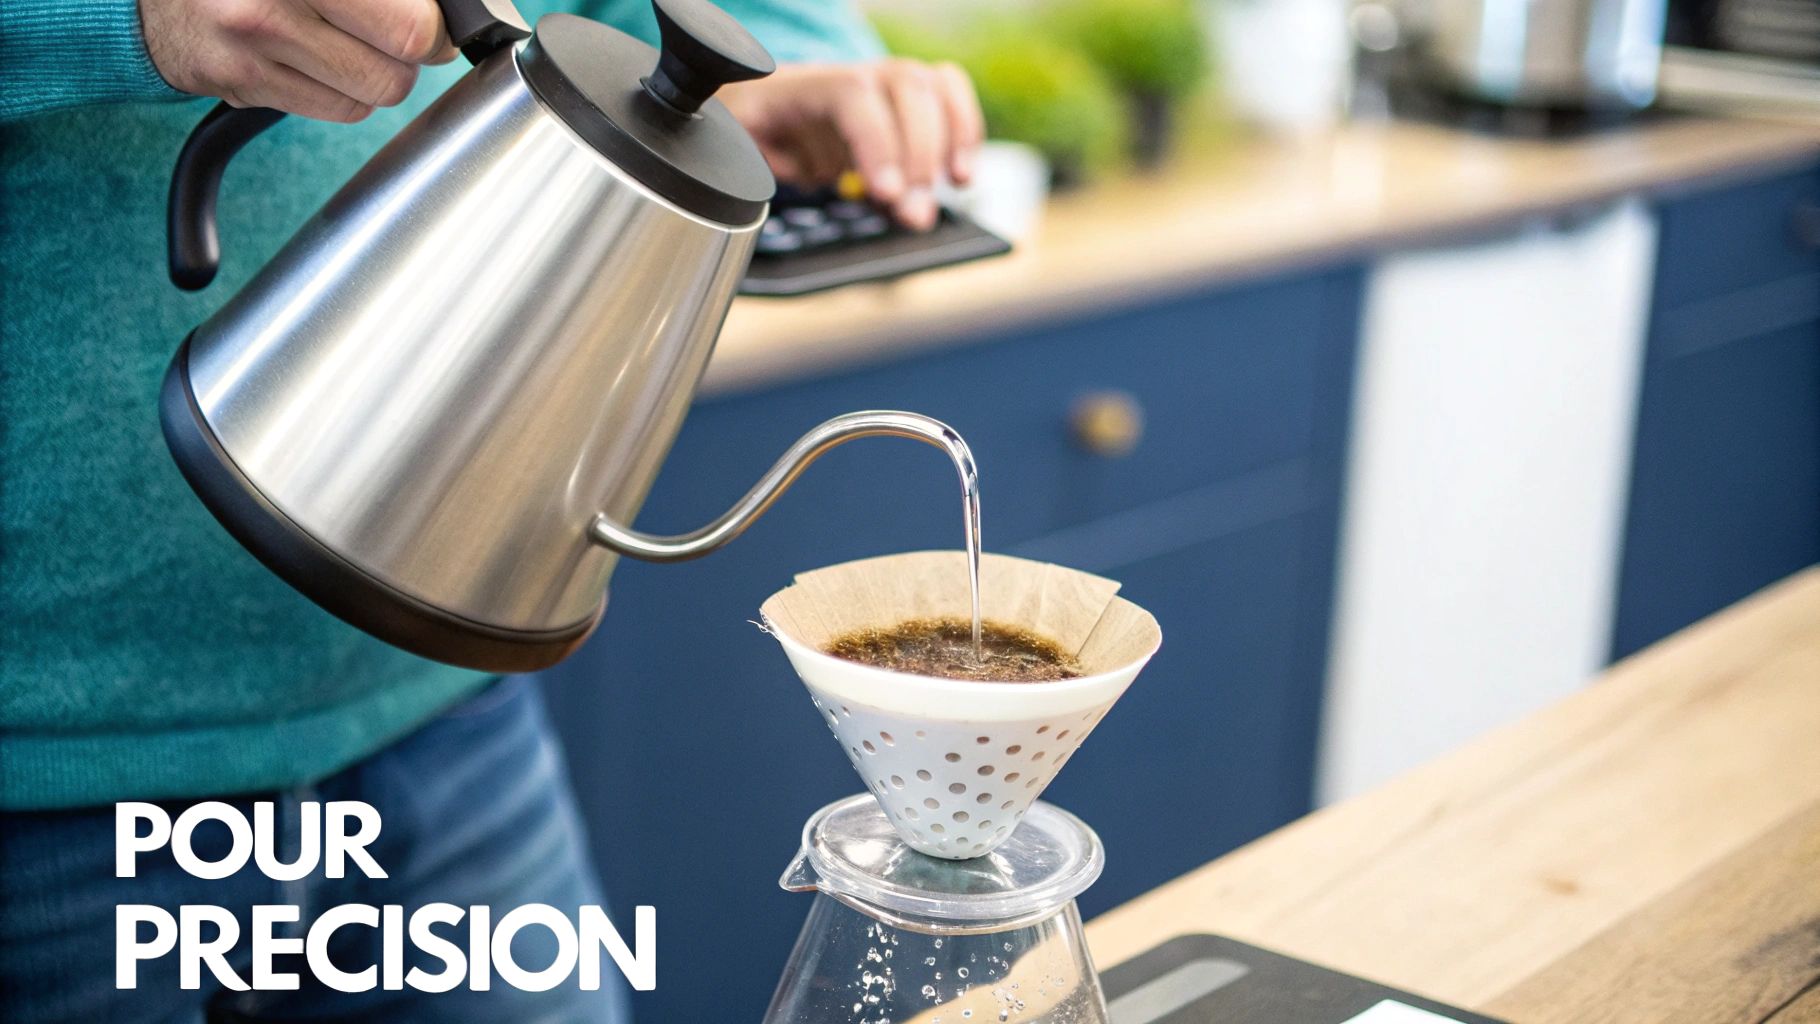
Mastering Your Main Pour
After the bloom has settled down, it’s time for the main pour. This is where a gooseneck kettle really proves its worth. You’re aiming for a slow, steady, and consistent stream of water, poured in gentle, concentric circles. I usually start in the centre, spiral my way out, and then work my way back in again.
A common mistake I see beginners make is pouring water right onto the paper filter. This lets water sneak past the coffee bed completely, running straight down the side and into your cup. You’ll just end up with a weak, watery brew. Always try to keep your pour contained within the coffee grounds.
Think of your pour as a gentle shower, not a fire hose. The idea is to keep a consistent water level throughout the brew, never letting the coffee bed run dry until the very end. This helps keep the temperature stable and really encourages an even extraction.
This little infographic is a great visual for breaking down the pouring phases.
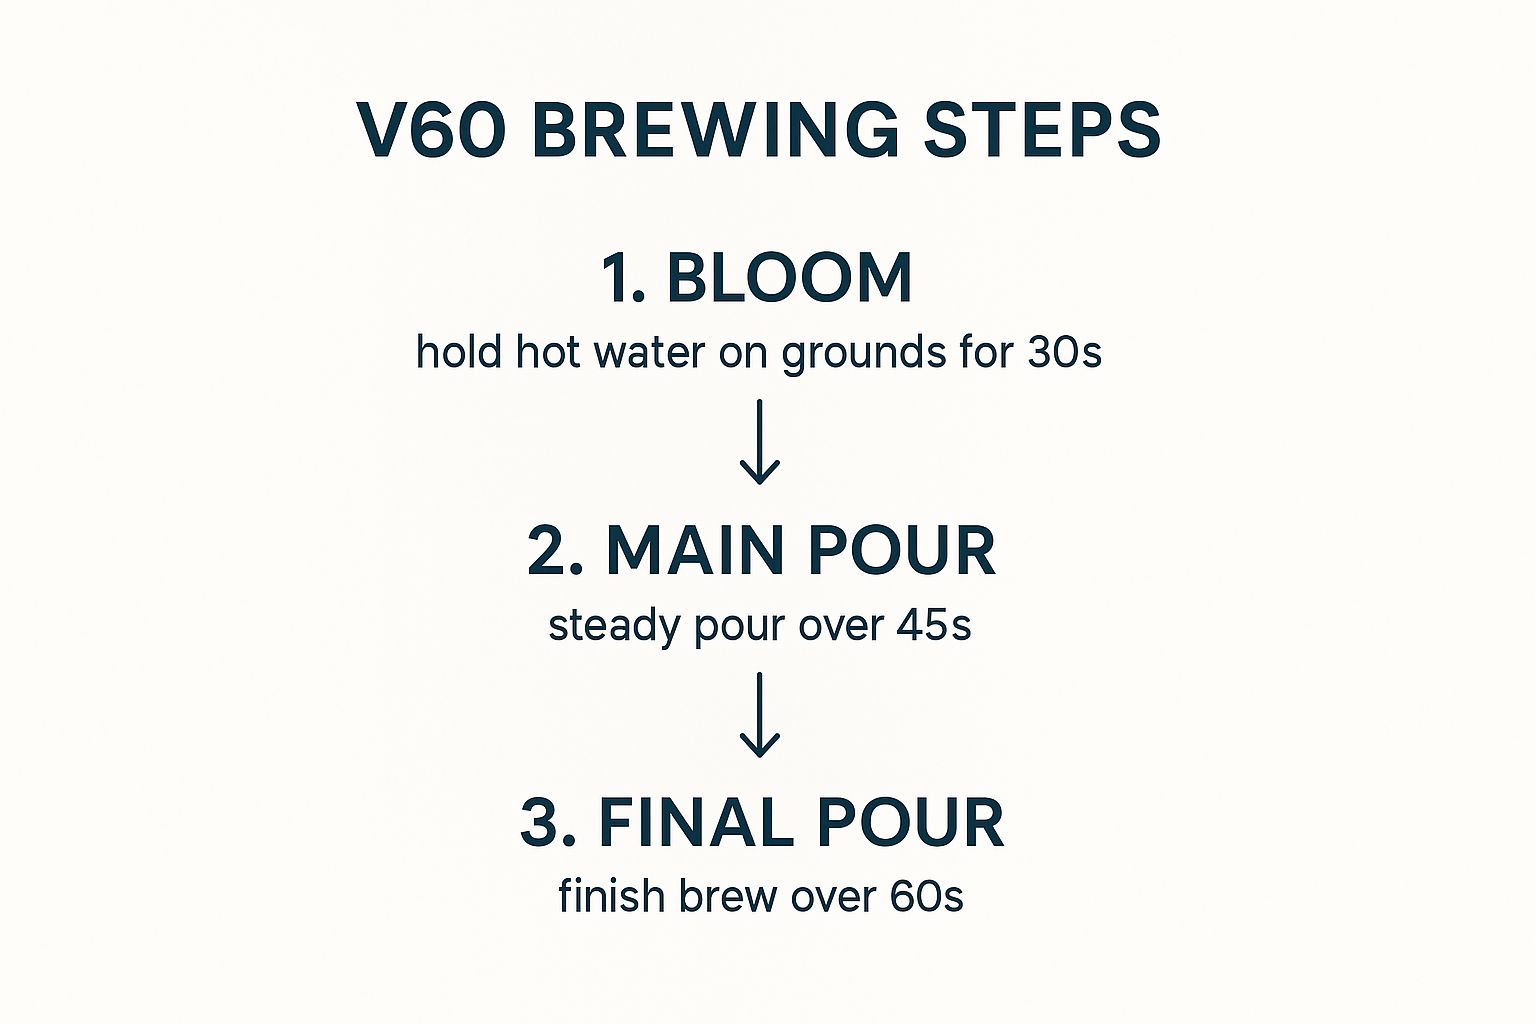
As you can see, timing each phase is key to hitting that sweet spot of around three minutes for your total brew time, which is a fantastic target for most V60 recipes.
Reading the Visual Cues
As you brew, pay attention to what’s happening inside the dripper. The mixture of coffee and water, which we call the slurry, should have a rich, dark brown colour. Keep an eye on the flow rate, too. If the water is draining painfully slowly, your grind is probably too fine. If it’s rushing through like a waterfall, it’s too coarse.
Your final goal is a total brew time of about three minutes. Once you’ve finished pouring all your water, give the dripper one last gentle swirl. This little trick helps settle the grounds into a perfectly flat bed at the bottom—a classic sign of a well-executed, even extraction.
How to Fix Common V60 Brewing Issues
Even with the best beans and a flawless technique, we all have off days. A disappointing cup isn’t a failure, though. Think of it as valuable feedback, telling you exactly what to tweak for your next brew. Nailing down what went wrong is the key to truly mastering your V60 coffee brewing.
It helps to think of yourself as a coffee detective. The final taste of your brew leaves all the clues you need to solve the mystery. Let’s walk through the most common culprits and how to fix them.
Diagnosing a Bitter or Harsh Coffee
If your coffee has an aggressive, dry, and unpleasantly bitter flavour that just hangs around on your palate, you’re almost certainly dealing with over-extraction. This is what happens when water spends too much time with the coffee grounds, pulling out all those unwanted bitter compounds. It’s probably the most common pitfall when you’re just starting out.
To fix this, you basically need to speed things up a bit. Here are the main tools at your disposal:
- Coarsen Your Grind: This is your most powerful lever. A slightly coarser grind creates more space between the coffee particles, allowing water to flow through faster and reducing contact time. Try adjusting your grinder just one or two notches coarser.
- Reduce Brew Time: Is your brew creeping past the three-and-a-half-minute mark? That’s a red flag for over-extraction. A coarser grind is the best way to shorten this, but you can also try pouring a little more quickly.
- Lower Water Temperature: If your grind and brew time seem right but the bitterness just won’t go away, try dropping your water temperature a little. Aim for somewhere around 90-92°C.
A classic sign of over-extraction is a coffee bed that looks muddy and uneven, with grounds clinging high up the sides of the filter paper. A good brew should leave a relatively flat, even bed of coffee.
Tackling a Sour or Weak Coffee
On the complete other end of the spectrum is under-extraction. This is what gives you a coffee that tastes sour, sharply acidic, and disappointingly weak or watery. It lacks sweetness and complexity because the water didn’t have enough time or energy to dissolve all the good stuff. The true character of the beans, which is often shaped by different coffee roasting profiles explained, just won’t shine through.
To solve this, we need to do the opposite and increase the extraction:
- Go for a Finer Grind: This is usually the main culprit. A finer grind increases the surface area of the coffee and slows down the water flow, giving it more time to work its magic and extract flavour.
- Increase Water Temperature: Using hotter water, maybe closer to 96°C, gives it more energy to dissolve those delicious coffee solids effectively.
- Pour More Slowly: A slower, more gentle pour can help extend the contact time and ensure all the grounds are properly and evenly saturated.
By paying close attention to these taste cues, you can quickly diagnose any issue that comes up. Every cup becomes a lesson, helping you fine-tune your technique and get that much closer to the perfect, balanced brew every single time.
Common Questions About V60 Brewing
Even after you’ve nailed the basics of v60 coffee brewing, a few questions always seem to pop up. Think of this section as your quick-fire guide to troubleshoot those common little issues and build your confidence with every cup.
Sometimes, the simplest questions are the most important. Let’s tackle a few of the most frequent ones we hear from brewers just getting started with this fantastic method.
Which V60 Material Is Best?
One of the first choices you’ll make is the material of your dripper, and honestly, each one has its own personality. There isn’t a single “best” option, but there’s probably one that’s best for you.
- Plastic: Don’t write it off. Plastic V60s are cheap, tough as old boots, and actually have the best heat retention. This means your brewing temperature stays incredibly stable without much fuss, making it a brilliant choice for beginners and pros alike.
- Ceramic: They look great on the counter and have a satisfying weight. However, ceramic is a notorious heat thief. A thorough preheat with plenty of hot water is absolutely essential to stop it from cooling down your brew and causing a poor extraction.
- Metal: Stainless steel or copper V60s are nearly indestructible and also hold heat very well. They’re a fantastic, long-lasting option but usually come with a heftier price tag.
For most people starting out, the plastic V60 is the way to go. It delivers the most consistent results with the least amount of faff.
Why Is My V60 Draining So Slowly?
A stalled brew is one of the most common frustrations, and nine times out of ten, the culprit is your grind size. If your coffee is ground too finely, it creates a dense, sludgy bed that clogs the filter paper and stops water from flowing through.
This painfully slow drain time inevitably leads to over-extraction, leaving you with a bitter, harsh cup of coffee. The fix is simple: coarsen your grind. Try bumping your grinder setting up just one or two steps and you should see a massive improvement in flow rate and the final taste.
It’s easy to overlook just how much the UK has embraced this style of brewing. With around 98 million cups of coffee consumed daily in the UK, there’s a clear and growing preference for high-quality, manual methods like the V60 that highlight the unique character of single-origin beans. Discover more insights about UK coffee trends at yorkemporium.co.uk.
Can I Use a Regular Kettle Instead of a Gooseneck?
Technically, yes, you can. But you’ll be making things much, much harder for yourself. A standard kettle gives you almost no control over where the water goes or how fast it comes out.
That lack of precision makes it incredibly difficult to pour gently and evenly. You’ll likely end up blasting the coffee bed, creating channels and leading to a messy, inconsistent extraction. While it’s possible to get a half-decent brew, a gooseneck kettle is one of those bits of kit that genuinely transforms your v60 coffee brewing from a game of chance into a repeatable craft. It’s an investment that pays for itself with every single cup.
Ready to brew your perfect cup? Explore our exceptional single-origin coffees and premium brewing gear at Seven Sisters Coffee Co. Find your new favourite today at https://sevensisterscoffee.co.uk.